Draft & Muslin Circular Flip Turn:
The Challenge: Create the assigned pattern in half scale. Sew a 1st sample.
This pattern was created in ½ scale.
To create the Flip Turn the first step is to trace the bodice front. The flip turn is a continuation starting from the hem of the skirt all the way up to the neckline. The flip turn is secured down through the princess lines of the skirt and unattached to the bodice. The flip turn is created by pulling the tie under the neckline and through the designated slit.
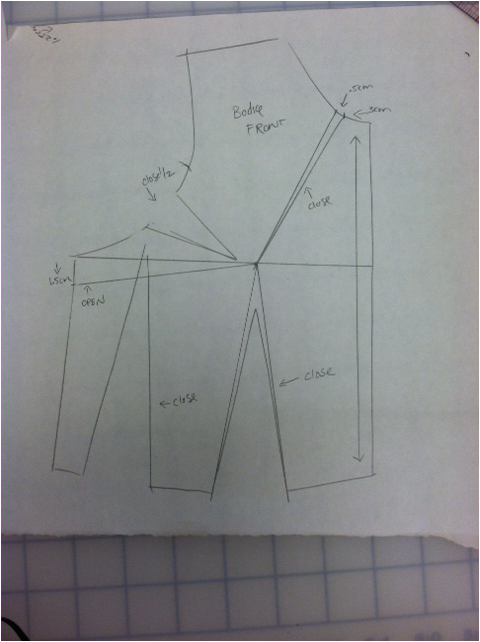
1. Trace half scale center front bodice
a. Make a contouring line 3cm away from CF at the neckline .5cm wide. Taper this to the bust point. Slash and close this line, this contours the neck.
b. Close both waist darts
c. Close dart in armhole halfway
d. Draw a new dart line 1.5cm down from the armhole at the side seam. Slash to bust point and open.
The Challenge: Create the assigned pattern in half scale. Sew a 1st sample.
This pattern was created in ½ scale.
To create the Flip Turn the first step is to trace the bodice front. The flip turn is a continuation starting from the hem of the skirt all the way up to the neckline. The flip turn is secured down through the princess lines of the skirt and unattached to the bodice. The flip turn is created by pulling the tie under the neckline and through the designated slit.
1. Trace half scale center front bodice
a. Make a contouring line 3cm away from CF at the neckline .5cm wide. Taper this to the bust point. Slash and close this line, this contours the neck.
b. Close both waist darts
c. Close dart in armhole halfway
d. Draw a new dart line 1.5cm down from the armhole at the side seam. Slash to bust point and open.
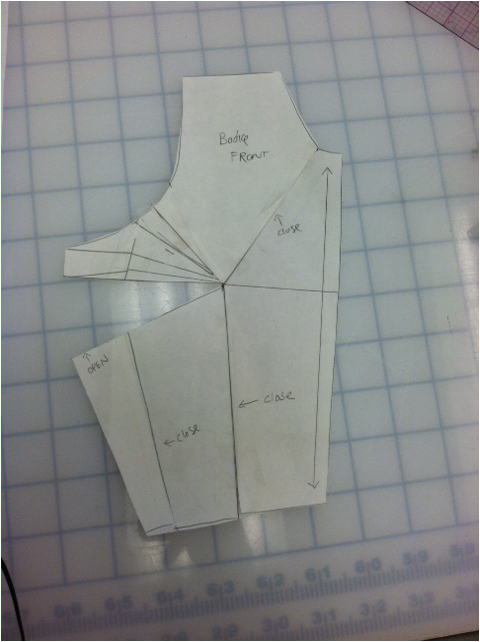
2. Trace newly patterned front bodice on fold, so that it is now cut 1.
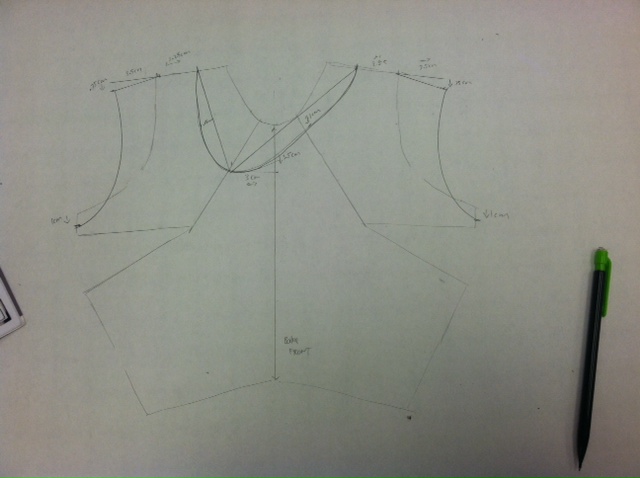
a. Make a mark 3.25cm in from shoulder point on shoulder seam
b. Extend shoulder seam 6.75cm out from the previous mark that was just made, make a mark.
c. From this mark, drop .75 cm, use a straight edge to connect this mark to original shoulder point at armhole. This is your new shoulder seam.
d. Drop armhole 1 cm at side seam, redraw armhole connecting this point to the new shoulder seam
-Neckline
a. Draw a mark 3.5 cm down CF from neckline and 3cm to the left, label this A.
b. Connect this mark from dart tip to neckline
c. From both 3.25cm marks on the shoulder seam, connect with a straight edge to A; this is creating the new asymmetrical neckline.
d. From the center of the left line just drawn from the shoulder seam, drop down 1.75 cm, curve out the neckline from the shoulder seam point, hitting the dropped 1.75cm point, to A..
e. From the center of the right line just drawn from the shoulder seam, drop down 3 cm, curve out the neckline from the shoulder seam point, hitting the dropped 3cm point, to A.
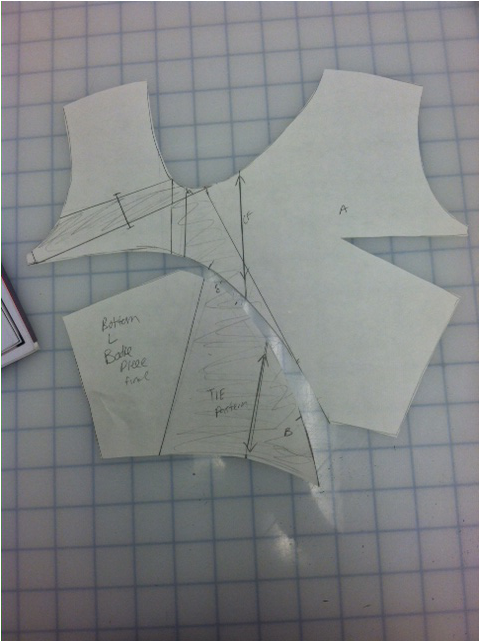
3. To outline and create the tie
a. From the center front line at the waist, draw a mark 5.5 cm to the left of the CF line and 5cm to the right.
b. From point A, draw a mark 1cm over to the left and 2.5cm over to the right
c. Connect left line to the 5.5cm mark at waist and right line to the 5cm mark at waist
d. From the 2 points at the neckline, draw parallel lines to armhole, connect.
e. Create a slit 2.5 cm wide where the flip turn will go.
f. To create the actual tie, draw a rectangle 9.5 cm wide by 23cm long. This will be the tie to create your flip turn.


4. To create the panel seam line, from dart tip on left, use the French curve and create seam line to the 5cm mark right of the seam line. Cut and separate.
5. Adding Fullness To Bust
a. On center front top part of bodice, mark 3cm down at CF from neckline.
b. Draw 3 lines 1cm apart, extend these lines to shoulder seam at the bodice left.
c. Extend these 3 lines to the bodice right where the top line extends to the shoulder seam, middle line closes off the dart point, and bottom line hits at the side seam. (Make sure dart excess is added into the middle extended line)
d. Slash down CF and slash all 3 lines to both bodice left and right shoulder, arm, and side seams.
e. Spread to create excess fullness.
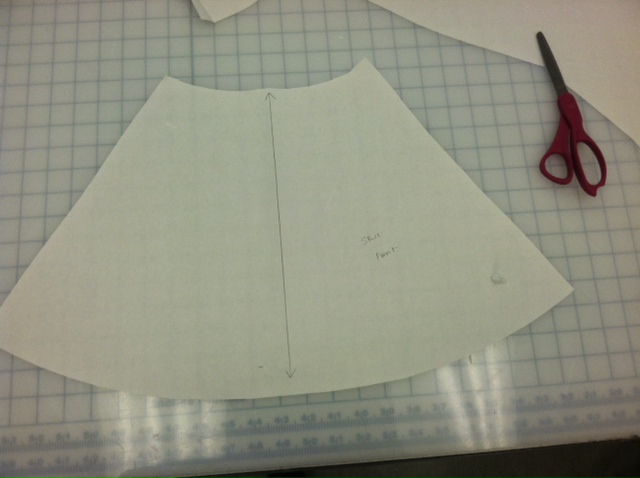
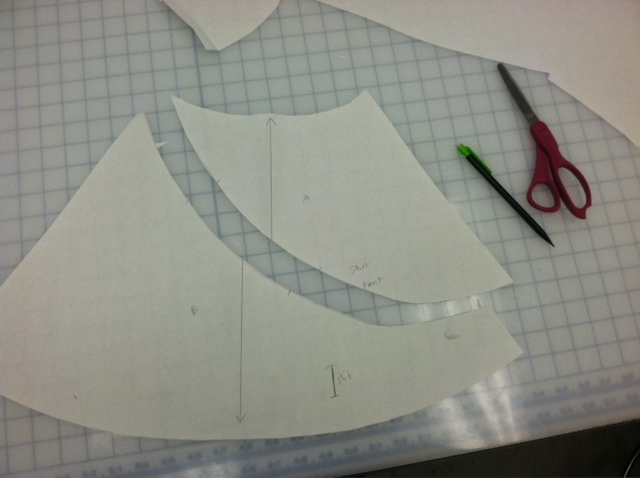
6. Skirt Front
a. Trace the skirt front, extend dart points down to hem and create princess seams.
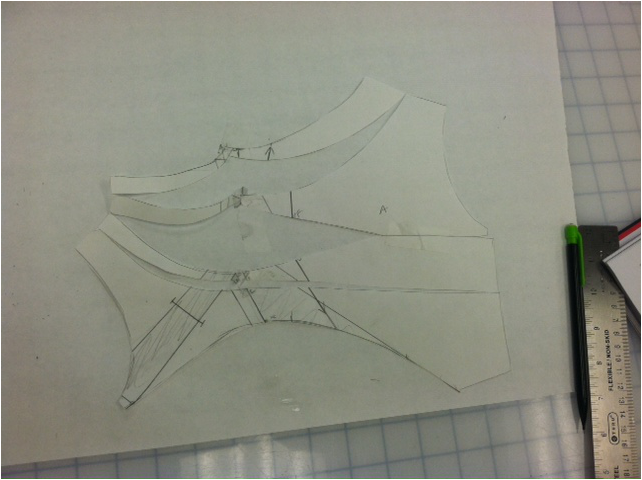
These are your pattern pieces:
a. Trace the skirt front, extend dart points down to hem and create princess seams.
These are your pattern pieces:
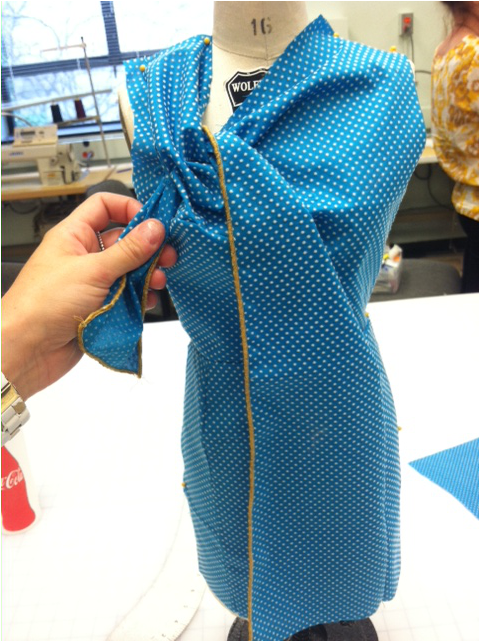
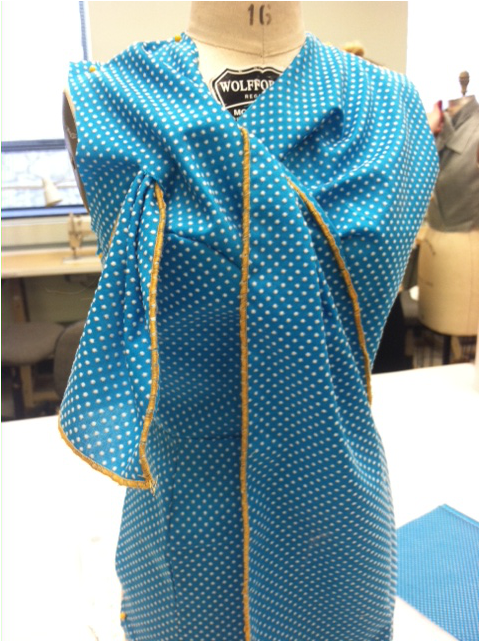
7. To Sew the garment
a. Sew the WR side of center front skirt princess lines together.
b. Sew the WL side of center front skirt princess seam together with the 23cm long tie between skirt seams. The tie should now be attached at the princess seam
c. Sew asymmetrical bodice panels together
d. Sew bodice to skirt
e. The tie is unattached to the bodice
f. Pull the tie under the neckline at center front
g. Pull the tie through the open slit on the WR of the garment.
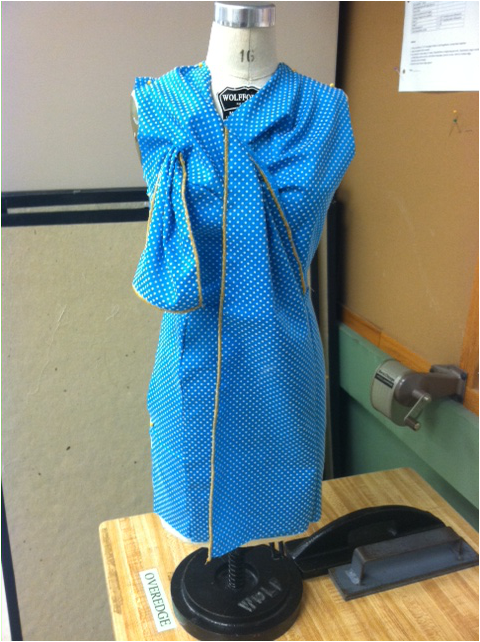
h. Garment and tie can be played with and tacked down to location of designer’s choice.
i. This is the final product!
a. Sew the WR side of center front skirt princess lines together.
b. Sew the WL side of center front skirt princess seam together with the 23cm long tie between skirt seams. The tie should now be attached at the princess seam
c. Sew asymmetrical bodice panels together
d. Sew bodice to skirt
e. The tie is unattached to the bodice
f. Pull the tie under the neckline at center front
g. Pull the tie through the open slit on the WR of the garment.
h. Garment and tie can be played with and tacked down to location of designer’s choice.
i. This is the final product!
Analysis:
Q1: What type of flat patternmaking is this: Dart manipulation? Added Fullness? Contouring? Something else? A combination?
A: Flip Turn is a combination of dart manipulation and added fullness but contouring was also used
1. One side dart is turned into added fullness while the other side dart is manipulated into a seam line.
2. Added fullness is added in the chest area by slashing and spreading down the center neckline and fullness is added throughout the chest.
3. Contouring was used when dropping the neckline to a lower cut asymmetrical neckline
Q2: What are the basic principles of this pattern?
A:
1. Style lines were drawn to remove the dart.
2. Added fullness is added throughout the chest to allow for flip turn to lie properly
3. The neckline must be contoured from the neckline to the bust point
Q3: What are the basic rules of this pattern?
A:
1. All darts must be closed and manipulated into excess fullness.
2. The neckline must be contoured to the neckline in order for the neckline to lie properly.
3. The tie piece must be traced over bodice front in order to ensure the seam line is hidden.
4. Added fullness is added 3cm down CF neckline in order to allow room for the flip turn
Q4: Are these rules and principles always true?
A: Yes, mostly all of the rules are true however, depending on where you are patterning your flip turn, excess fullness is not always necessary. It is up to the designers discretion how much or how little added fullness they want to add.
Q5: What rules of traditional patternmaking are broken in this pattern?
A: None, to my knowledge.
Application: The Challenge: Create your own half scale pattern by applying the rules and principles of this pattern in a different location of the garment. Sew a 1st sample.
I continued the Flip turn onto the center front skirt.
1. The center 1. front bodice left and right side were both traced creating a cut 1-center front.
2. Added fullness was added to the hem through slashing and spreading. (amount of added fullness is up to the designers discretion)
 |  |
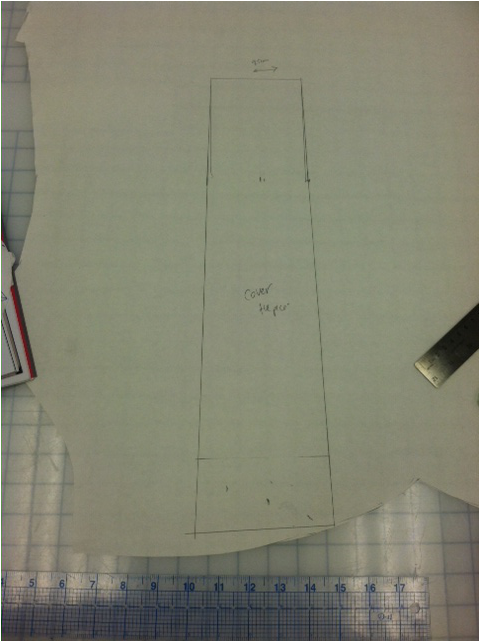
3. A seam line was drawn from the top right waistband to 1.5” above the left side hem.
4. 3 slit marks were drawn 2.5 cm wide on the bottom left hand side of the skirt panel (no exact location)
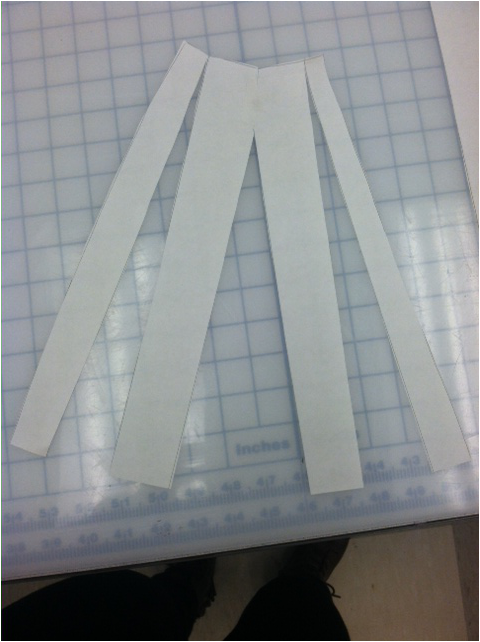
5. A tie piece was drafted with the measurements 9cm wide by 22 cm long.
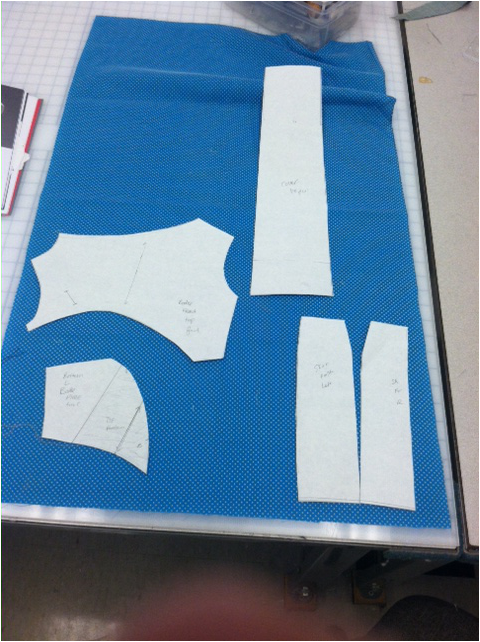
These are your 3 final pieces
5. A tie piece was drafted with the measurements 9cm wide by 22 cm long.
These are your 3 final pieces
 | 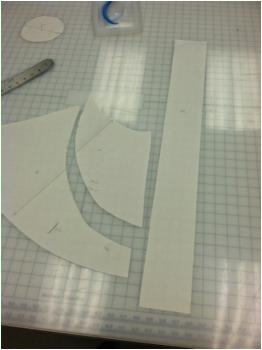 |
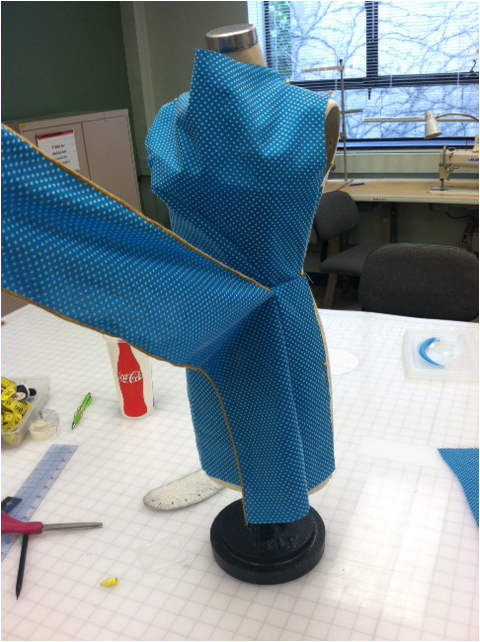
6. The tie panel was sewn in between the top and bottom front skirt panels.
7. At the side seam the flip turn tie piece was folded underneath, without pulling the seam.
8. The tie was woven in the first slit,under the second slit, and up through the 3rd slit.
7. At the side seam the flip turn tie piece was folded underneath, without pulling the seam.
8. The tie was woven in the first slit,under the second slit, and up through the 3rd slit.
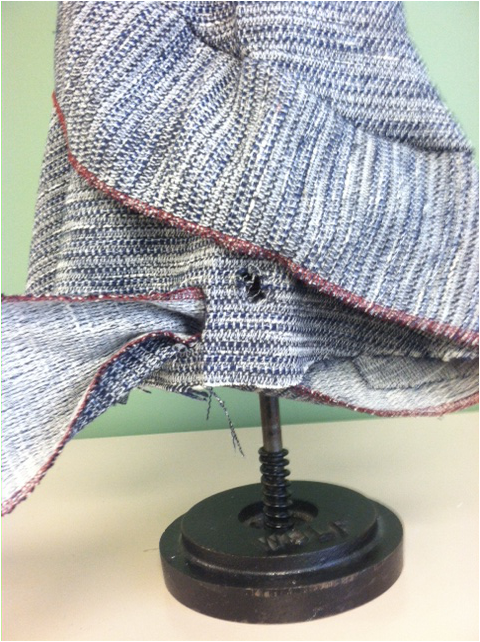
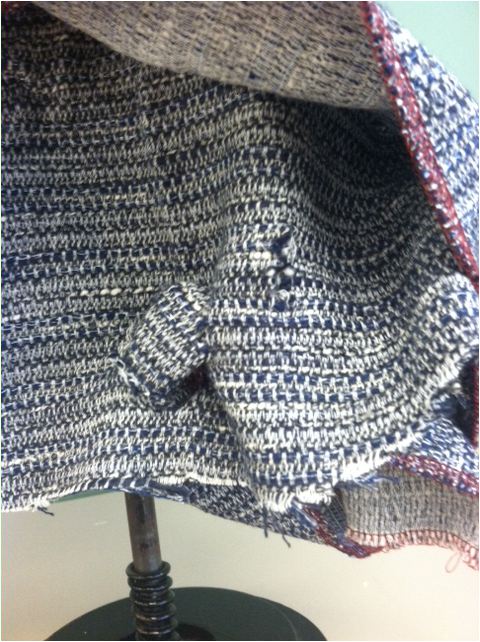
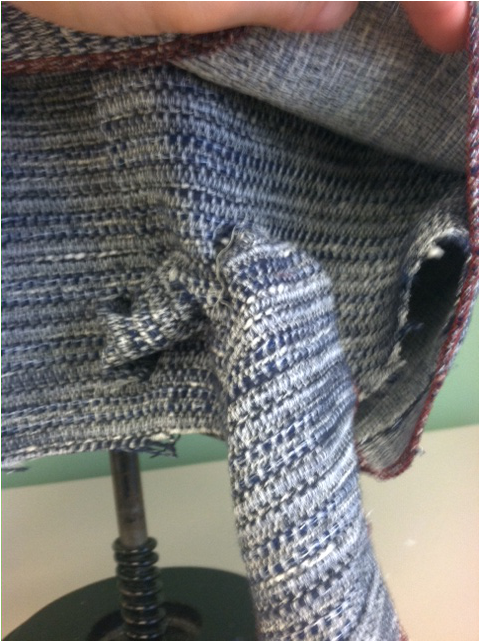
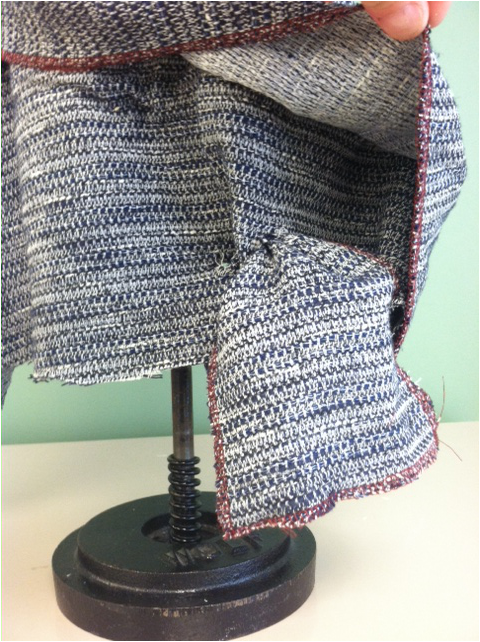
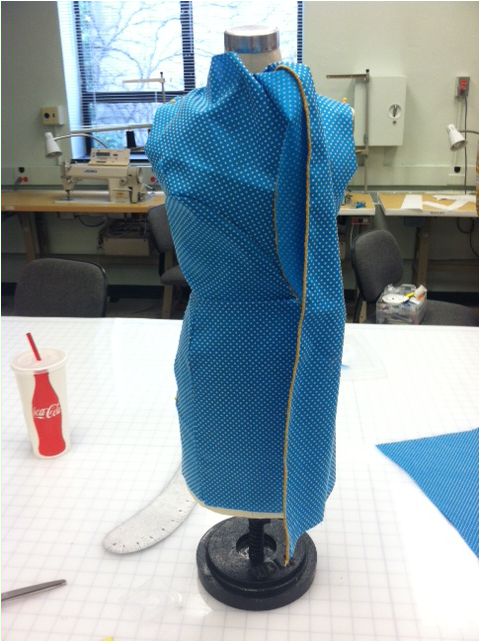
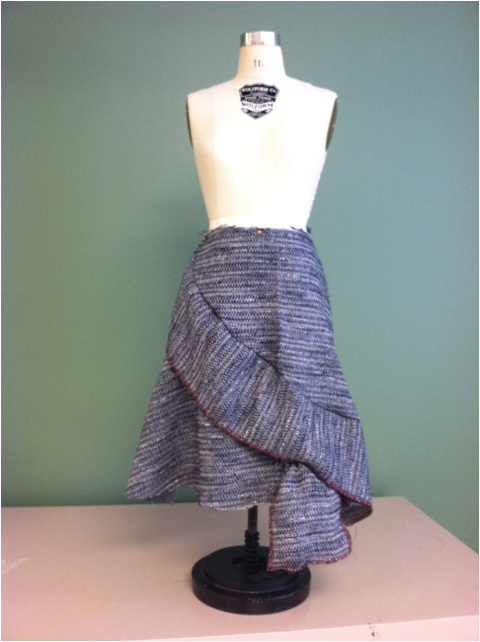
9. This is the final result!
Evaluation:
Q1: Did you stay true to the basic principles of the original pattern?
A: Yes, all the same rules and principles applied. I added fullness at the skirt hem this time.
Q2: Where did you move the pattern manipulation and how well did that work?
A: I moved the pattern to the center front skirt. The pattern created a very different visual here than it did in the center front bodice. I created an added fullness skirt with an asymmetrical seam line starting at the top right waistband and continuing down to the bottom hem left side. Instead of 1 slit mark 3 slit marks were made to create a woven effect. The flip turn was sewn down in the seam line and then wove under, over, and under, where the flip turn could be seen hanging out beneath the skirt.
Q3: Do all the same rules still apply? Did the need for new rules appear when you made this change?
Yes, all the same rules still applied.
 RSS Feed
