Draft & Muslin: Create the assigned pattern in half scale. Sew a 1st sample. Document your process with notes and photographs.
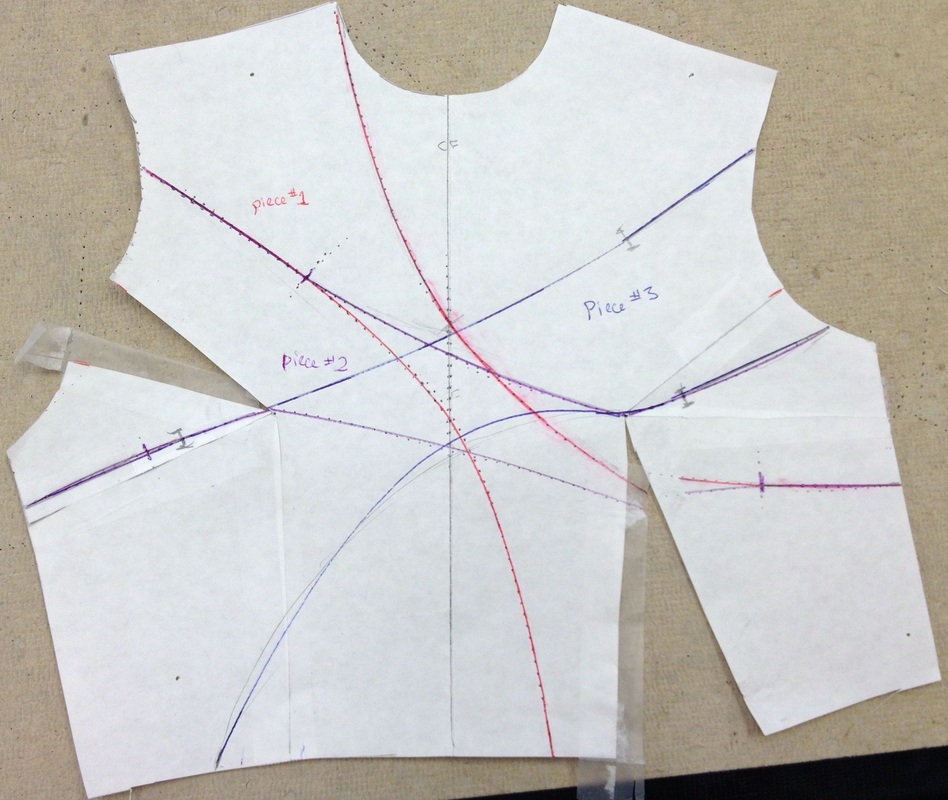
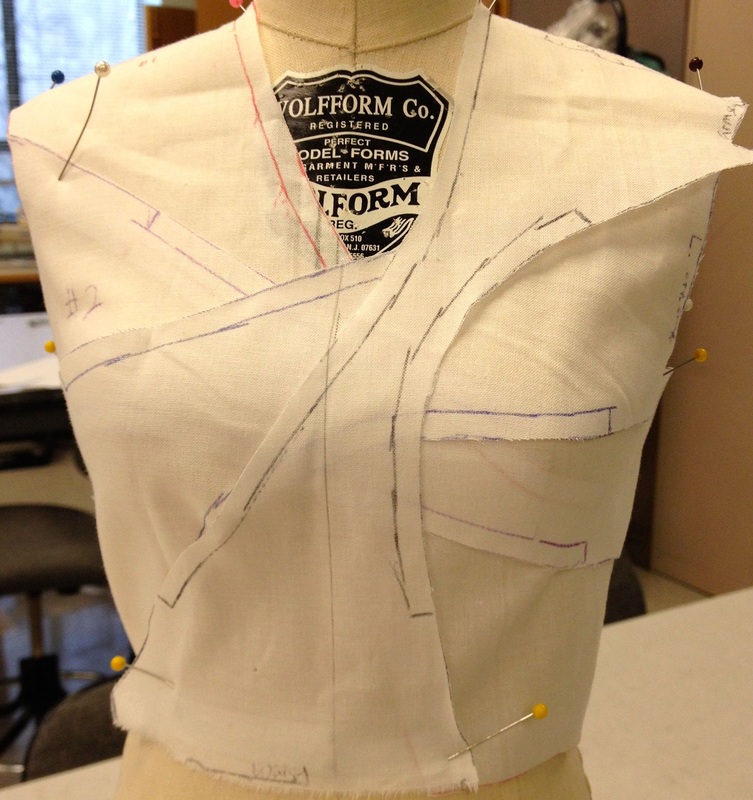
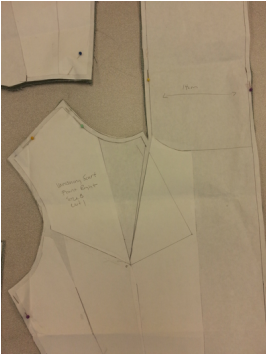
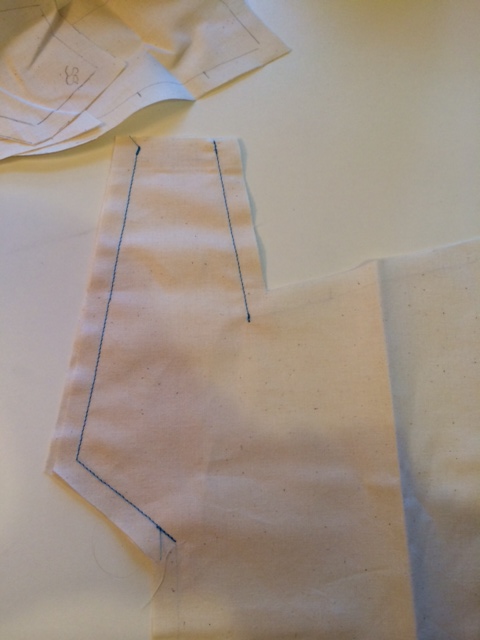
In the example in Pattern Magic 2, the front bodice is divided into eight sections, for a total of 4 strips that overlap at the center front. I completed the pattern in 1/2 scale. I decided to seam the strips together for 2 inches from the perimeter, before allowing them to float free across the center. Adjacent strips must share the connecting seam line, but the part of the line across the center can be any shape the designer envisions. It just has to connect back to the share line on the other side of the piece.
In the example in Pattern Magic 2, the front bodice is divided into eight sections, for a total of 4 strips that overlap at the center front. I completed the pattern in 1/2 scale. I decided to seam the strips together for 2 inches from the perimeter, before allowing them to float free across the center. Adjacent strips must share the connecting seam line, but the part of the line across the center can be any shape the designer envisions. It just has to connect back to the share line on the other side of the piece.
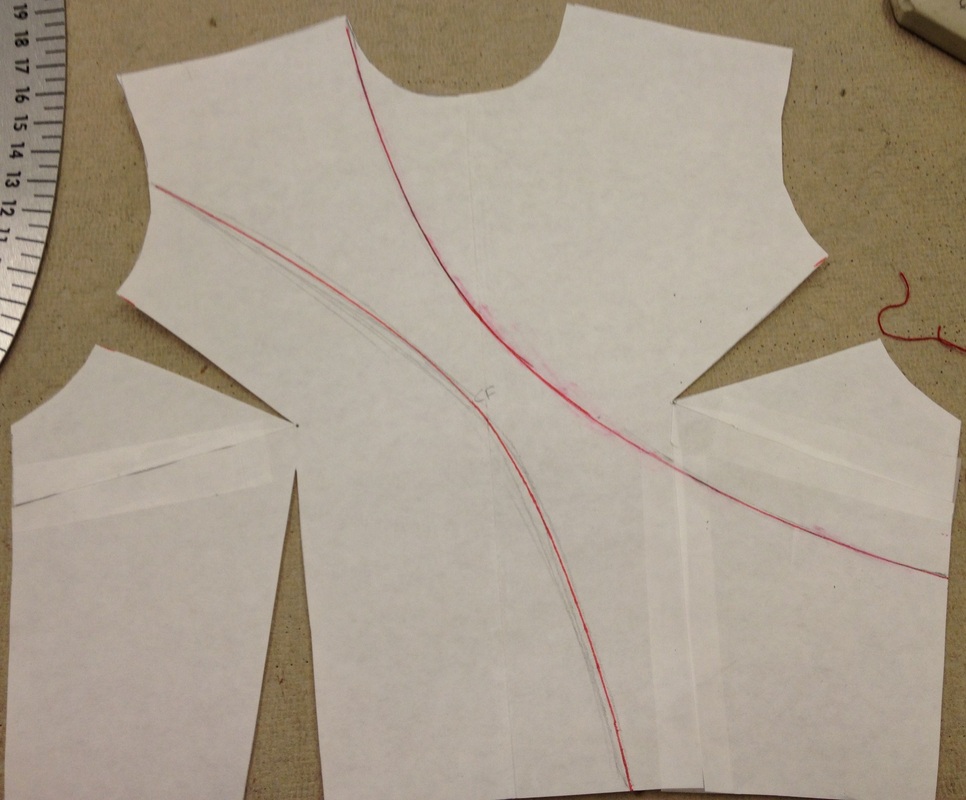
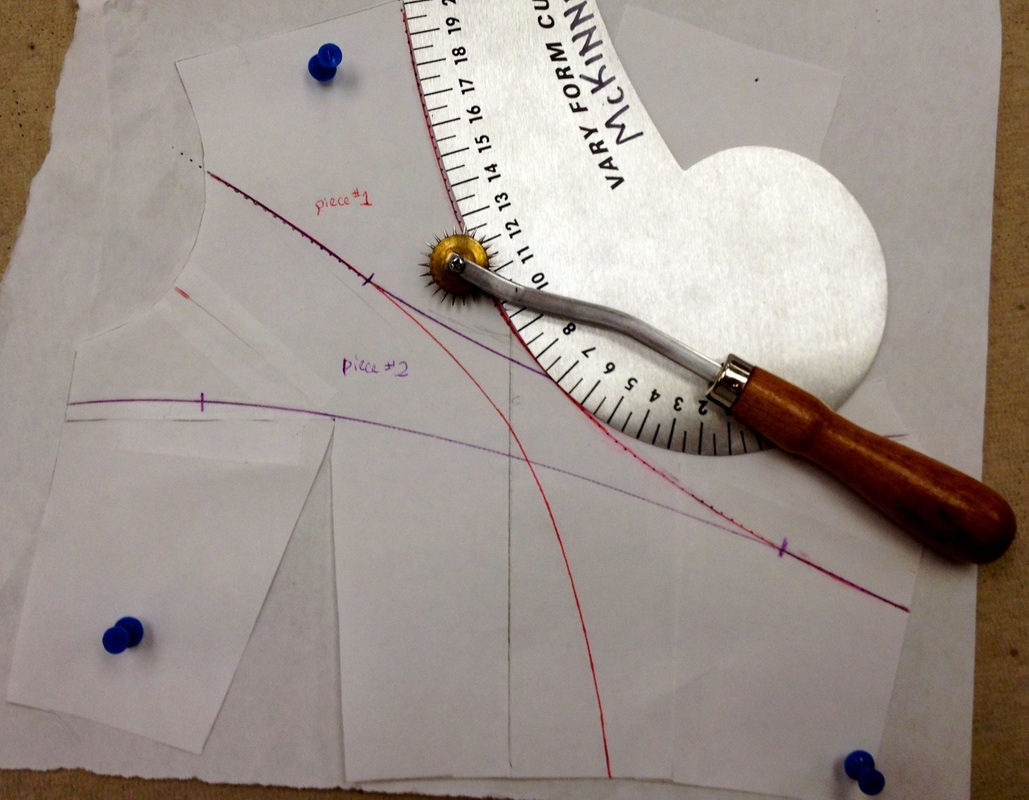
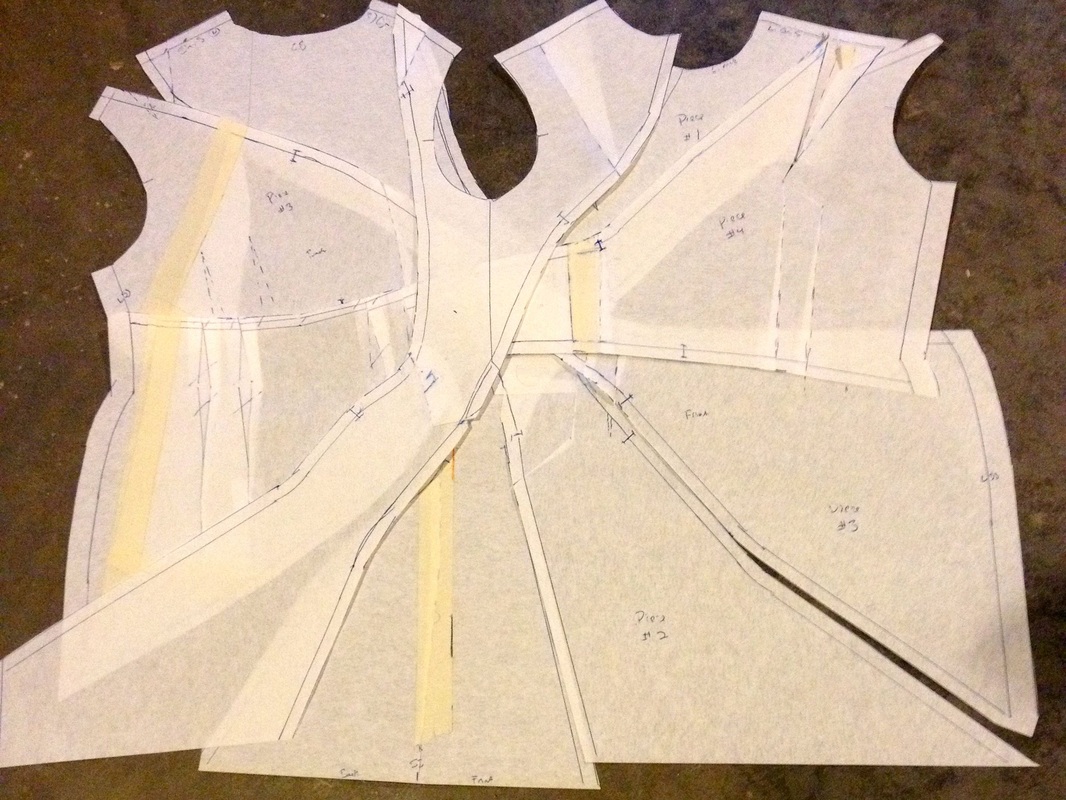
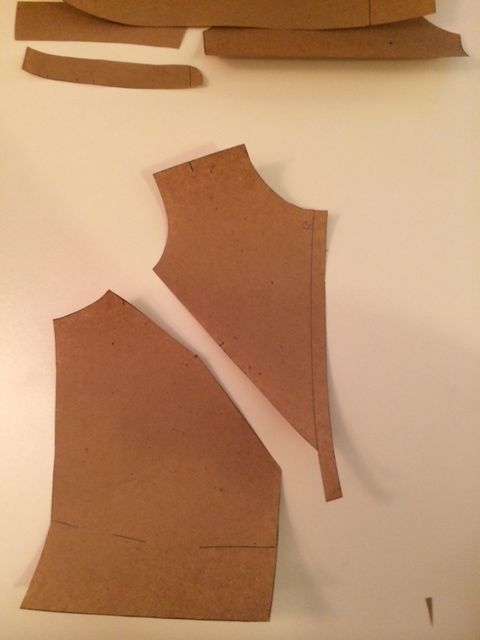
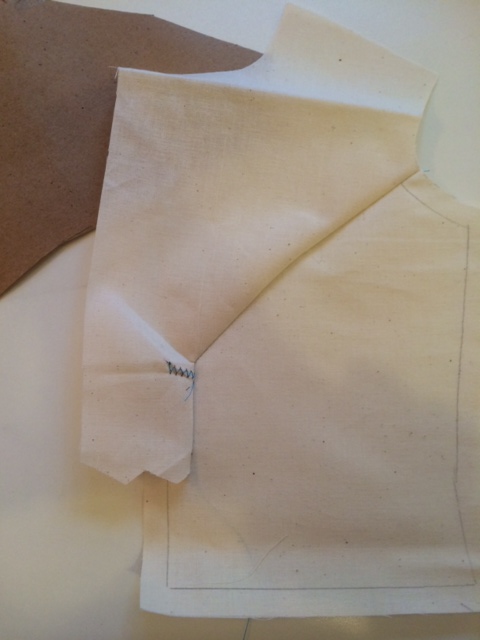
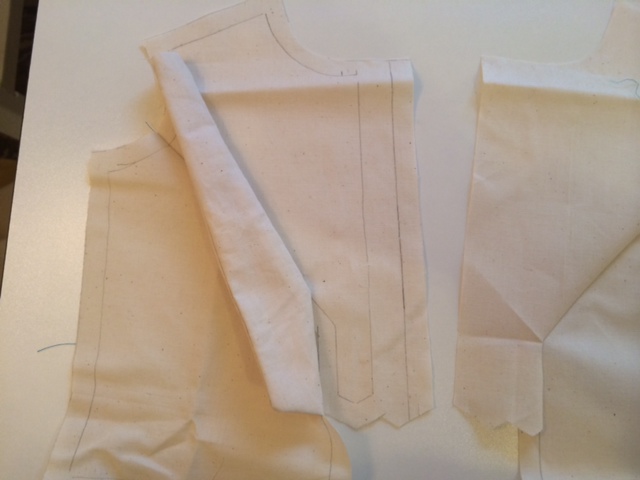
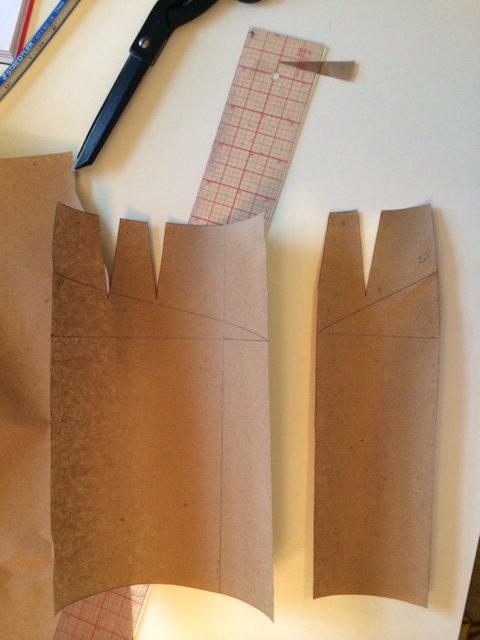
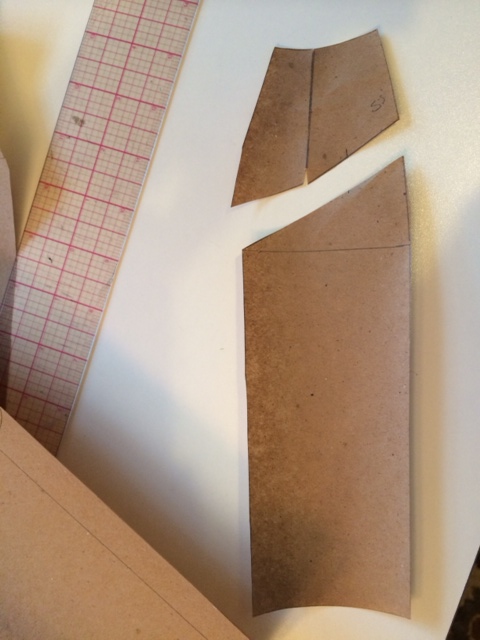
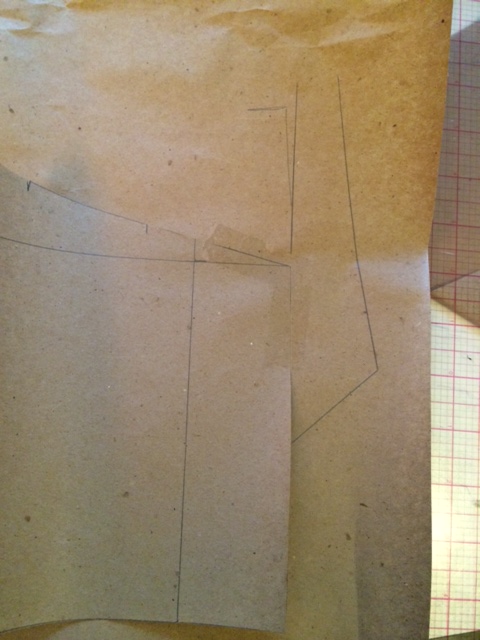
The pieces should be drawn one-at-a-time, pivoting closed any crossed darts before the line is drawn. Helpful hint: tape those closed darts lightly, as you will need to open them back up again. After you draw each piece, you will need to trace it off onto another piece of pattern paper. Be sure to notch where the pieces stop sewing together and diverge. It is also helpful if you can draw each piece in its own color.
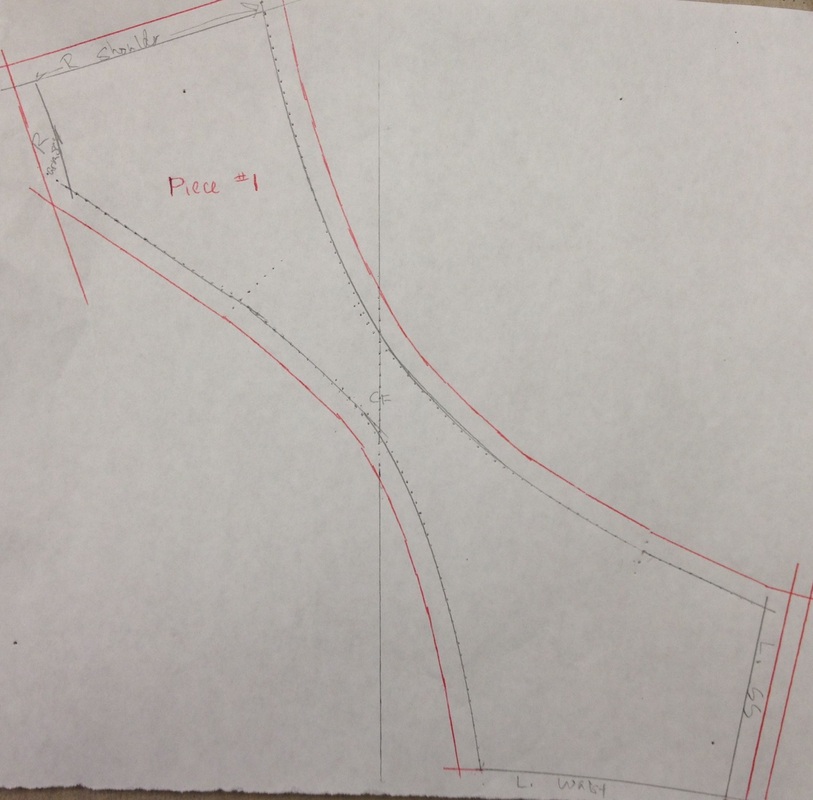
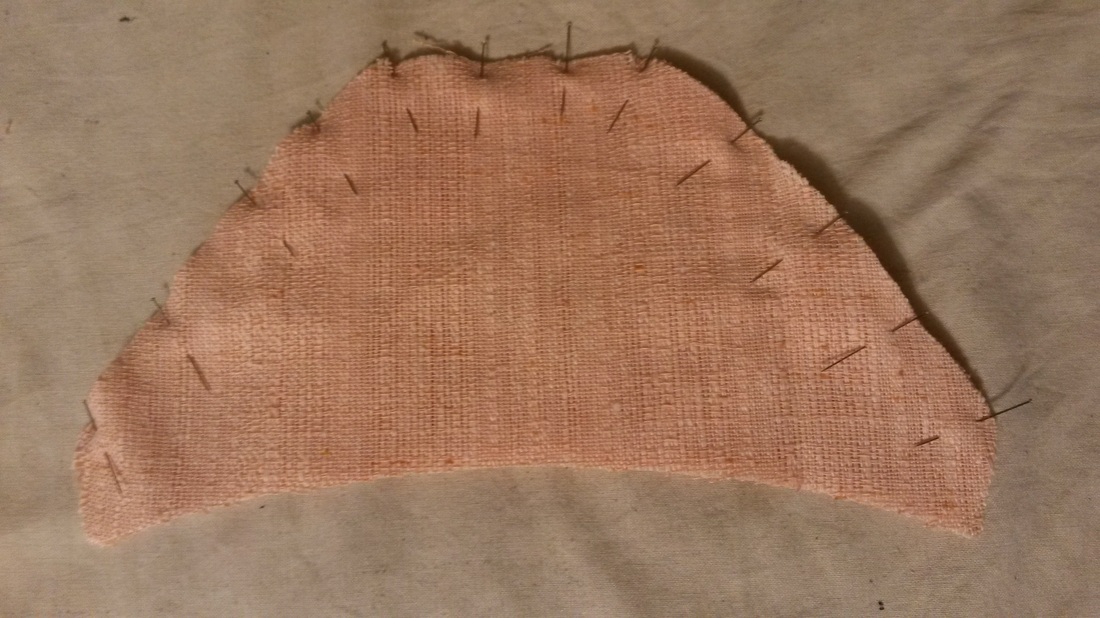
Piece 1
 |  |
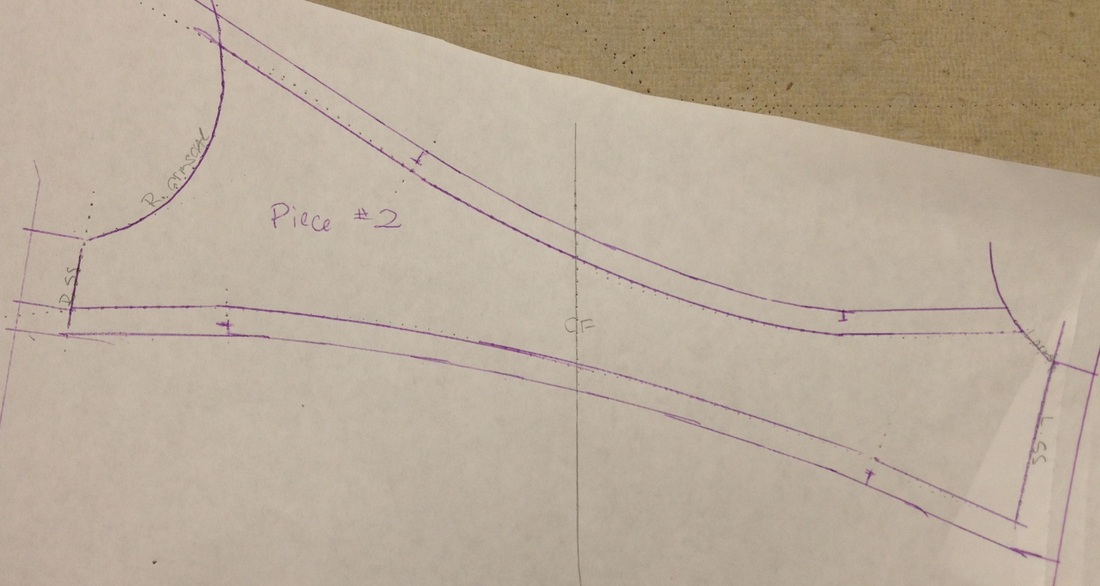
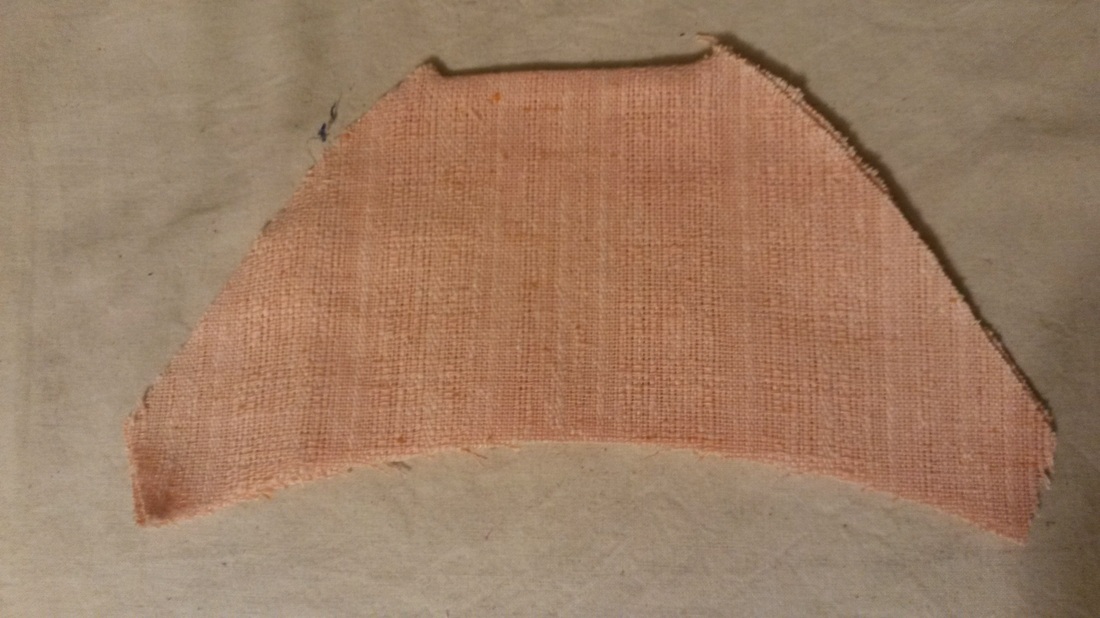
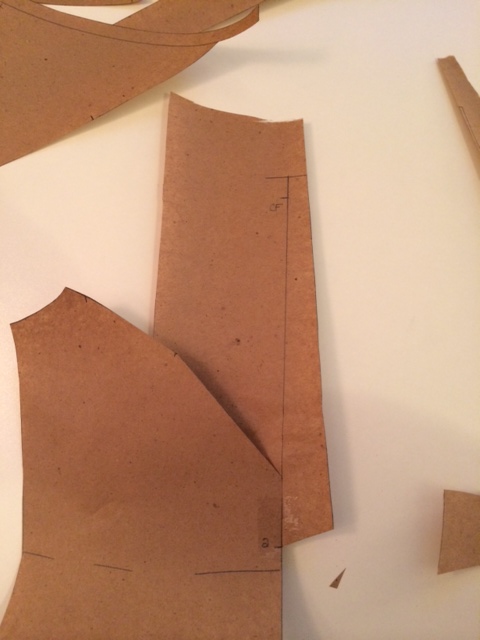
Piece 2
 |  |  |
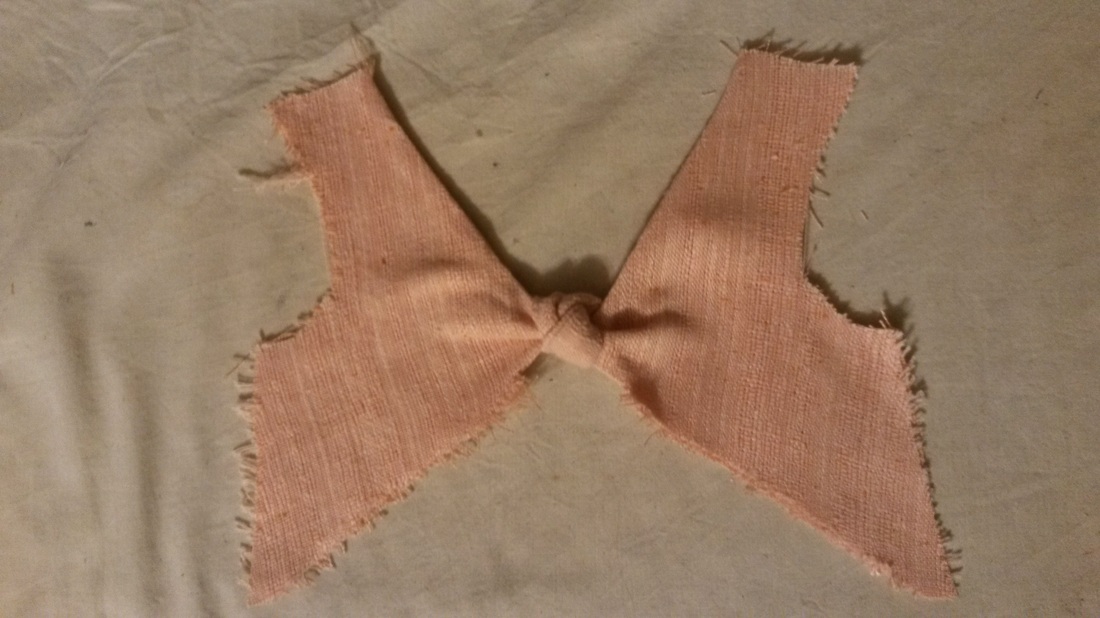
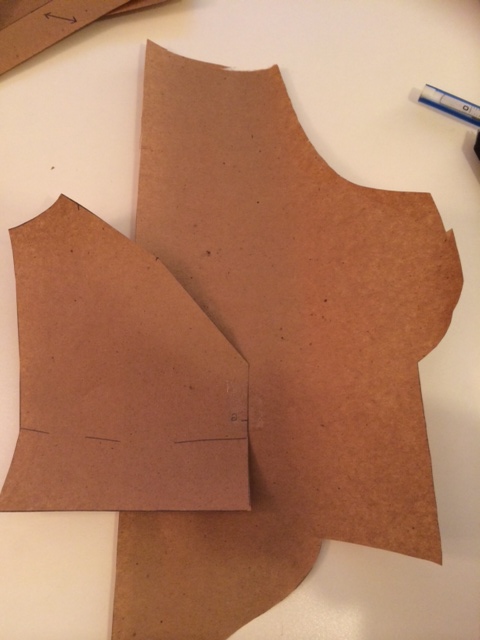
Piece 3
 | 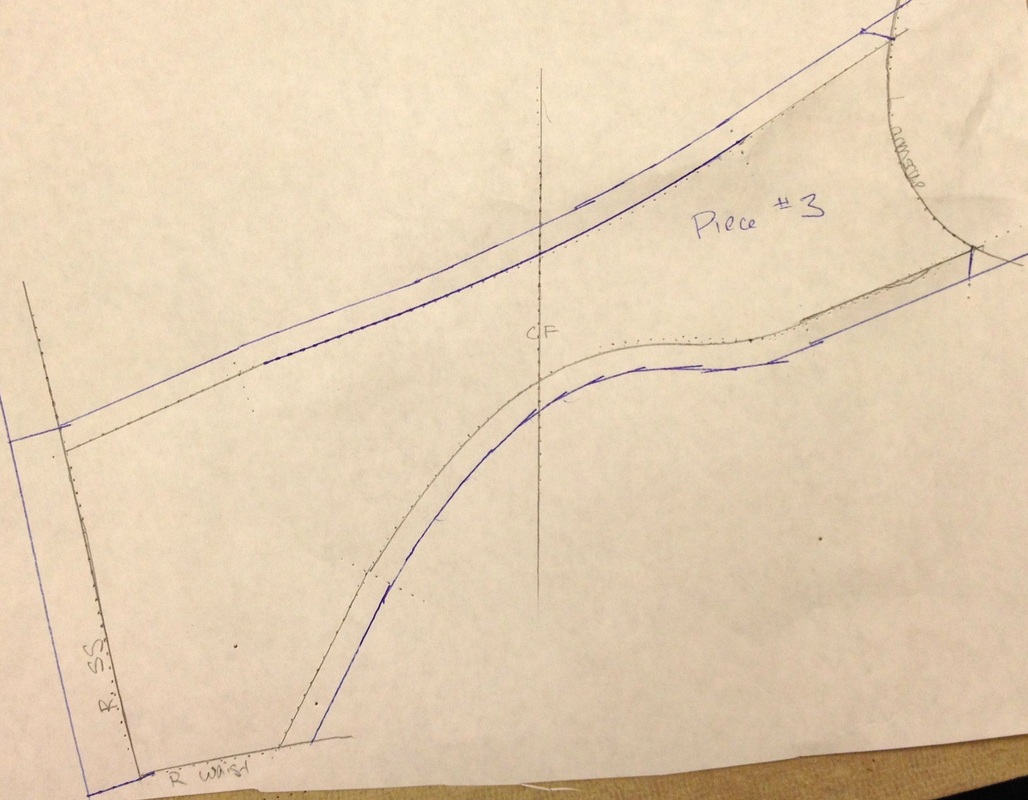 |
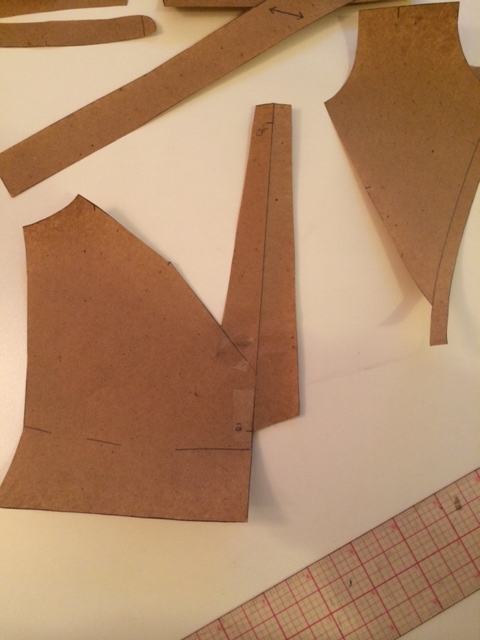
Piece 4
 | 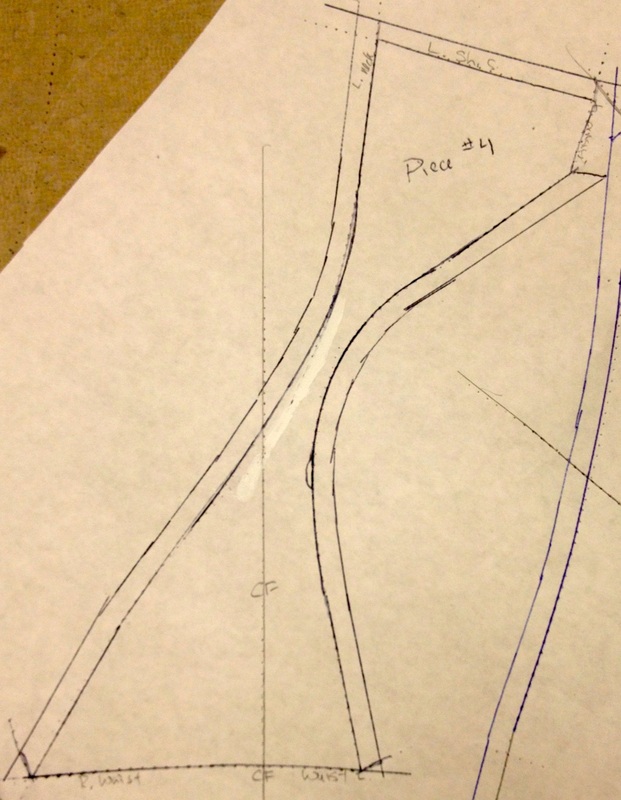 |
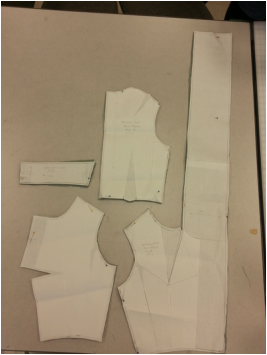
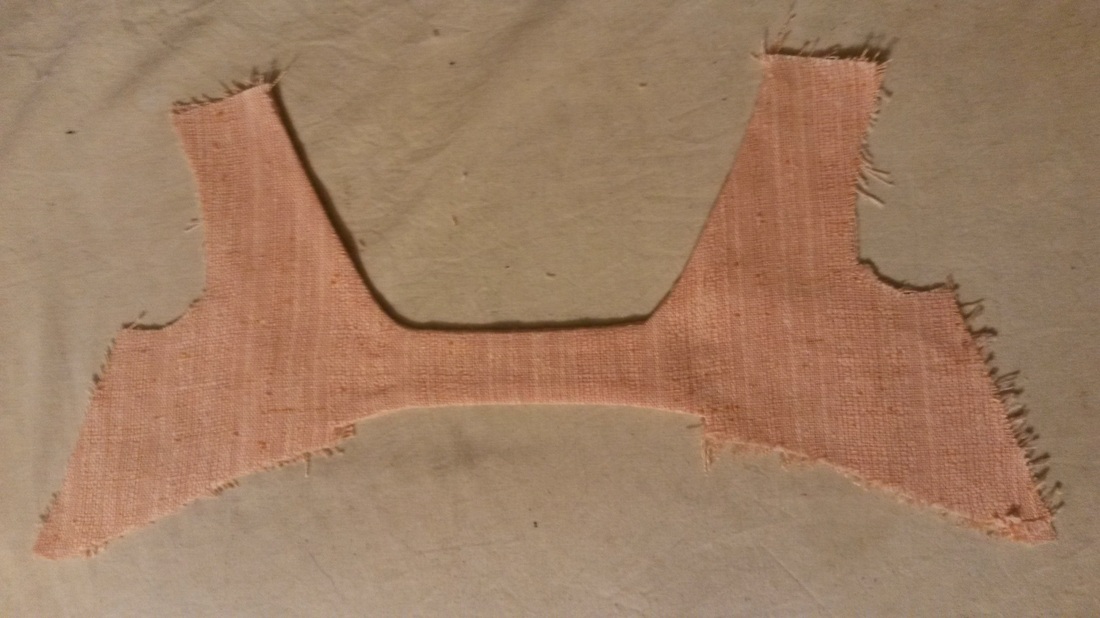
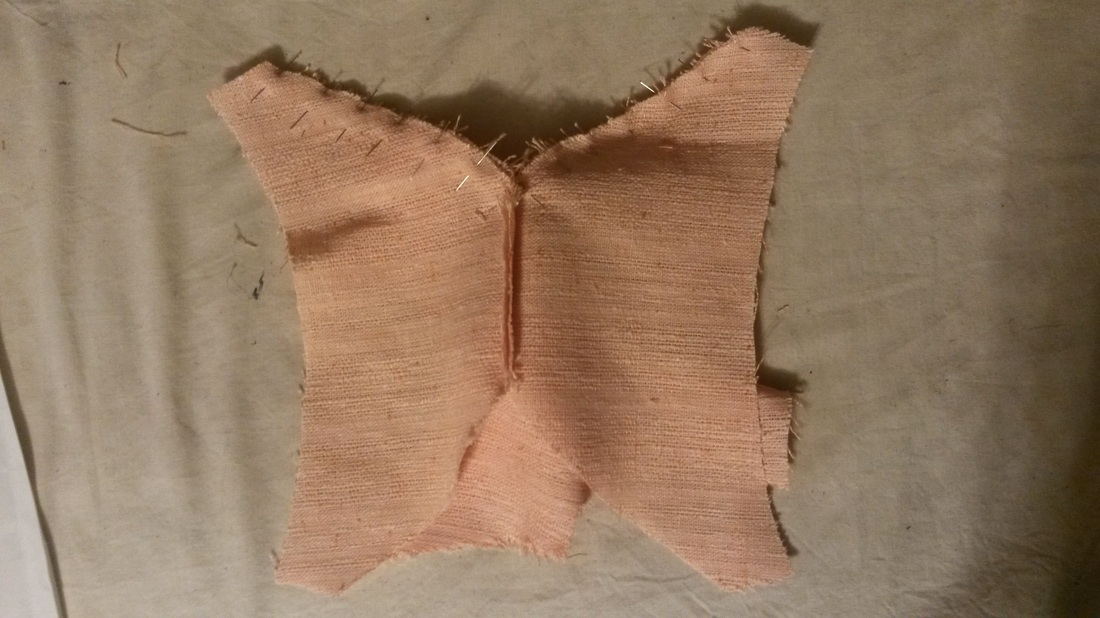
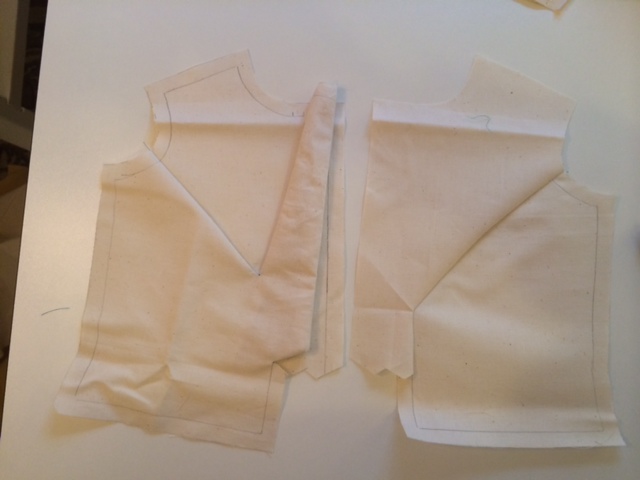
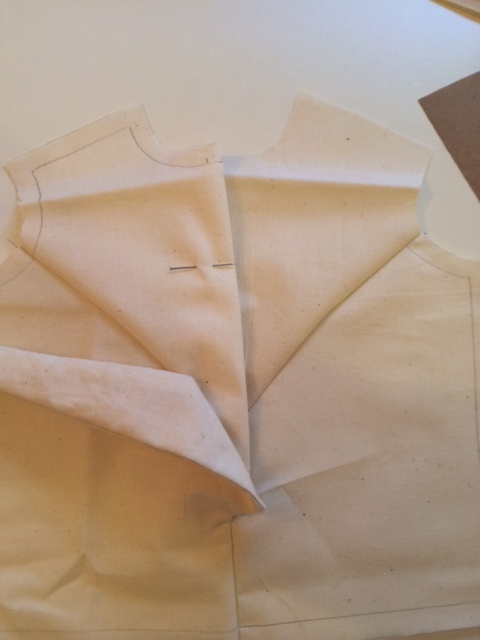
| All the pieces together At first, I was a little disarmed, to see that all the pieces don't fit together. Then, I remembered that each one had its darts taken out of it. You can see that I had to re-position some of the notches. I was about half-way through, when I realized how the pieces interact with each other. I strongly suggest you read the analysis below, BEFORE, you start in on your pattern. (It will help ALOT!). Helpful hint: Label each edge of each piece: "right shoulder", etc, as well as the CF line. It makes it much easier to assemble the amorphous blobs you end up with into a garment. | 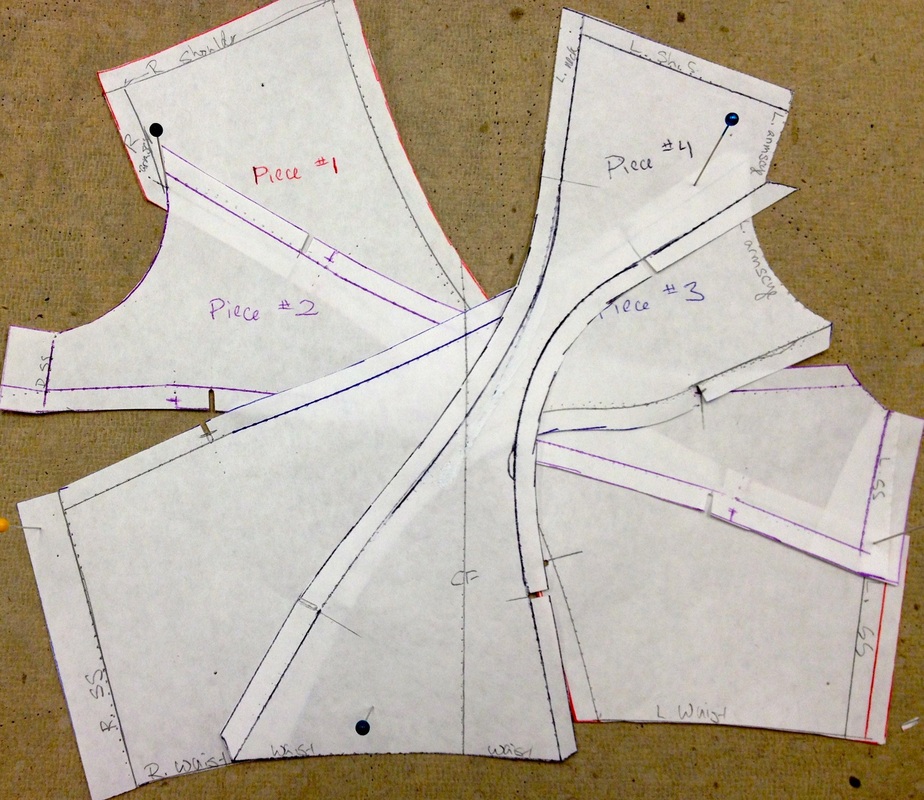 |
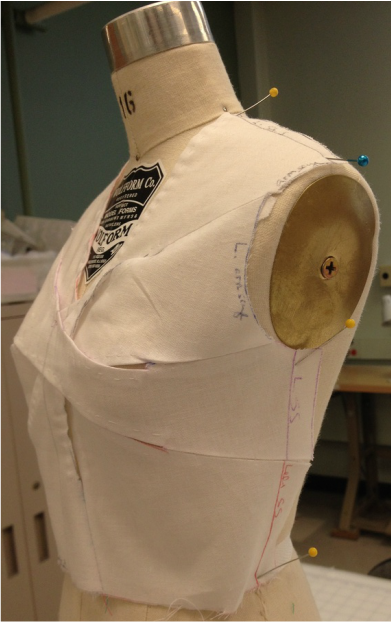
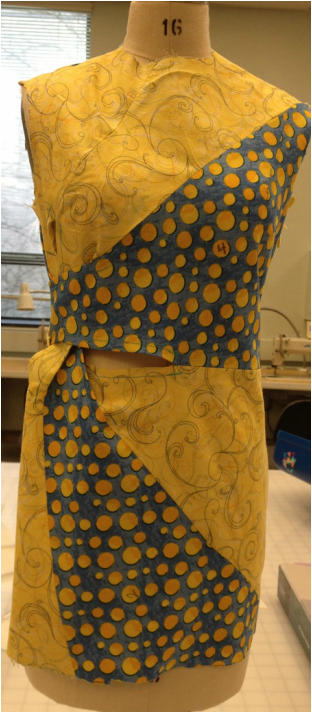
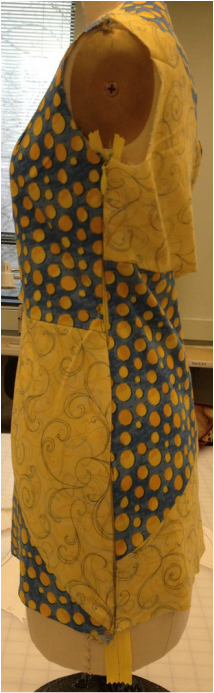
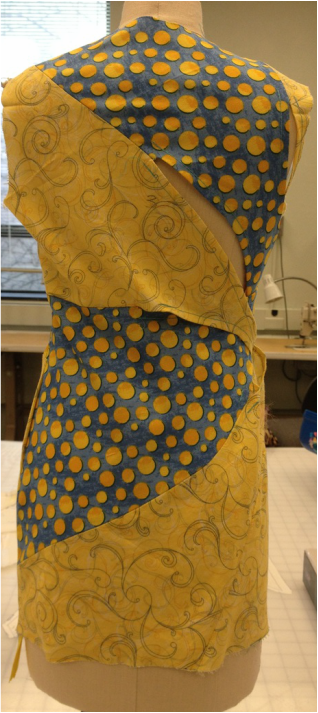
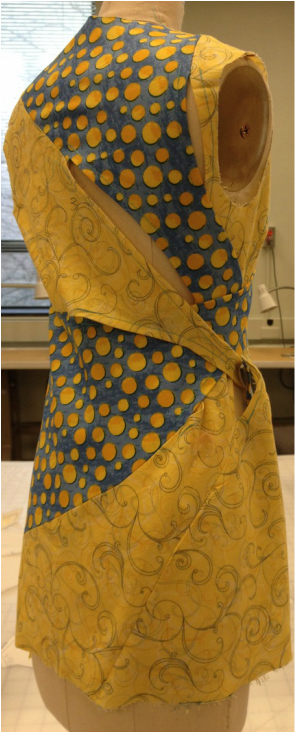
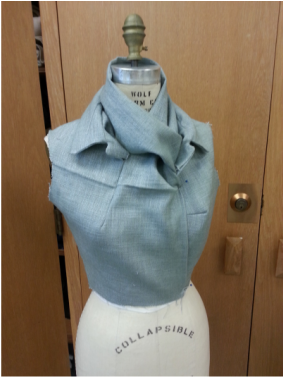
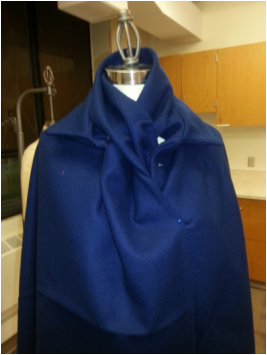
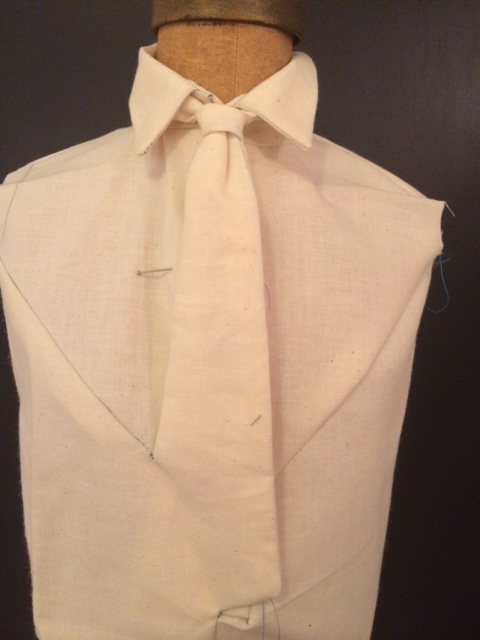
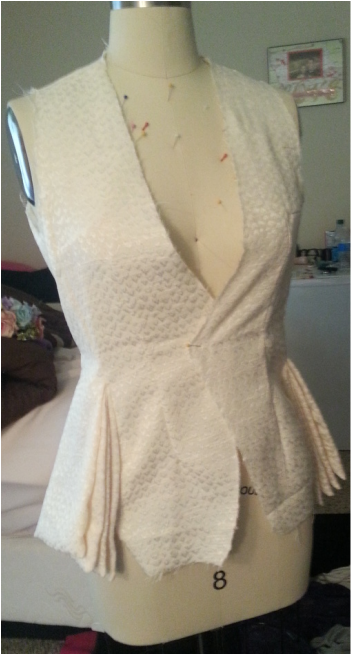
See, the pieces fit together much better on the 3D form than they do on the 2D table.
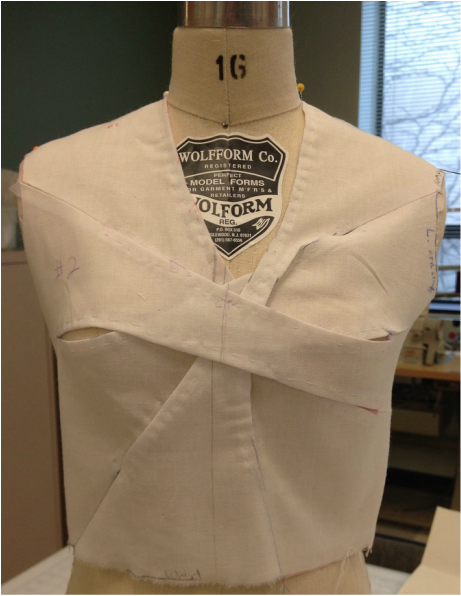
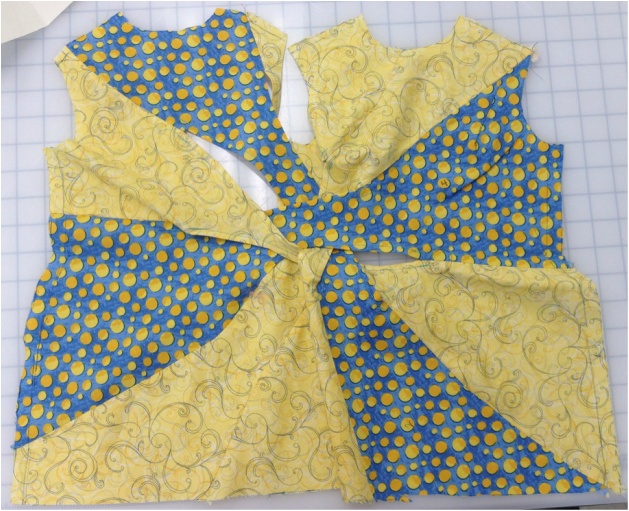
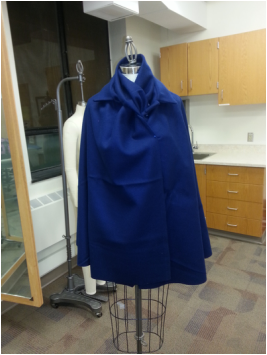
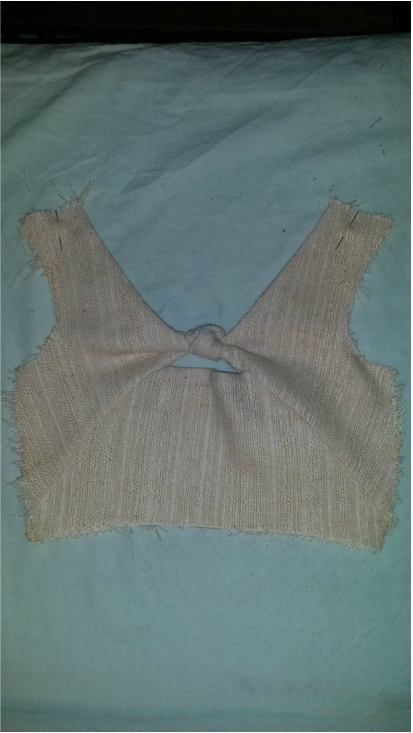
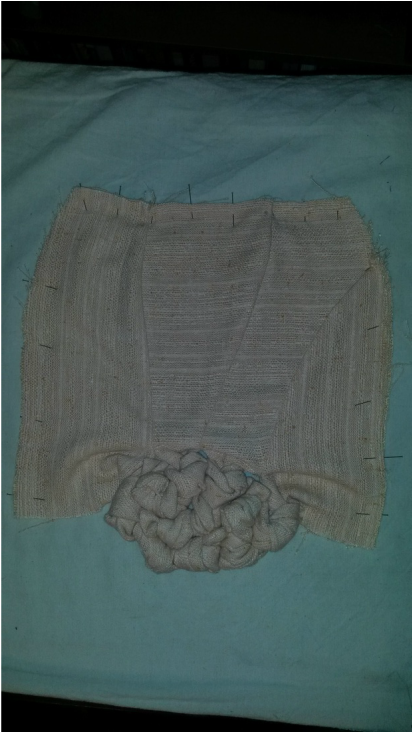
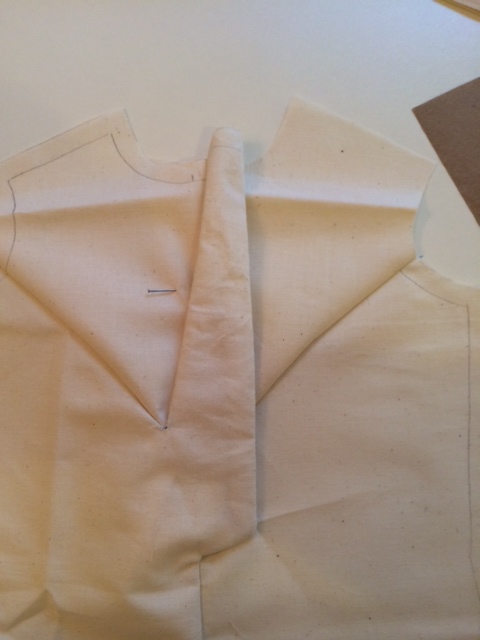
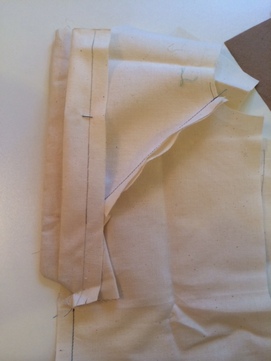
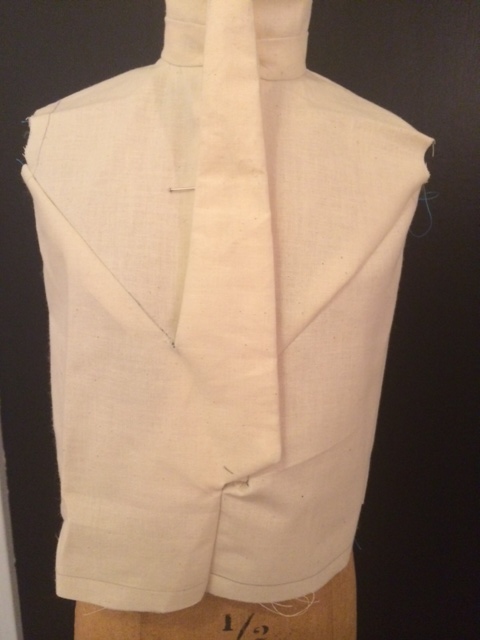
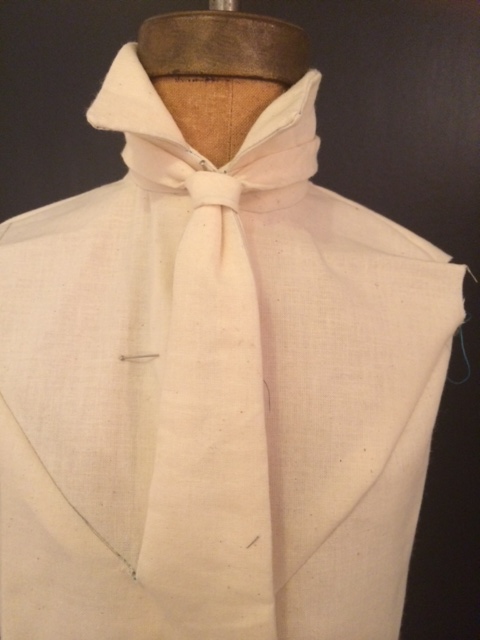
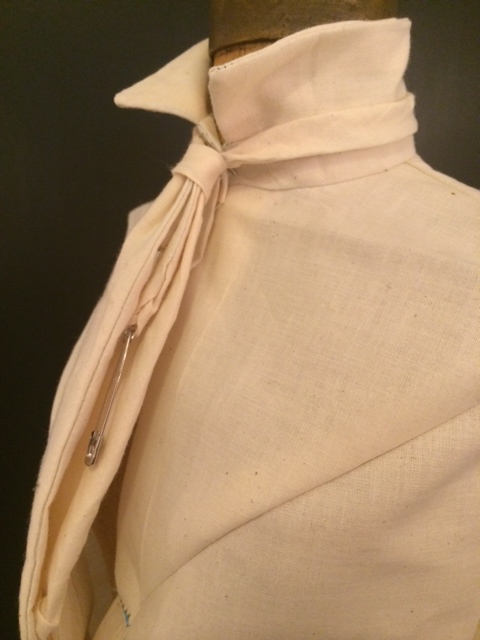
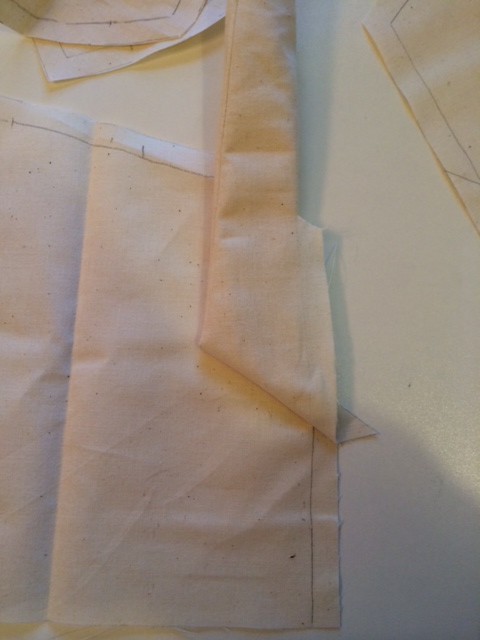
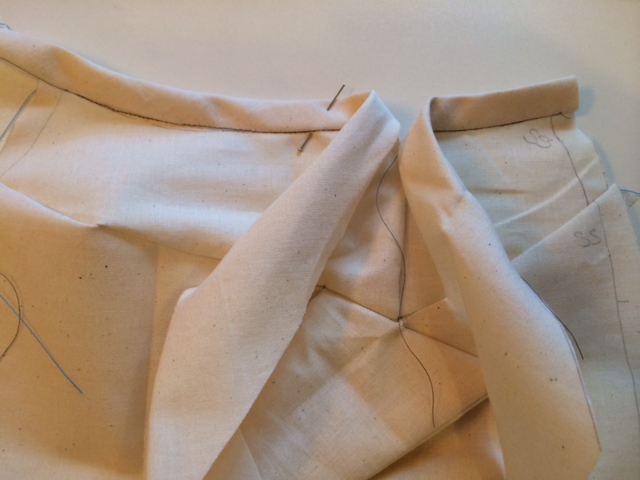
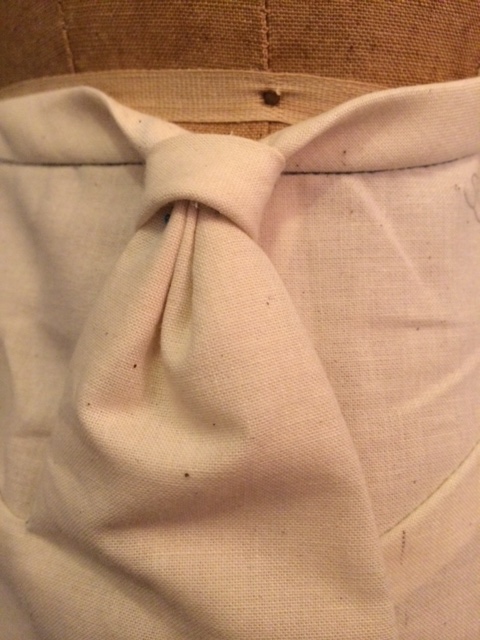
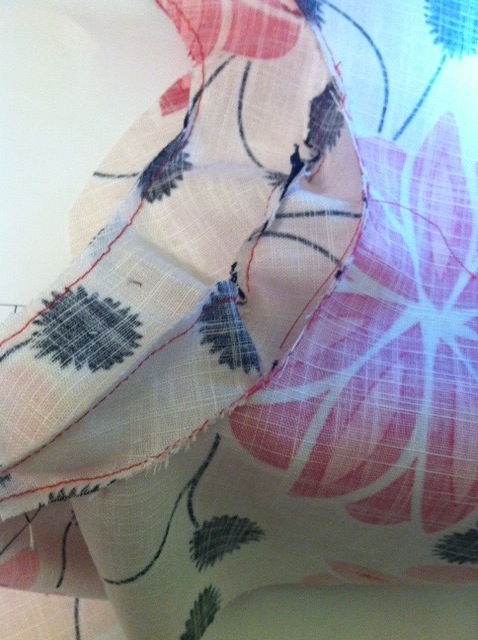
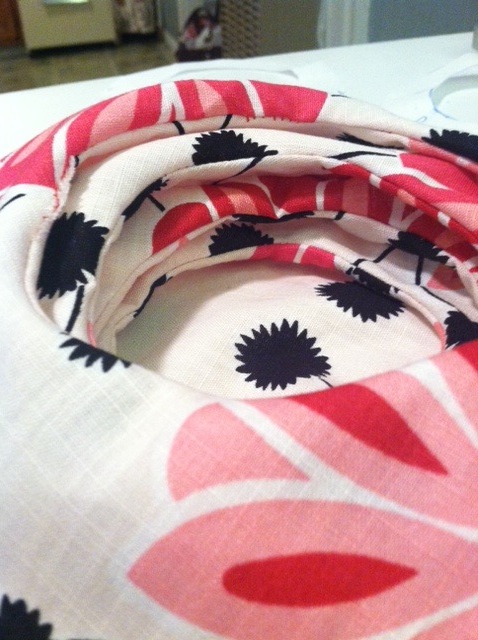
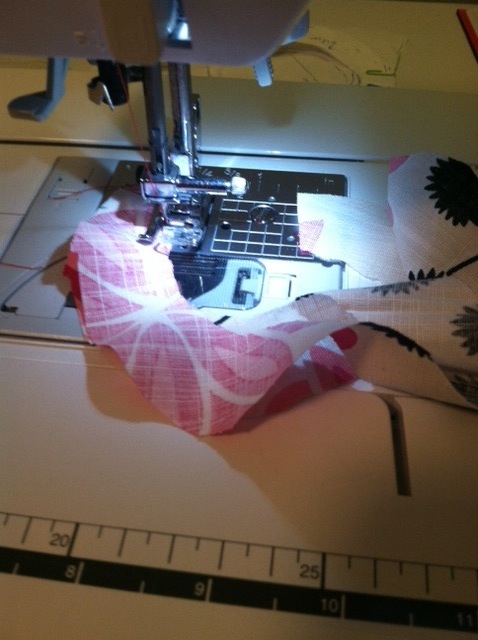
| To assemble, I first pressed and hand-stitched under all of the edges that were not sewn together. Then, I handstitched the seams together. First the right side (as suggested in the book), played a bit with the arrangement of the middle pieces, then the left side. I think the final product came out pretty interesting. My one concern is that there are holes in some key areas (which would not work well for a "real" garment). | 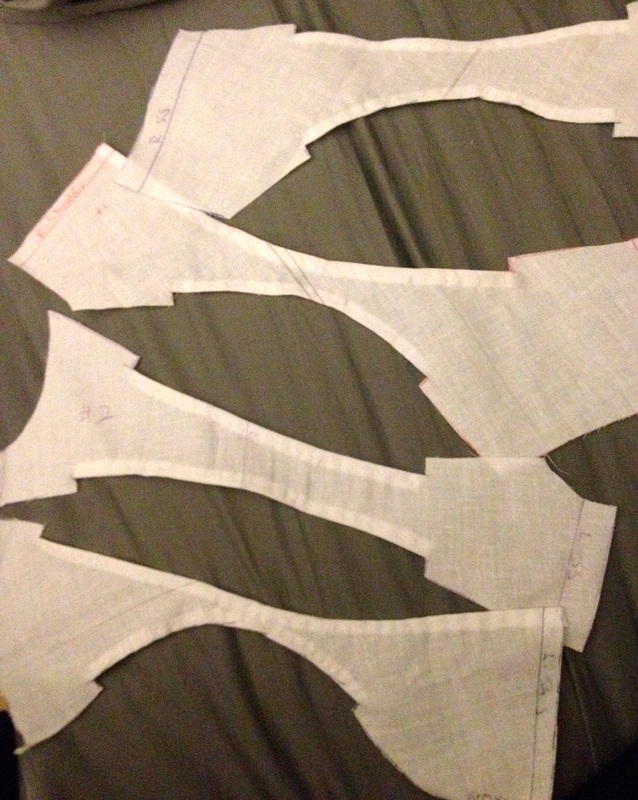 |
 |  |  |
Analysis: Study this pattern to discover what you can learn and apply to future work. Start with these questions and include any additional insights.
Q1. What type of flat patternmaking is this: Dart manipulation? Added fullness? Contouring? Something else? A combination?
A1. This is dart manipulation to create criss-crossing stylelines (see watch-face explanation below).
A1. This is dart manipulation to create criss-crossing stylelines (see watch-face explanation below).
| Q2. What are the basic principles of this pattern? A2. "Like a jungle" is a basically created by created overlapping strips that radiate from the center of the piece. If you imagine the face of a watch, the strips would connect numbers 12 to 6, 1 to 7, 2 to 8, 3 to 9, and so on and so forth. |  |
- The number of strips equals 2 times the number of divisions of the perimeter of the piece. So, if (for example) the perimeter is divided into twelve segments, there will be six strips.
- The strips overlap with each other in the center. Therefore, the strips share a style-line (and are sewn together to the adjacent strip) for a small distance from the perimeter, then float free over the center, and then share a style-line (and are sewn to) a different adjacent strip on the other side of the piece.
- Darts are closed out of each strip. Therefore, it is best if your style-lines cross through a dart point or the bust point (if you are working with a bodice).
Q3. What are the basic rules of this pattern?
A3. Based on my experience drafting the first pattern, here are my suggested rules:
A3. Based on my experience drafting the first pattern, here are my suggested rules:
- First, decide how many strips you want in your final pattern and mark two times that many divisions on the perimeter of your piece.
- Decide how far you want the seams closed (e.g. covering a key body area) and where you want the strips to be criss-crossing (realizing this will be a peek-a-boo area for skin). Then, draw your strips accordingly.
- Draw your lines such that they intersect the dart tips, so the darts can be easily closed out of the strips.
- Be sure to notch where you should stop sewing.
- Be sure to label each edge of each piece (e.g. right shoulder seam, left waist, etc.).
- It is helpful to mark each piece in a different color if you can.
- Finish the edges (press under and stitch) of the floating areas prior to assembling the strips into a garment.
- Stitch all the piece on one side of the body (e.g. right), then put on the form to play with the placement of the criss-crossing strips prior to stitching the 2nd (e.g. left) side.
Q4. Are these rules and principles always true?
A4. I think the principles are always true, or it wouldn't really be a true version of the "like a jungle" pattern.
A4. I think the principles are always true, or it wouldn't really be a true version of the "like a jungle" pattern.
- I think rules 1 and 2 are pretty essential to the successful drafting of this pattern (although, they are NOT mentioned in the book instructions).
- Rule 3 is also pretty essential, but I think you could probably "fudge" a little bit on placing the line on a dart tip, as long as it was area that could be eased in.
- The rest of the rules are really more "helpful hints" for successful execution of this pattern.
Q5. What rules of traditional patternmaking are “broken” in this pattern?
A5. Style-lines traditionally continue across the entire piece. These style-lines, by contrast, start with connecting to one piece, then stop connecting, then reconnect with a different piece entirely on the other side of the piece.
A5. Style-lines traditionally continue across the entire piece. These style-lines, by contrast, start with connecting to one piece, then stop connecting, then reconnect with a different piece entirely on the other side of the piece.
Application: Create your own half scale pattern by applying the rules and principles of this pattern in a different location of the garment. Sew a 1st sample.
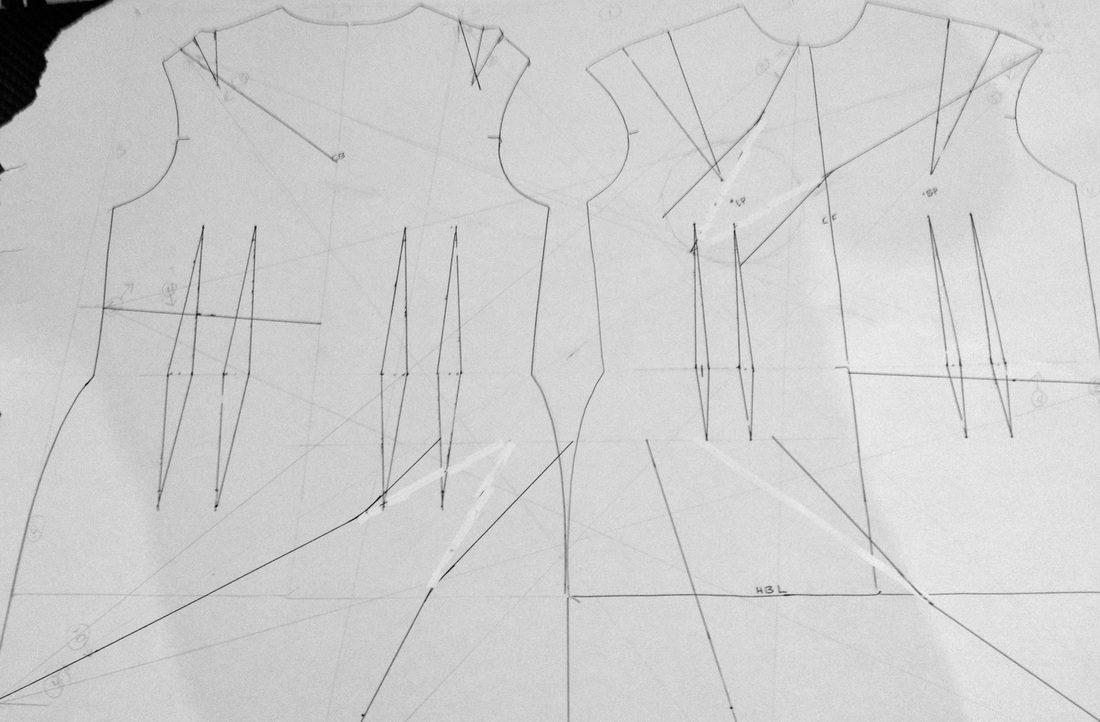
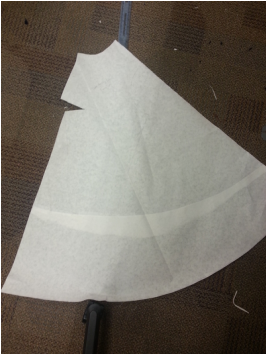
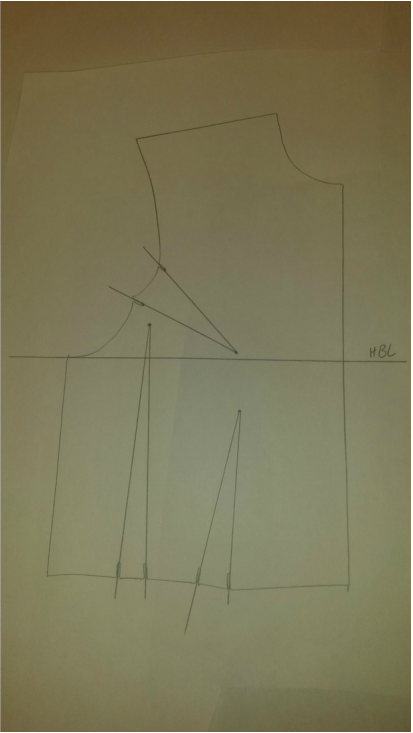
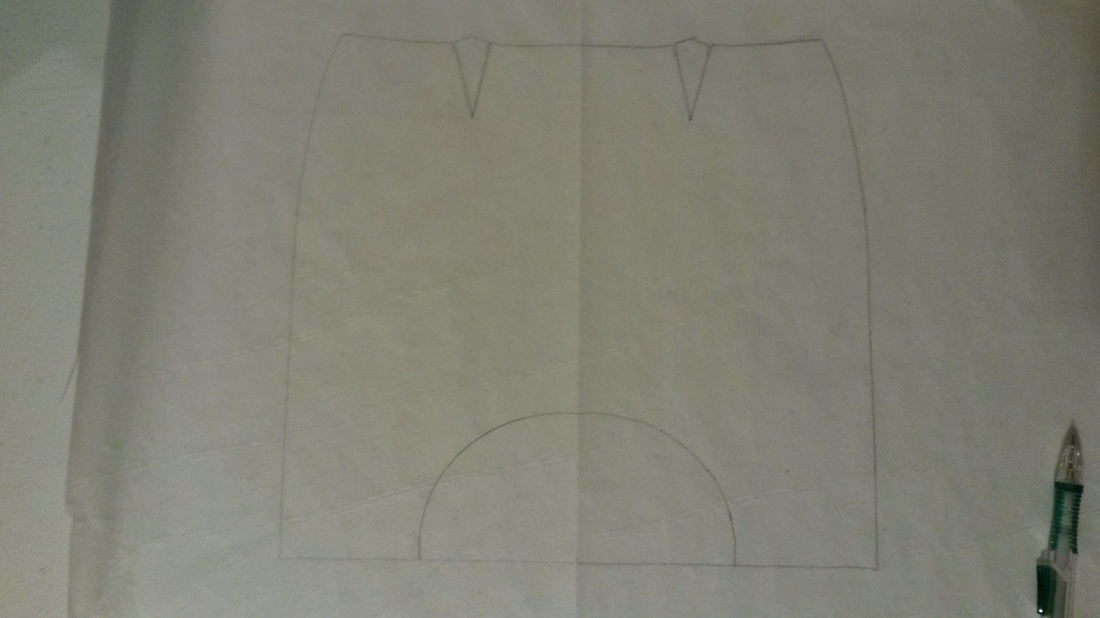
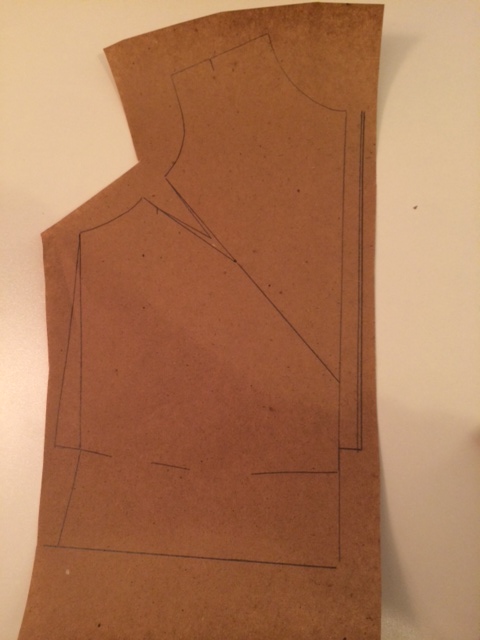
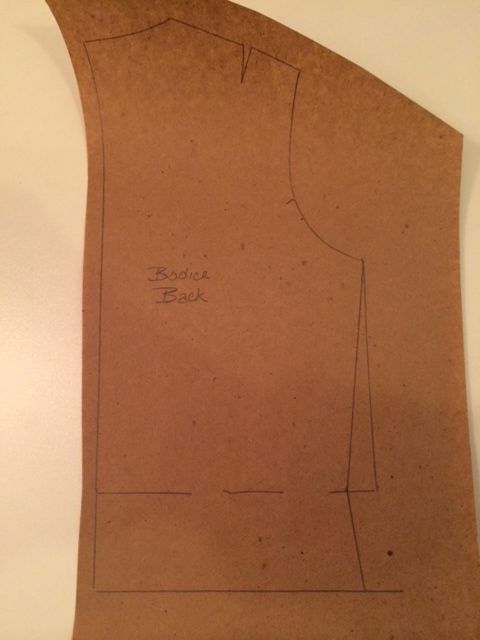
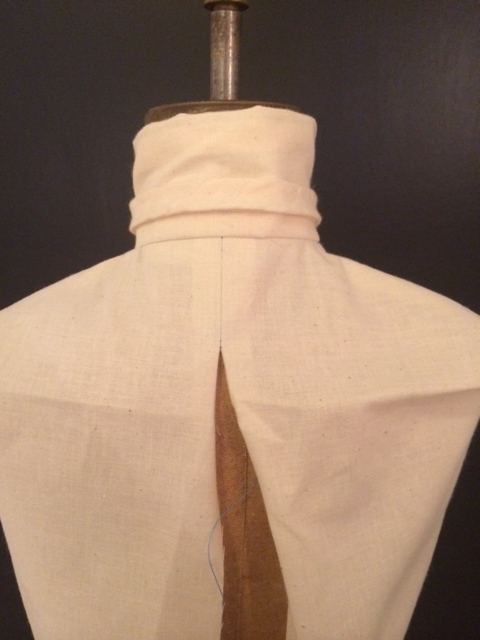
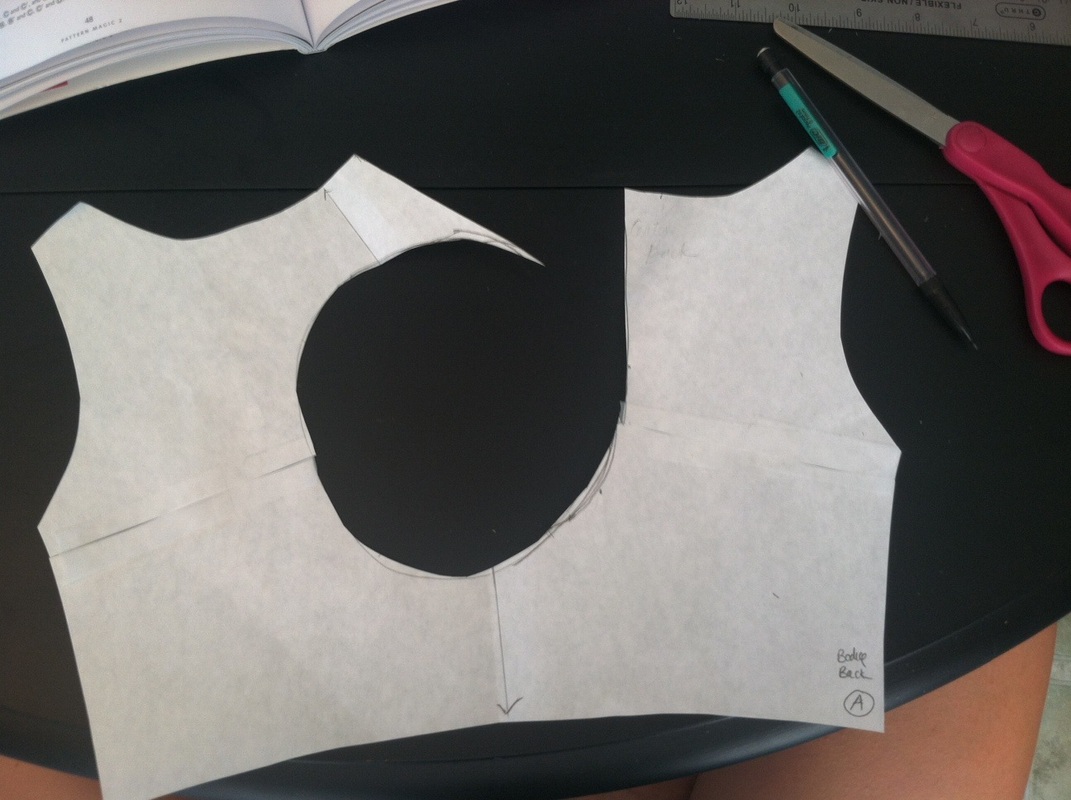
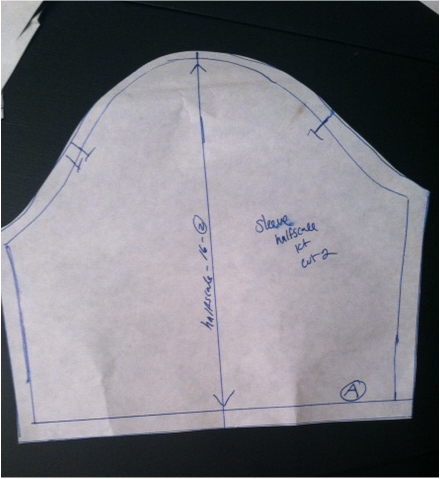
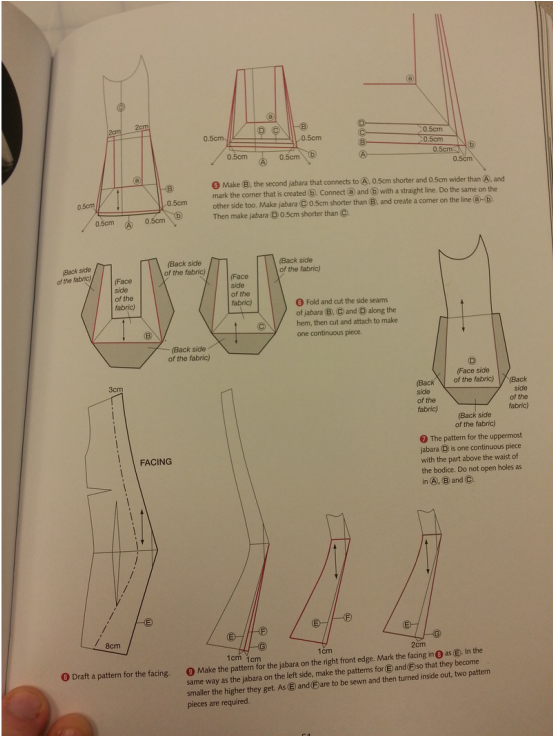
 | For my own application, I want to place the crossing strips in a location that did not compromise modesty. I thought the side of a sheath dress would be a good place to introduce this technique. I started by tracing left and right, front and back 1/2 scale torso slopers, then adding length to make a basic sheath dress pattern. |
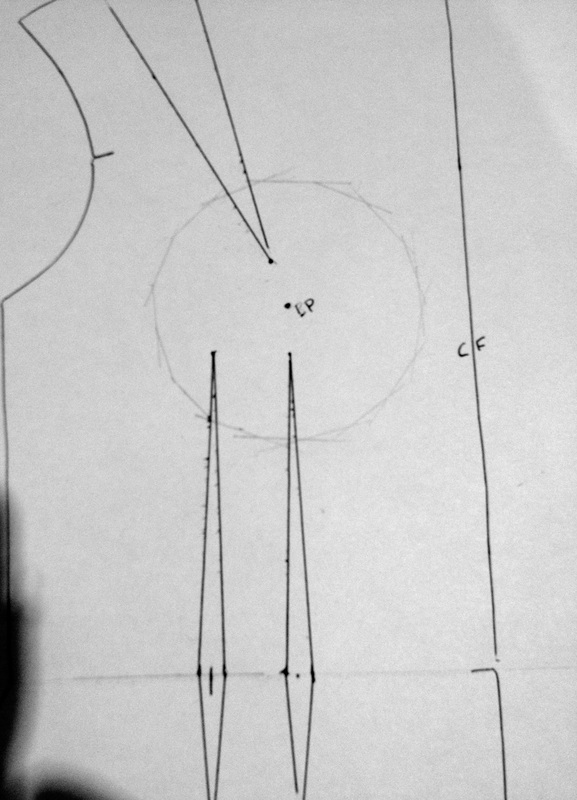
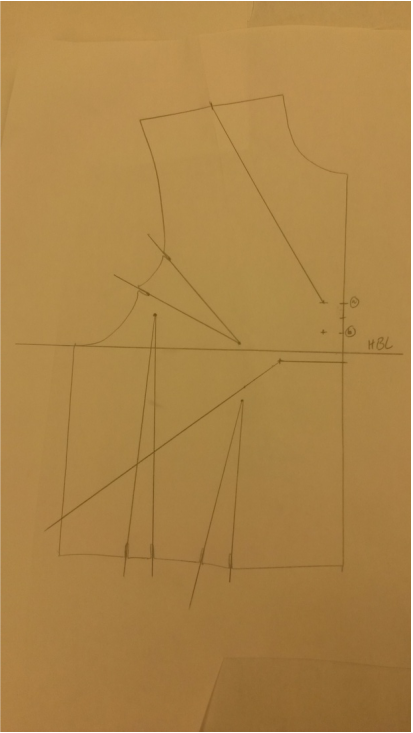
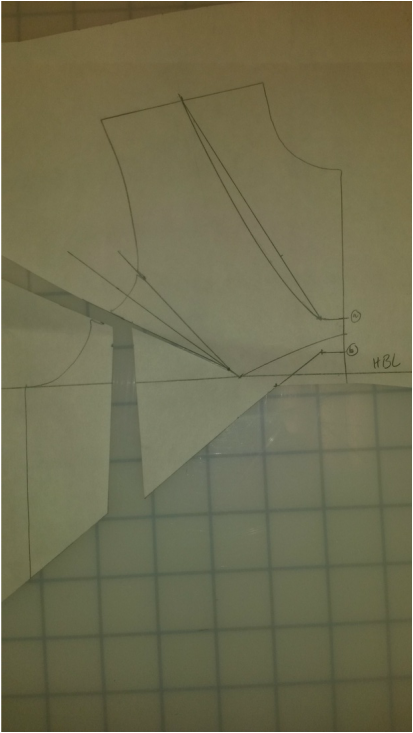
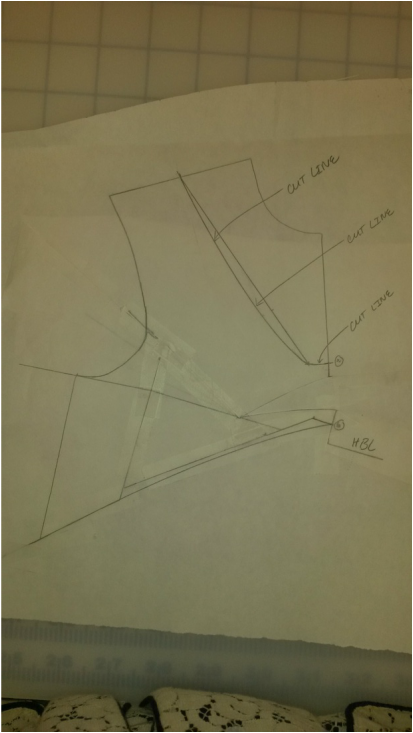
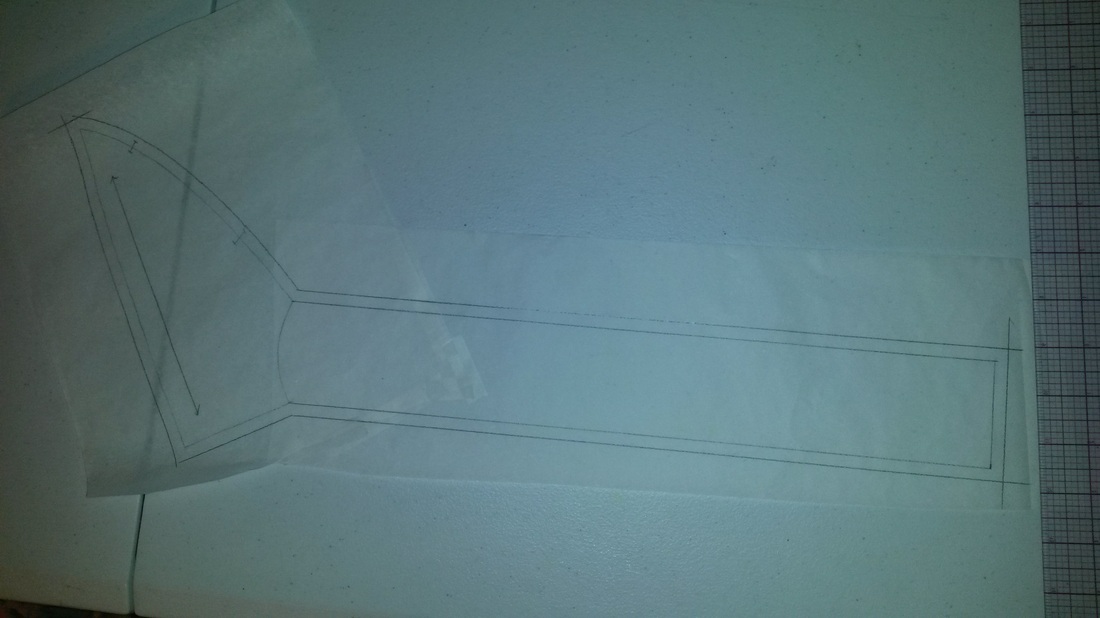
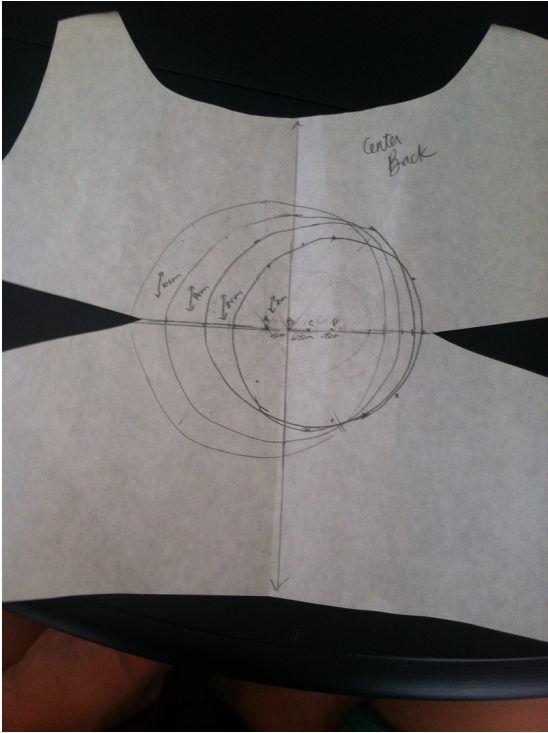
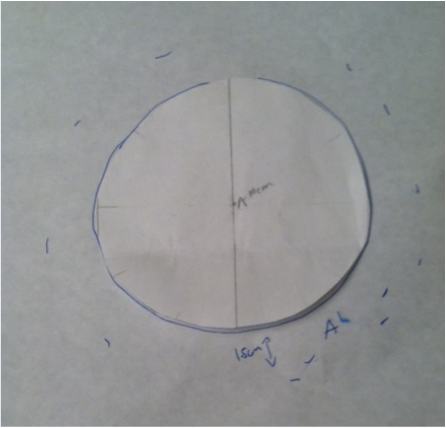
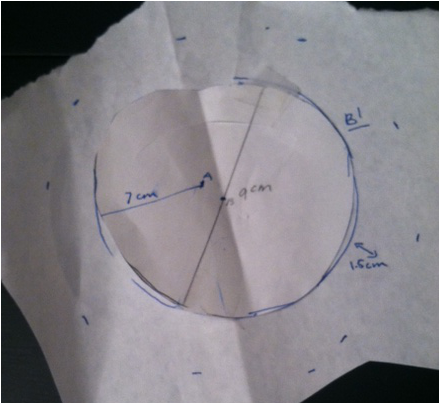
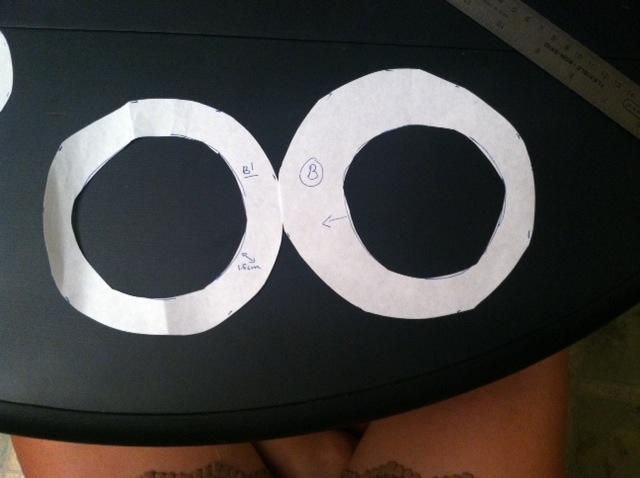
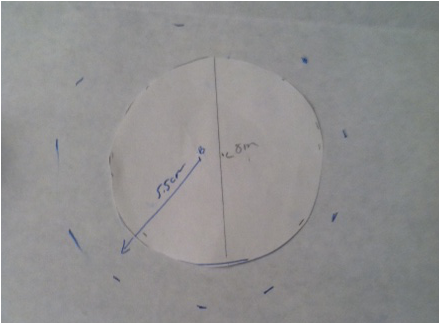
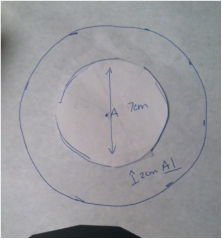
| In the interest of modesty, I marked off a circle (1.5" radius) around the bust point, to make sure the closed seams covered this area of the front dress. I also drew a line indicating the high hip, to make sure to strip was open below that level. The Nakamichi text example has four strips. I thought it would be interesting to see what happened with an odd number of strips, so I went with five strips. To locate the joining lines of these strips I:
|  |
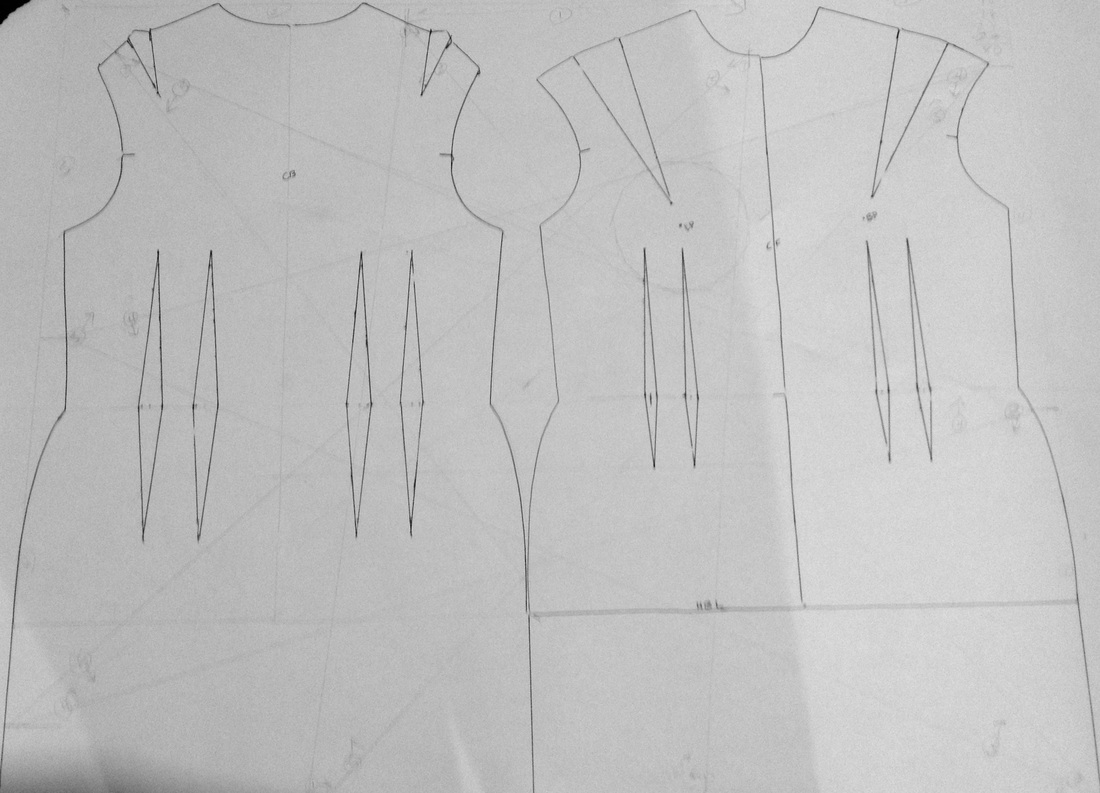
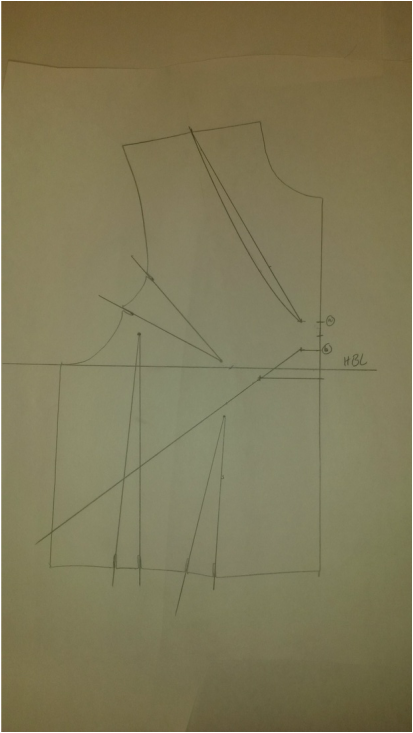
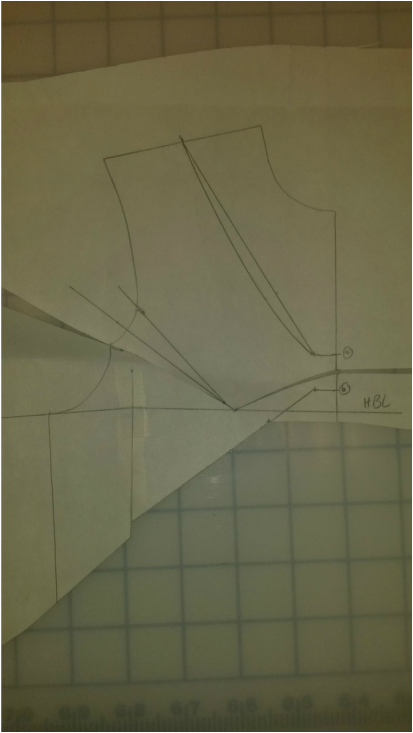
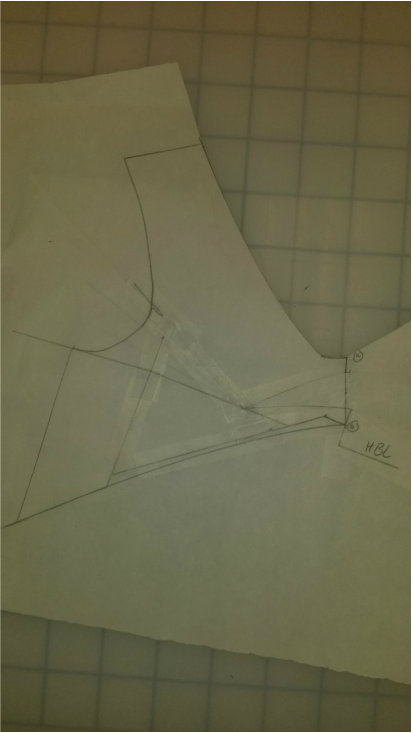
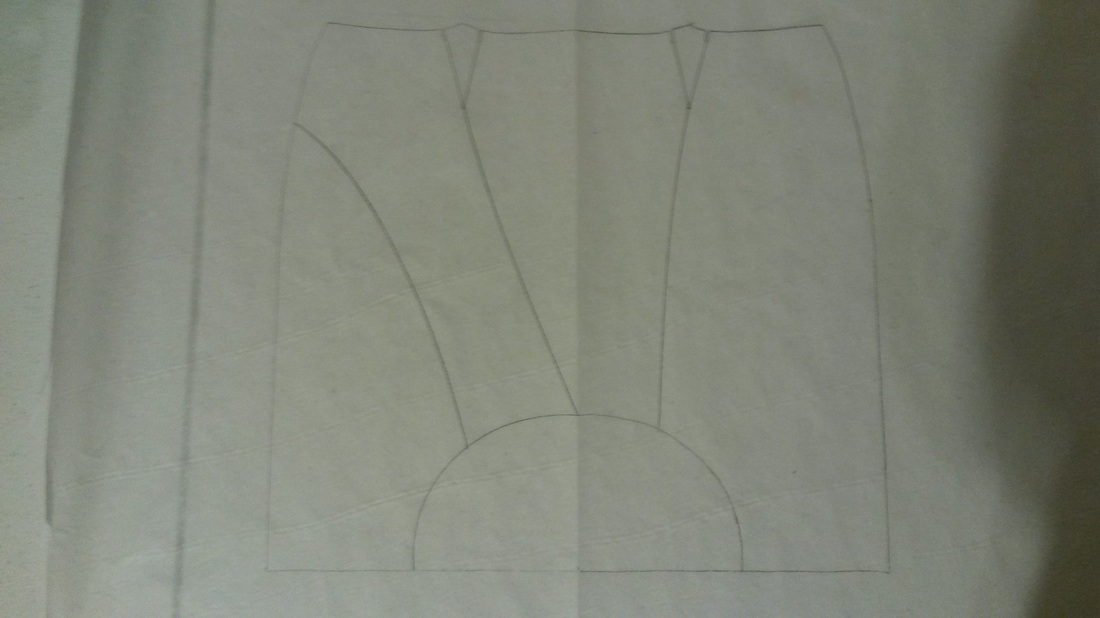
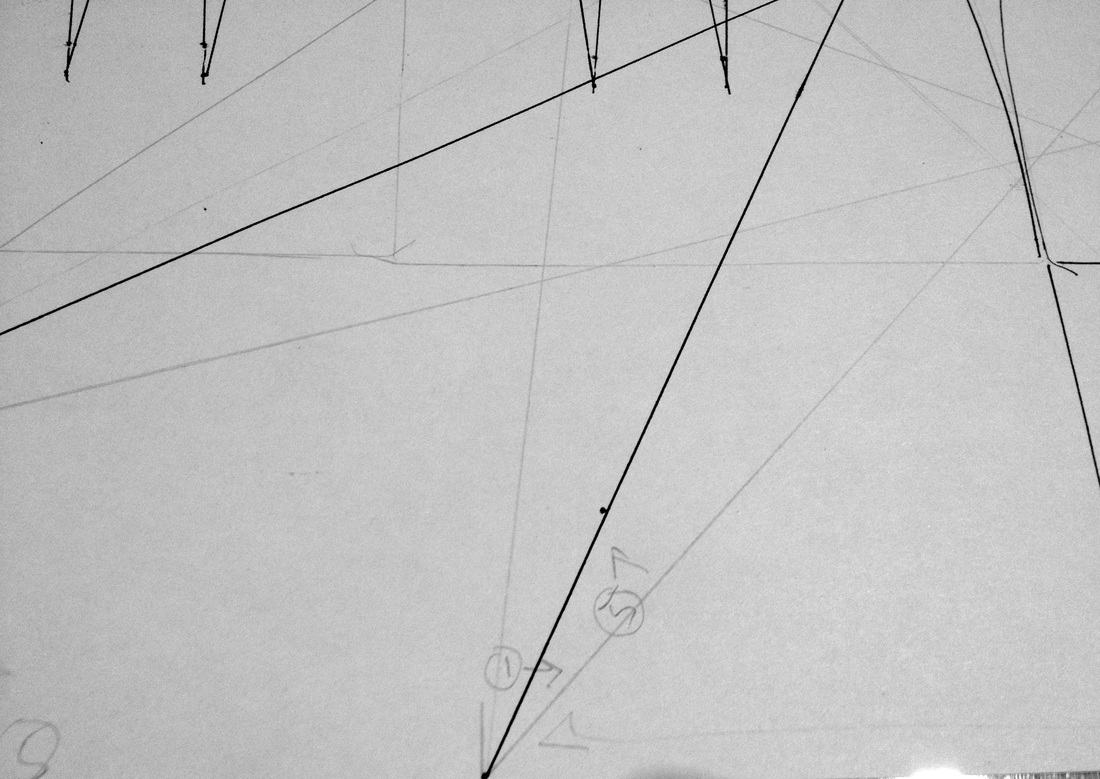 | I then connected the points across the pattern to their connecting point. This resulted in two lines coming out of each marked points (because of the way the strips cross over each other in a spiraling pattern). I found the center line between each set of lines and drew that line as far as need to cover the bust circle, hips, and/or left side of the body (up to the CF or CB line). |

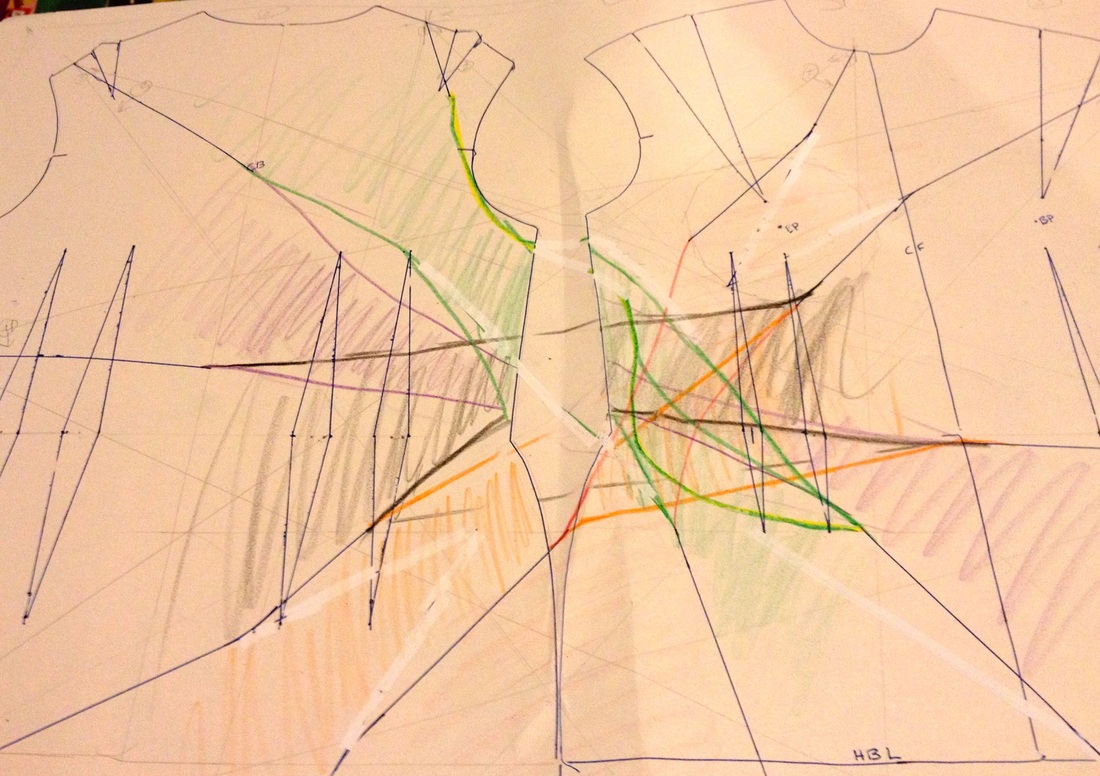
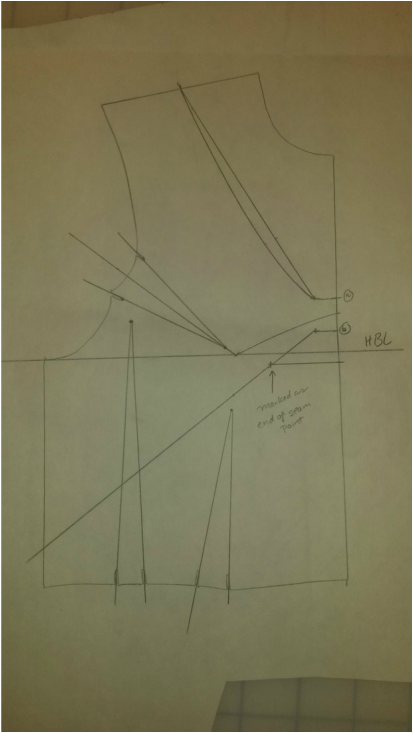
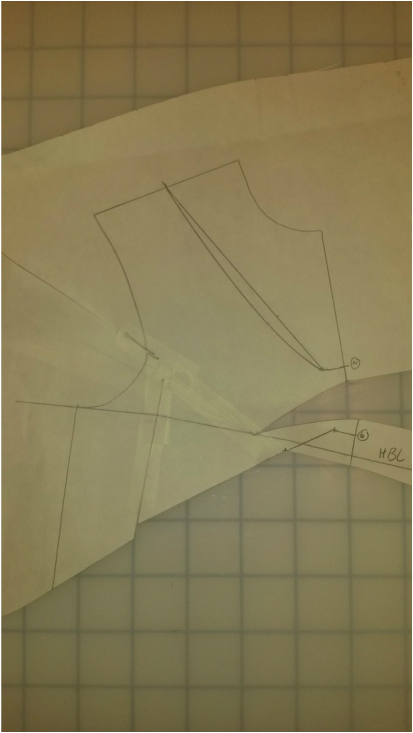
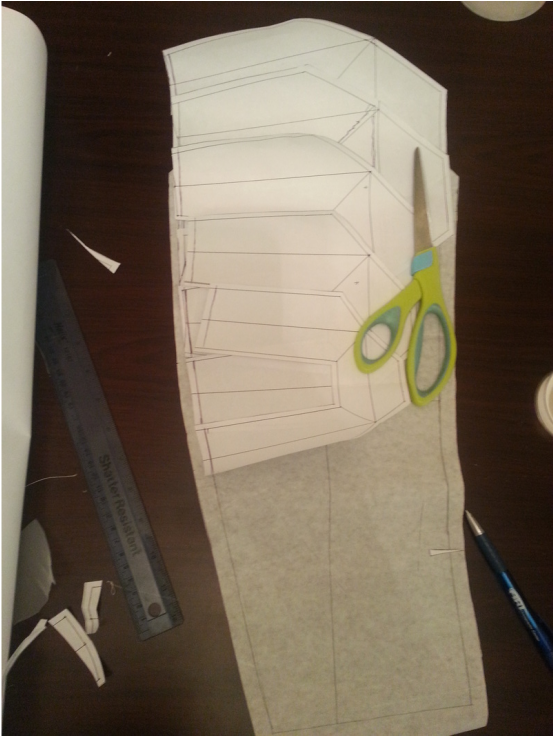
Next, I decided to curve some of the lines to create strips of a minimum width.
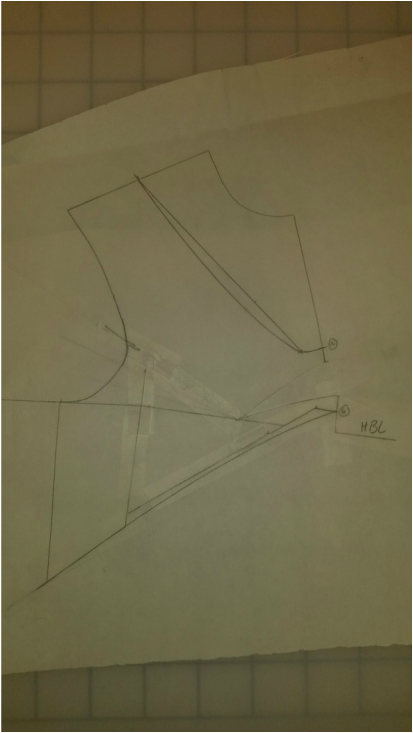
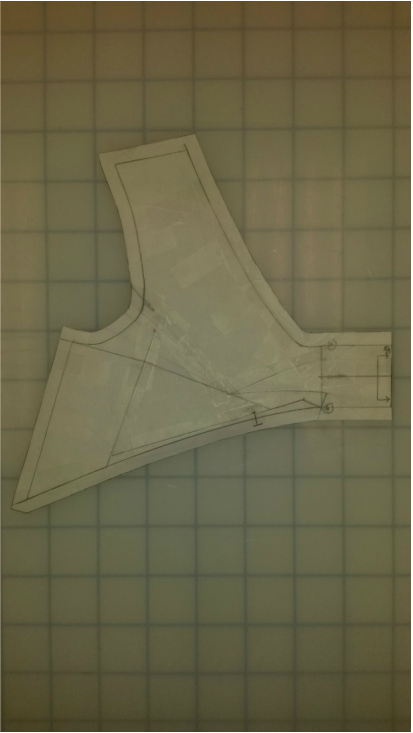
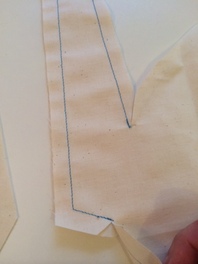
I drew the strips in different colors. The real challenge was in figuring out how to draw the parts of the lines that cross the side seam. I worked that out by folding the paper together. Green was one of the first ones I did and you can see I took me several tries to figure that out.
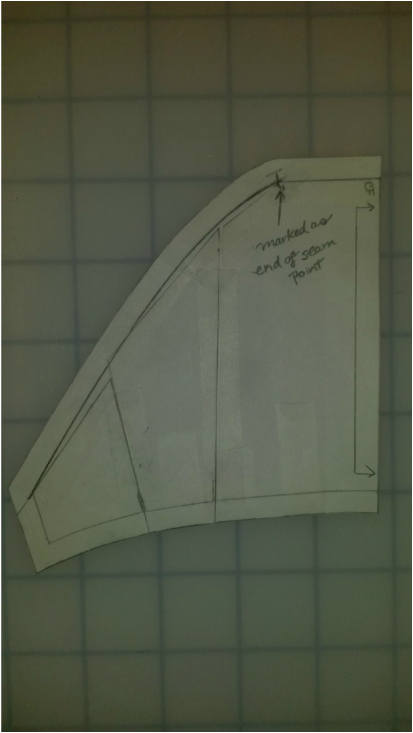
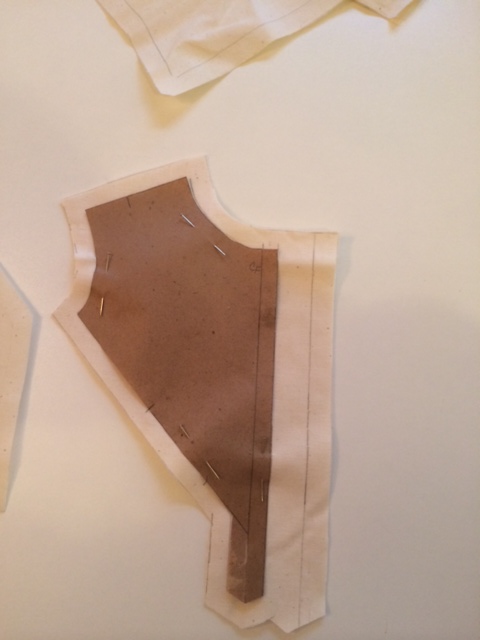
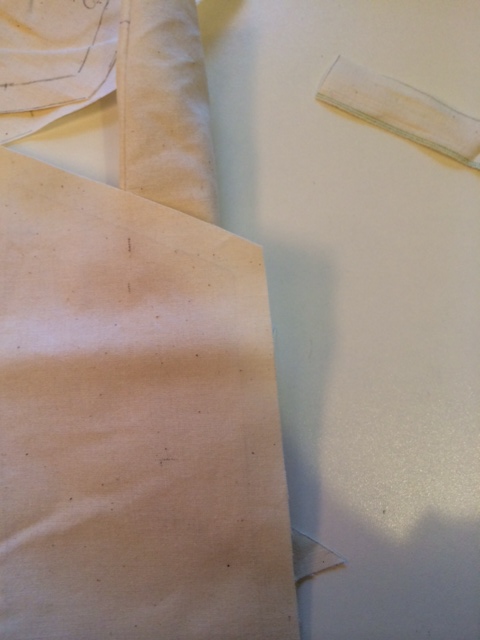
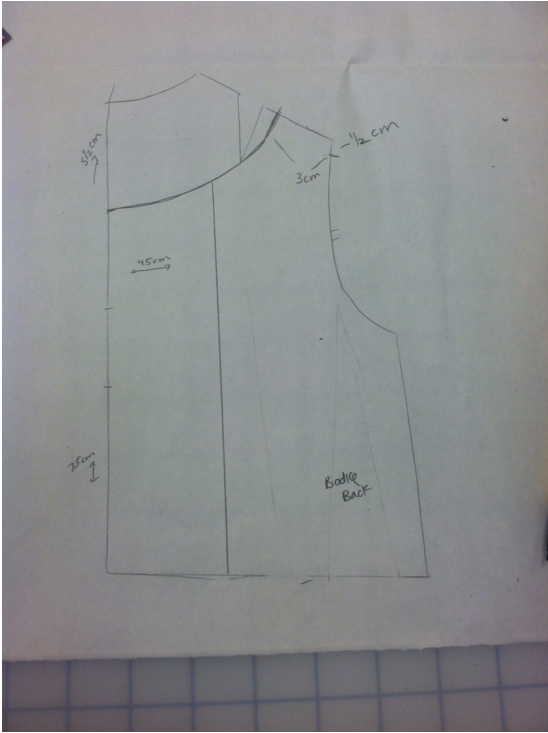
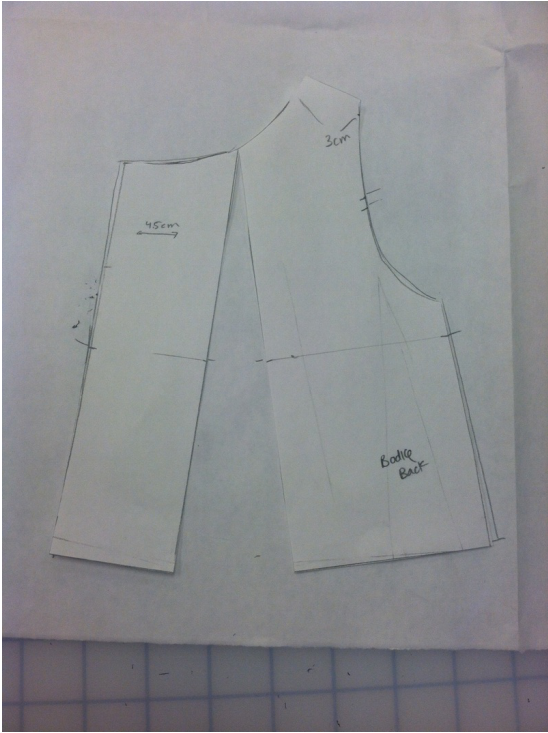
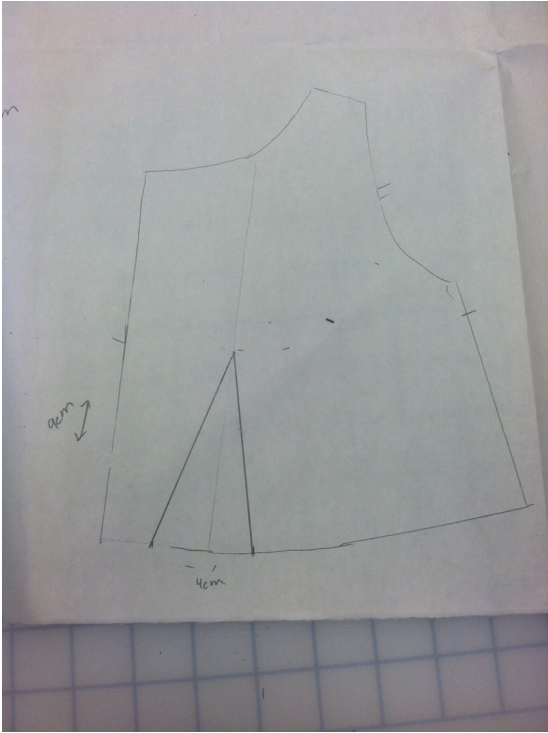
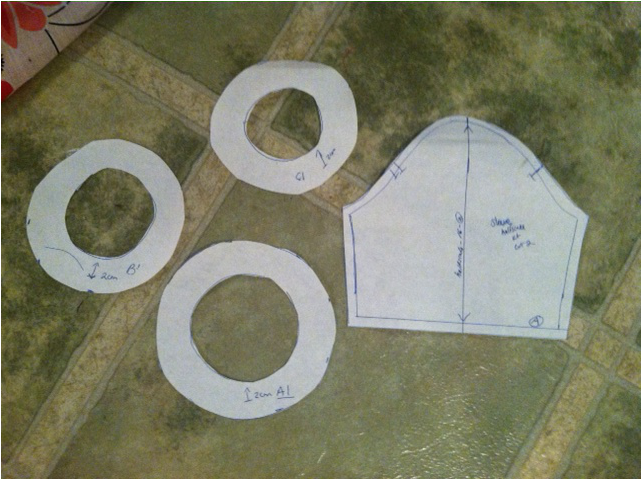
| Due to the nature of the darts in the torso sloper, it was not really possible to pivot the darts closed as I drew the lines (as in the Nakamichi example). Instead, I traced off each pattern piece including the darts. Then, I closed the darts on each individual piece. This did result in the need to true some pieces, particularly where there were shoulder darts. I also ended up with some pieces with parts of fisheye darts that there was no way to close out. If I did this again, I would be more careful to bring the lines through dart tips and/or the waist level of the fisheye darts. | 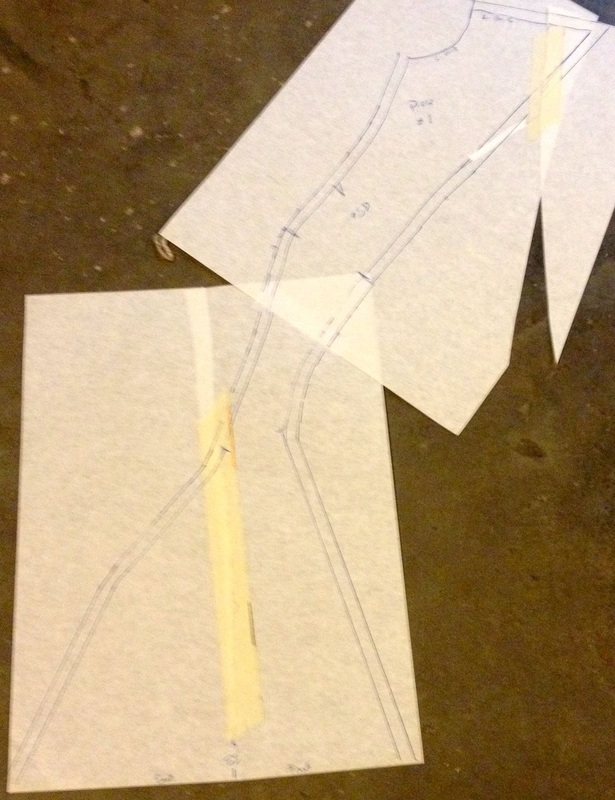 |
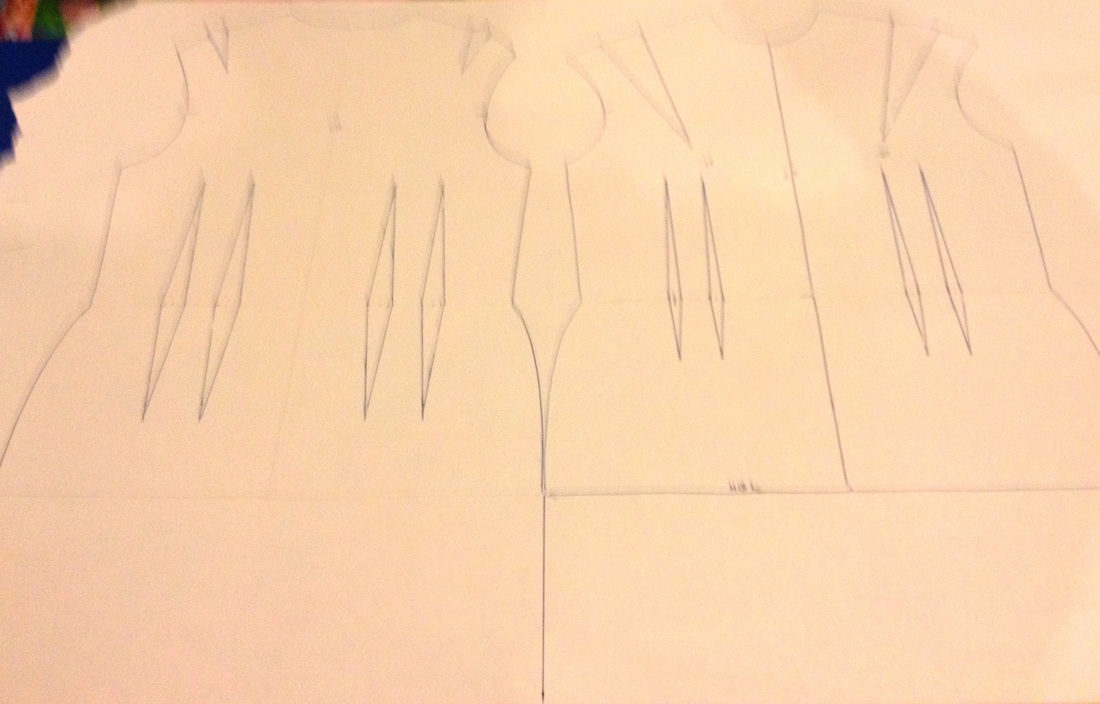
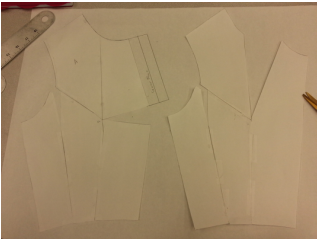
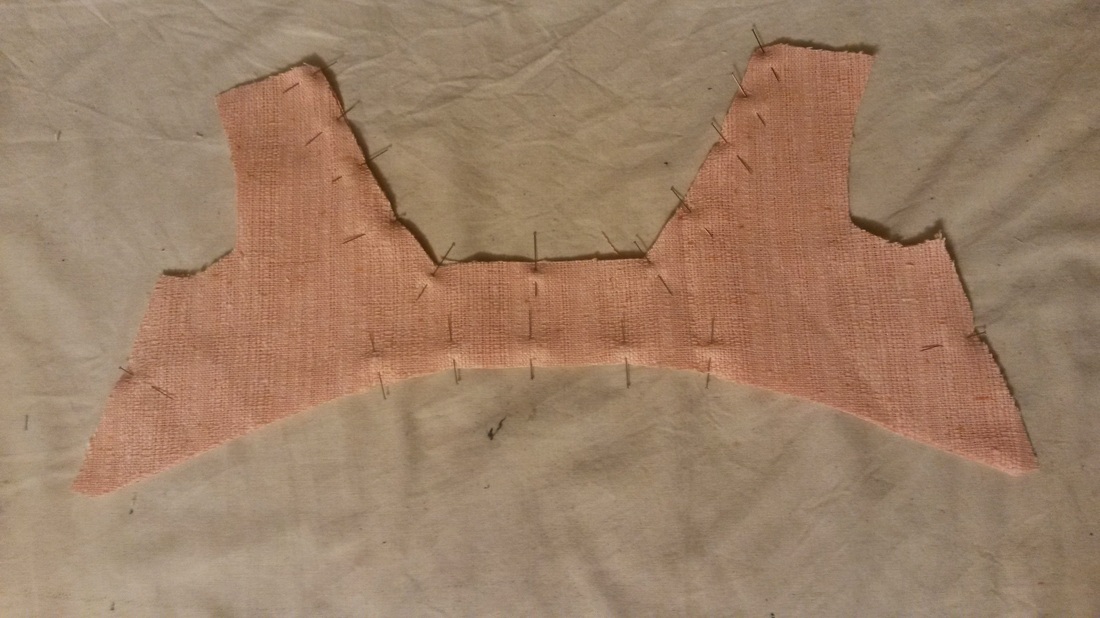
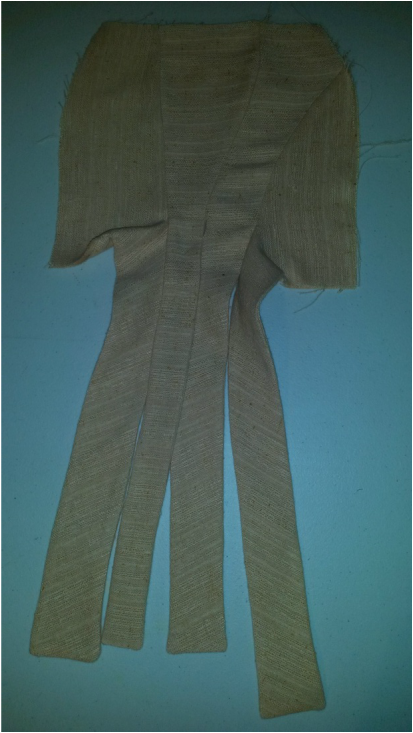
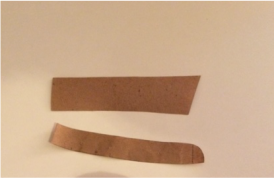
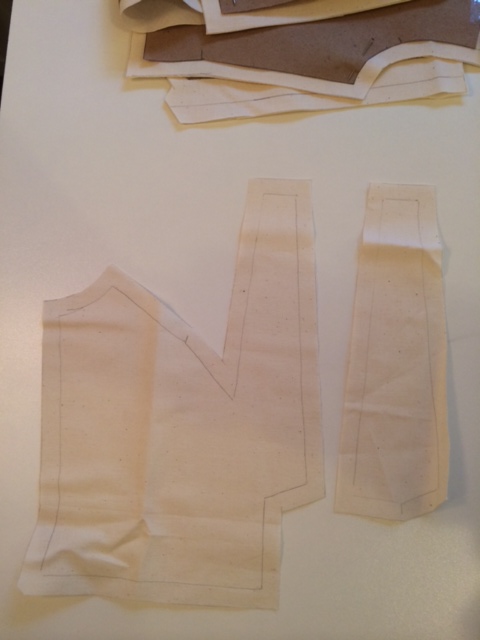
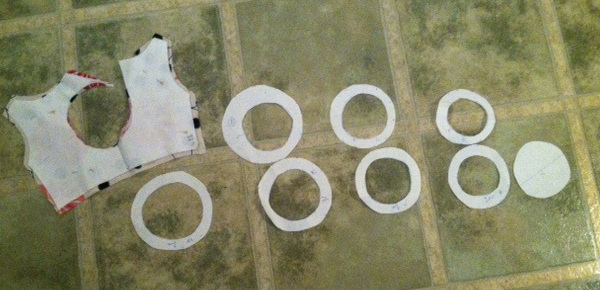
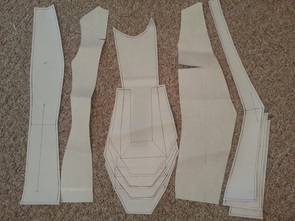
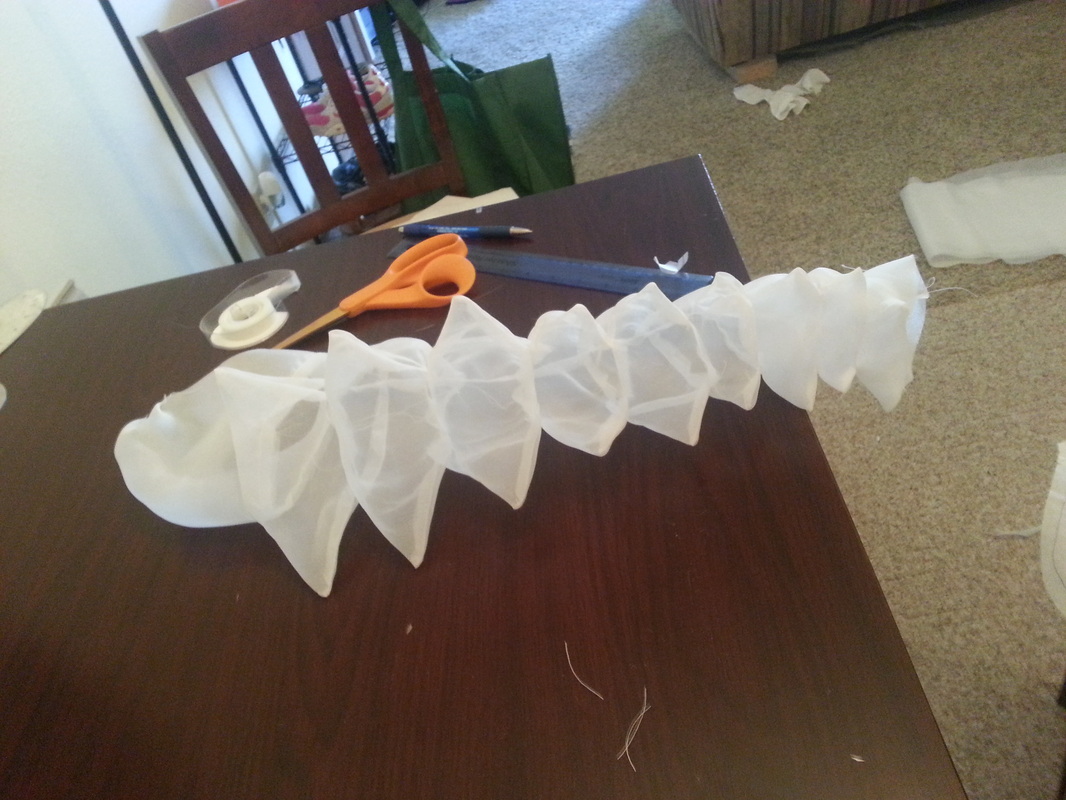
Here are all of the traced pieces.
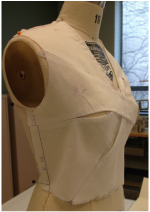
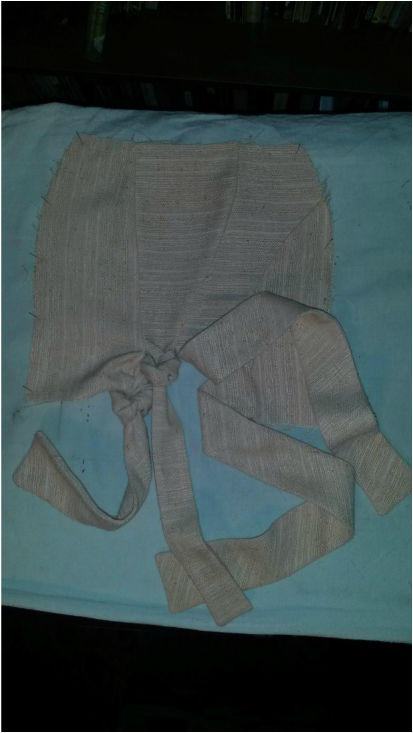
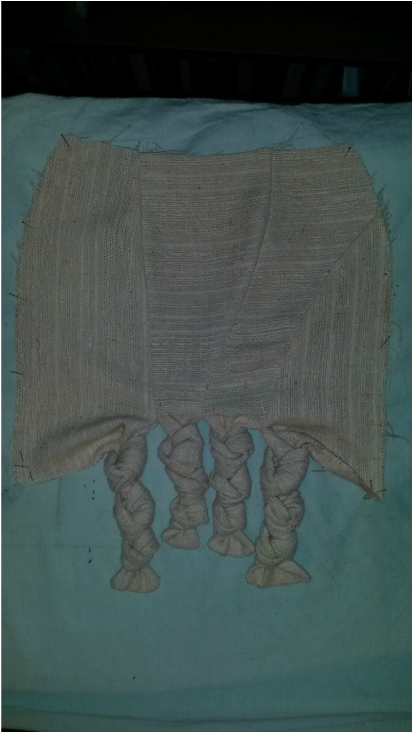
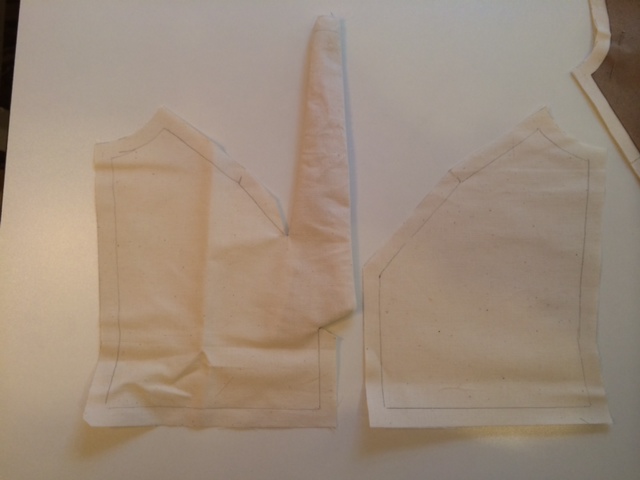
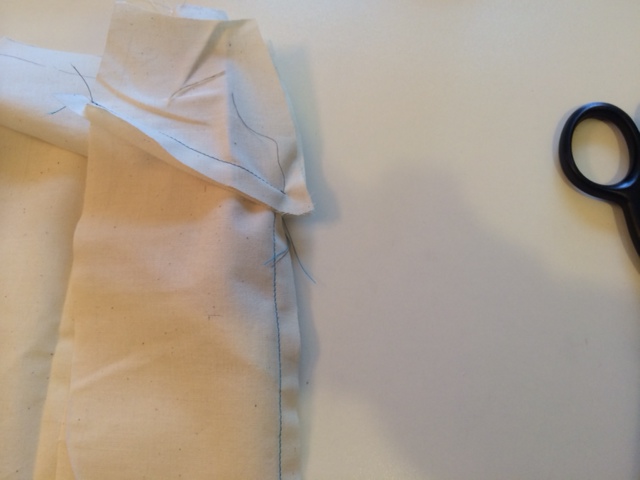
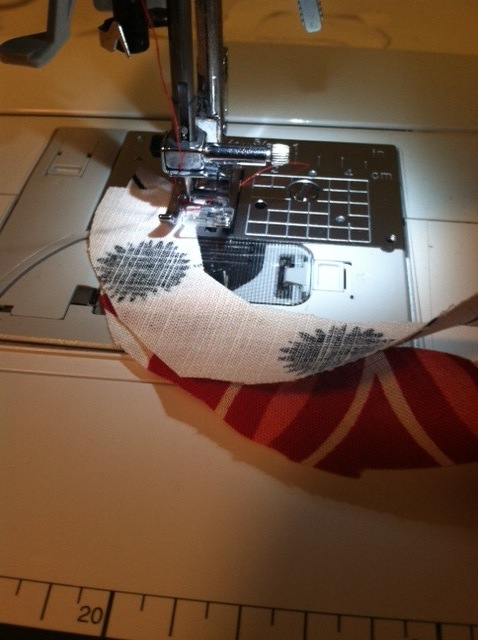
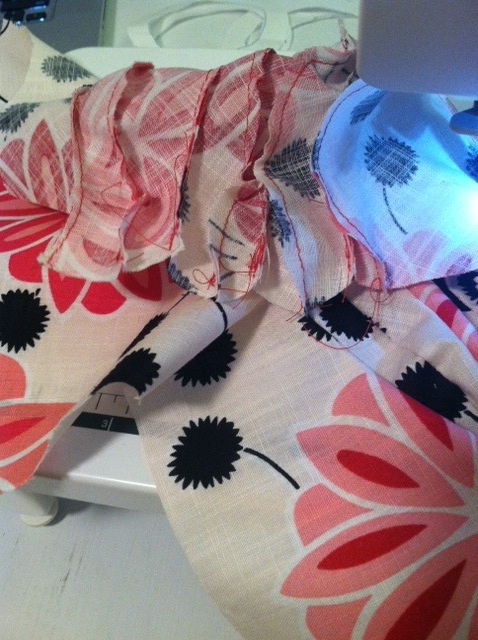
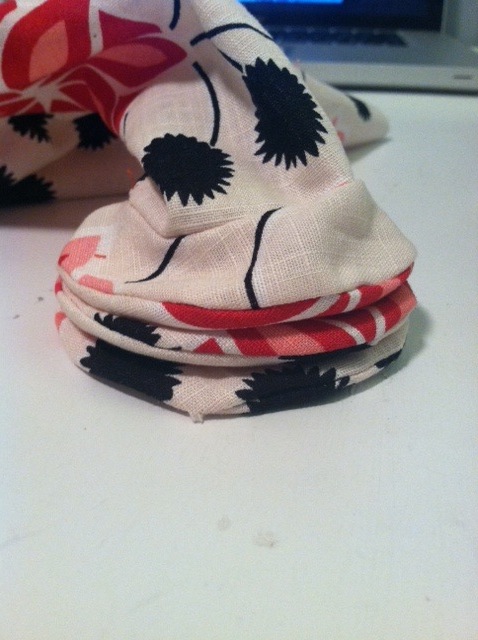
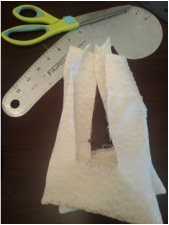
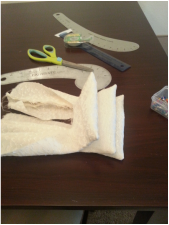
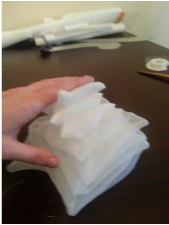
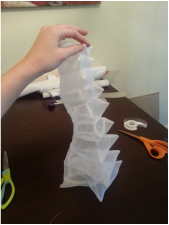
Here are the strips sewn together. I followed the same assembly process as with the bodice.
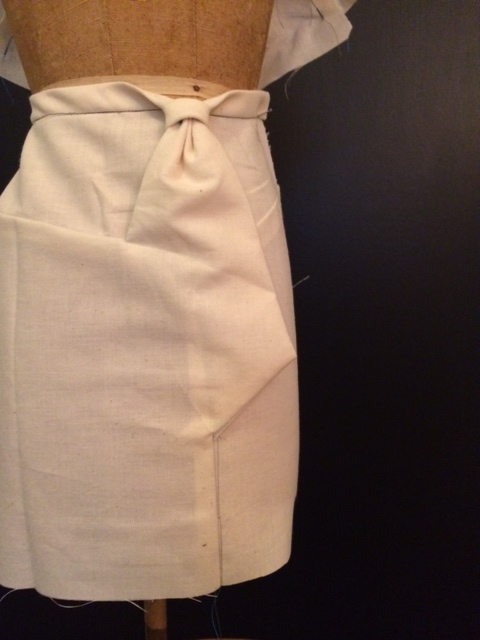
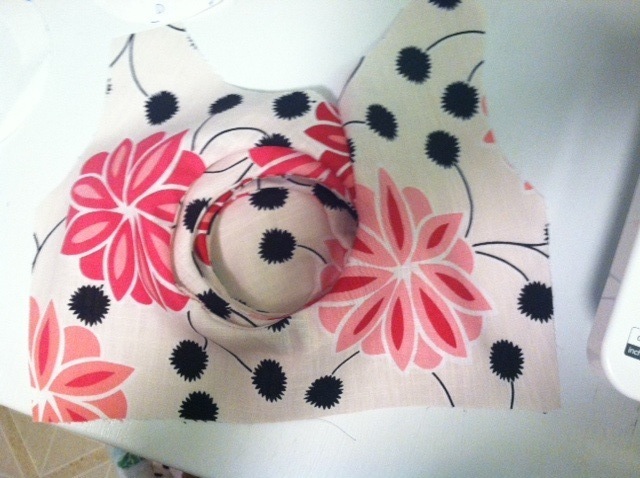
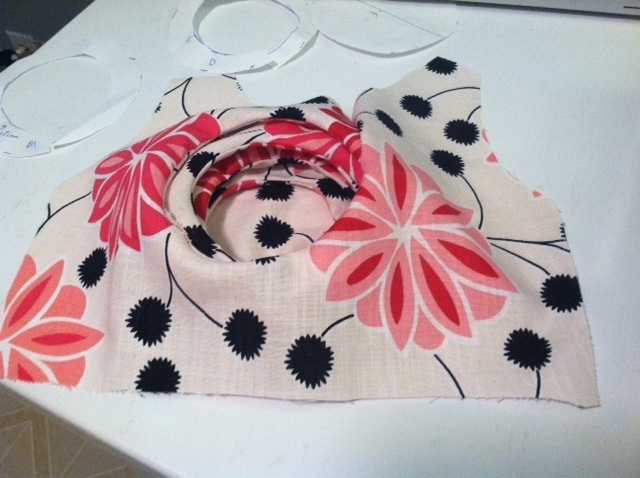
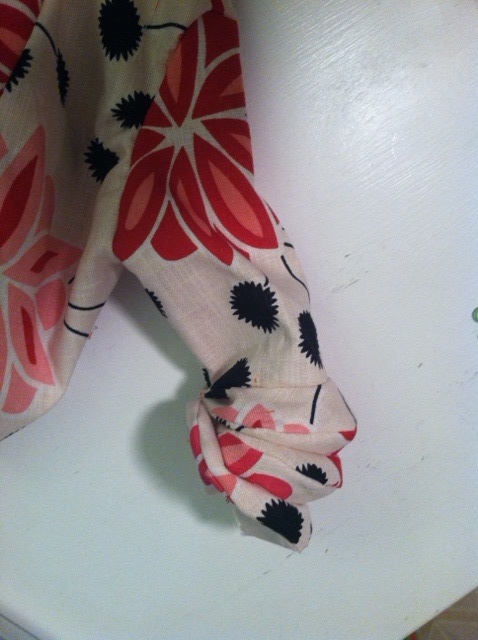
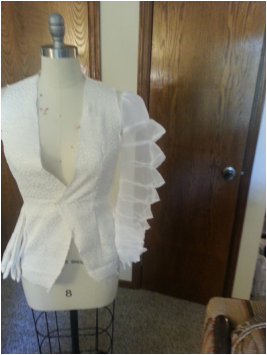
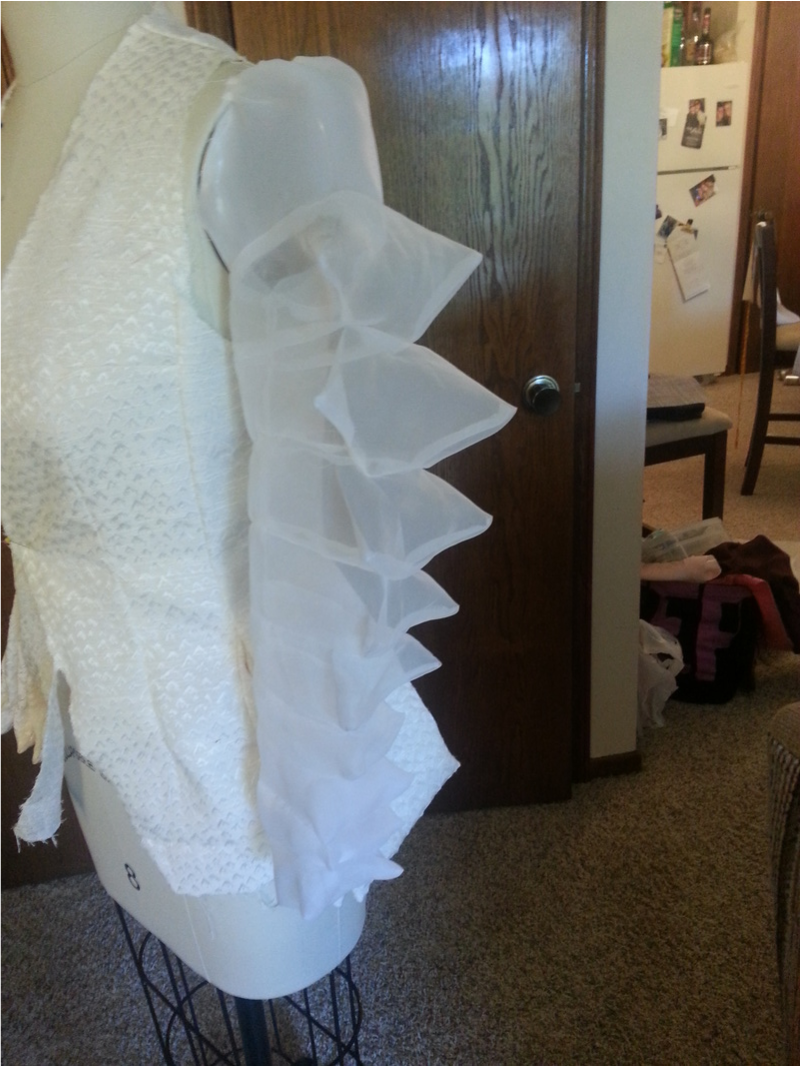
Here is the completed dress. I put an invisible zipper in the left side seam and sewed the shoulders.
 |  |
 |  |  |
Evaluation: Study your pattern to discover what you can learn and apply to future work. Start with these questions and include any additional insights.
- Did you stay true to the basic principles of the original pattern?
- I stayed true to principles 1 and 2; however, not principle 3. The use of a torso did not allow for easy closing of the darts while the lines were drawn.
- Where did you move the pattern manipulation and how well did that work?
- I think moving the pattern manipulation to the side waist of a dress DID work well in terms of the location of the strips. However, using a garment with fisheye darts (torso block) made it very difficult to close the darts. I think this overall negatively affected the fit of the garment.
- Do all the same rules still apply? Did the need for new rules appear when you made this change? Most of the same rules still apply. It certainly would have been best to direct the lines to dart points, so they could have been closed. This will be something to see if I can accomplish in the next design.
| Bonus: Identify a designer and a picture of their work that uses this pattern technique. This dress uses a similar overlapping strip technique. What is different though, is that his strips do not share their edges via a style-line that intersects with the perimeter of the garment piece. Gareth Pugh | Spring 2015 Ready-to-Wear -http://www.reneeruin.com/2014/09/gareth-pugh-spring-2015-ready-to-wear.html |  |
How do you like "like a jungle"? Where would you use it in a design? I would love to hear your comments!


 RSS Feed
