Draft & Muslin: Create the assigned pattern in half scale. Sew a 1st sample. Document your process with notes and photographs.
The explanation preceding the pattern is a bit complex, however, the actual pattern draft is relatively quick and easy . . . once you understand the background explanation.
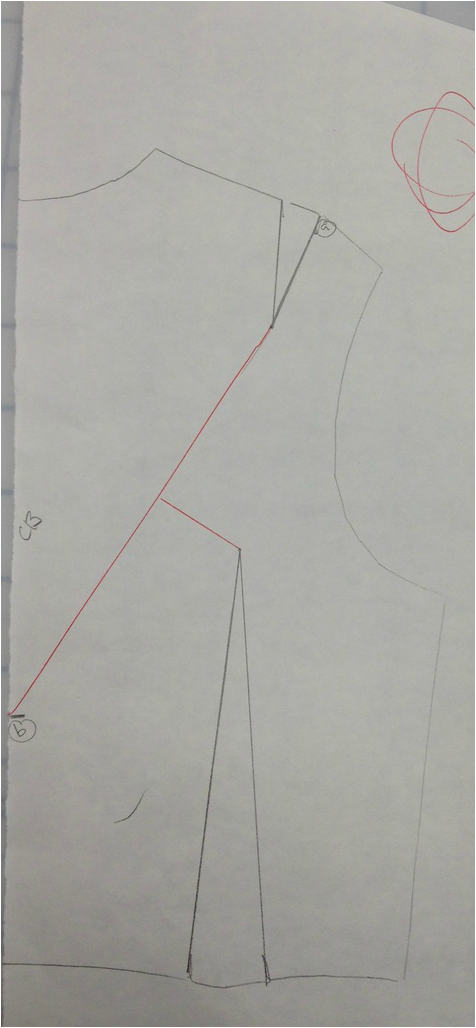
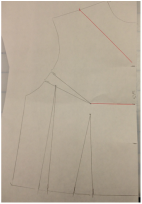
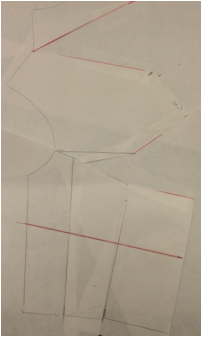
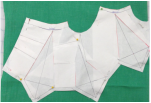
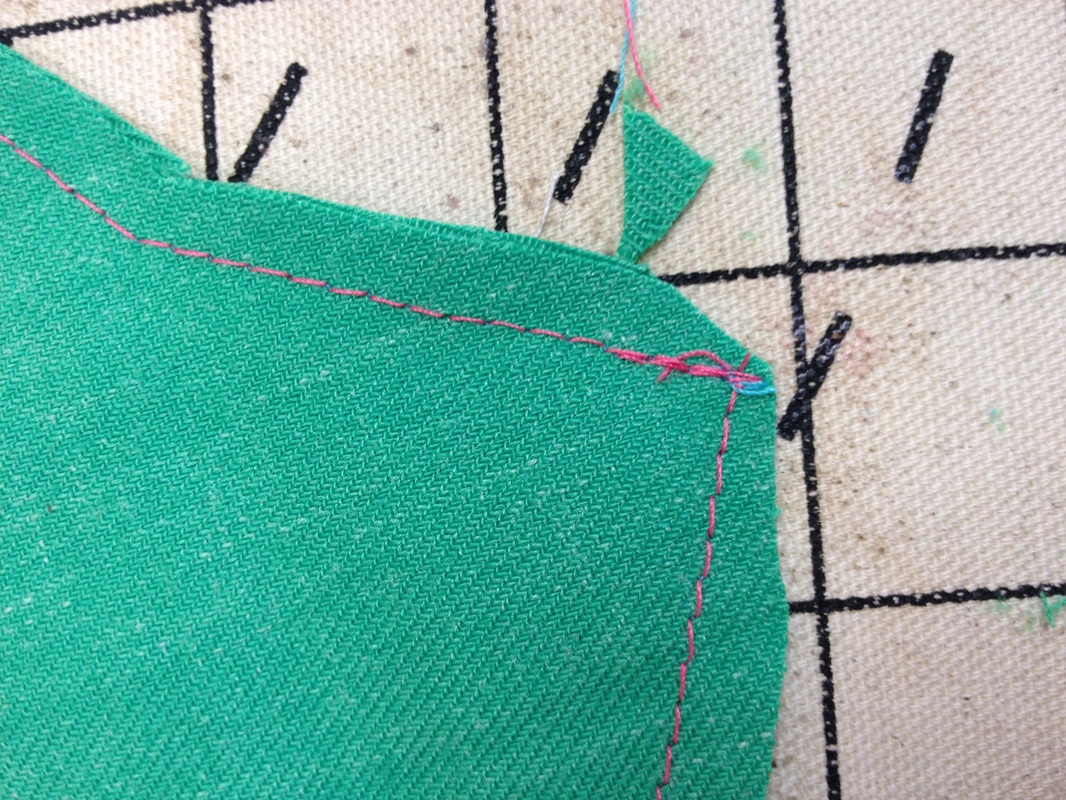
First, the line is established from CB (about 2/3 of the way down from CB @neck) to the shoulder dart tip. A line is squared to the waist dart tip. Lines are slashed. Waist dart is closed first, then shoulder dart. Then, increased added fullness is created, hinging at the should dart legs. The opening is 7cm. A line is squared across the opening. The line through the center of the opening extends 3.5cm past. The points are then connected to form a triangle. I added SA, then cut with the upper back CB on the straight grain. It was simple to sew. I just put right sides together, and sewed the zig-zag shaped CB seam, pivoting at the corners. The effect came out pretty much like the photos in the book.
The explanation preceding the pattern is a bit complex, however, the actual pattern draft is relatively quick and easy . . . once you understand the background explanation.
First, the line is established from CB (about 2/3 of the way down from CB @neck) to the shoulder dart tip. A line is squared to the waist dart tip. Lines are slashed. Waist dart is closed first, then shoulder dart. Then, increased added fullness is created, hinging at the should dart legs. The opening is 7cm. A line is squared across the opening. The line through the center of the opening extends 3.5cm past. The points are then connected to form a triangle. I added SA, then cut with the upper back CB on the straight grain. It was simple to sew. I just put right sides together, and sewed the zig-zag shaped CB seam, pivoting at the corners. The effect came out pretty much like the photos in the book.
 |  |
Analysis: Study this pattern to discover what you can learn and apply to future work. Start with these questions and include any additional insights.
- Q1. What type of flat patternmaking is this: Dart manipulation? Added fullness? Contouring? Something else? A combination?
- A1. It is a combination of dart manipulation and one-sided added fullness.
- Q2. What are the basic principles of this pattern?
- A2. Nakamichi expresses a number of principles (illustrated with photos) in the explanation of this pattern:
- The left and right sides are symmetrical, so it is only necessary to make one side of the pattern.
- The amount that the opening is spread should be 2x the desired height of the protrusion.
- To cause the protrusion to stick out at an acute angle, the line coming through the center of the opening must extend out beyond the opening. The flatness of the point is controlled by the length of the line.
- Cutting with the CB fold on the straight grain creates a sharp point, while cutting with it on the bias creates a softer look.
- The top of the main slash line is positioned on the perimeter of the pattern where you want the protrusion to be coming from (the shoulder, in this case).
- The bottom of the slash line is positioned on the fold (CB) where you want the point to stick out.
- Q3. What are the basic rules of this pattern?
- A3.
- Center line (that determines extension of the point) should be square with the line that connects both sides of the spread opening.
- Q4. Are these rules and principles always true?
- A4. Yes
- Q5. What rules of traditional patternmaking are “broken” in this pattern?
- A5. None. For the most part, it is a pretty traditional dart manipulation and slash and spread. The principles are similar to those used in creating a cowl. What makes it different is the protrusion of the centering line to create a point, rather than the smooth drape of a cowl. The use of straight grain further accentuates the extension of the point.
Application: Create your own half scale pattern by applying the rules and principles of this pattern in a different location of the garment. Sew a 1st sample.
For my second pattern (with inspirations from Whitney) I decided to see what would happen if I stacked several points on top of each other. I did this on a front bodice, which was a little bit different due to the location of the darts. I quartered the CF to create the three point locations. The top line extended to the mid-shoulder. The midline extended to the BP (allowing closure of all three darts). The lowest line extended to the mid-side seam. The resulting pattern was cut with the upper body CF on the fold.
For my second pattern (with inspirations from Whitney) I decided to see what would happen if I stacked several points on top of each other. I did this on a front bodice, which was a little bit different due to the location of the darts. I quartered the CF to create the three point locations. The top line extended to the mid-shoulder. The midline extended to the BP (allowing closure of all three darts). The lowest line extended to the mid-side seam. The resulting pattern was cut with the upper body CF on the fold.
 |  |  |
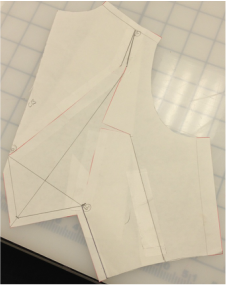
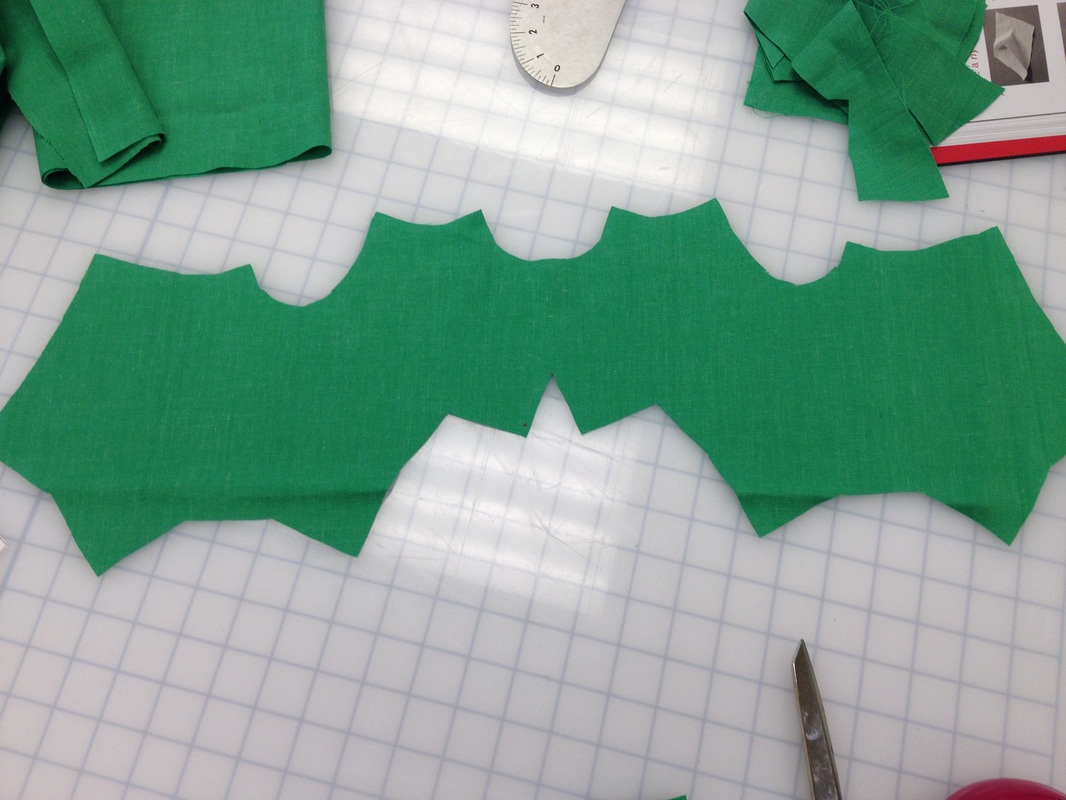
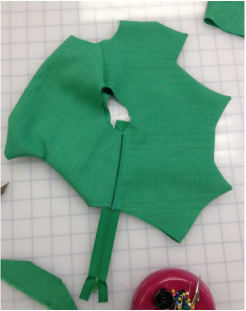
The cut piece, when opened up, looked like a bat (pictured below for your entertainment). It was sewn up similarly to the first one, just with more corners to turn. I did do reinforcing stitching at the points. Careful pressing, clipping, and use of a bluntly pointed tool were essential in getting clean points turned out.
 |  |
 |  |
 | 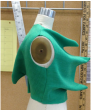 |
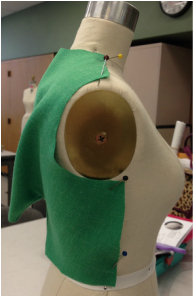
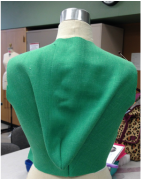
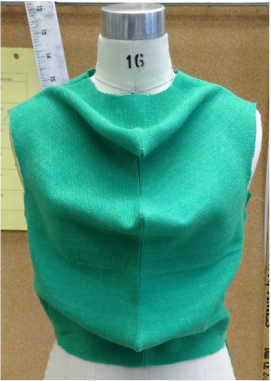
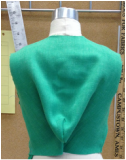
I stitched the front bodice to the back bodice and closed one side with a zipper. The whole effect is kind of like a kids lizard costume. (The green fabric MAY be contributing to that effect.) The finished top makes a very interesting shape--both on the body and off.
Evaluation: Study your pattern to discover what you can learn and apply to future work. Start with these questions and include any additional insights.
I don't know of any designers that use this technique. Do you? I'm not sure I would even want to use it in my work. Would you?
I will say that it is a pretty quick-and-easy way to get a very dramatic effect, once you understand the principles of the technique. I want to play around some more with different amounts of spread, lengths of center lines, fabric grain, and slash line direction.
- Q1. Did you stay true to the basic principles of the original pattern?
- A1. Basically, yes. I changed the angle of the main slash line.
- Q2. Where did you move the pattern manipulation and how well did that work?
- A2. Moving it the the CF did not seem to make much of a difference. However, changing the ANGLE of the main slash lines did make quite a difference. You can see the angles of the points in the front are quite different than the back. The amount of the spread, the length of the centering line extension, and the grain were all the same.
- Q3. Do all the same rules still apply? Did the need for new rules appear when you made this change?
- A3. I think all the same rules apply.
I don't know of any designers that use this technique. Do you? I'm not sure I would even want to use it in my work. Would you?
I will say that it is a pretty quick-and-easy way to get a very dramatic effect, once you understand the principles of the technique. I want to play around some more with different amounts of spread, lengths of center lines, fabric grain, and slash line direction.
 RSS Feed
