The overall concept of this pattern is to create accordion inserts in the side panels of the vest. The first steps was to create vest patterns(front and back) from your basic slopers. Creating the vest was the easy part and well described with a picture and measurements. You end up with four pieces for your vest(front, side-front, side-back, & back). The side panel is the pattern used to create the accordion extension.
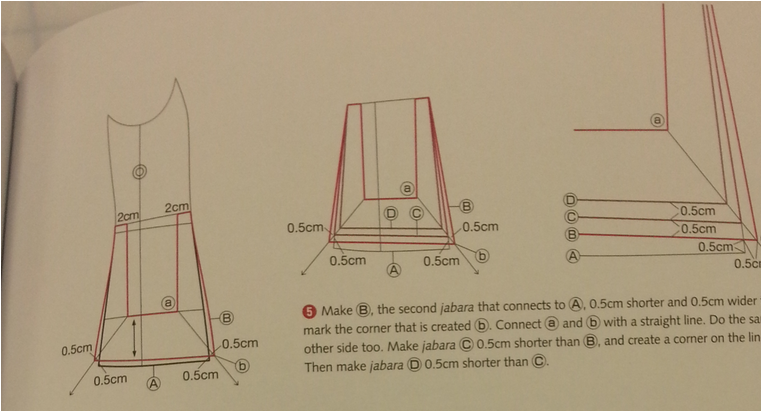
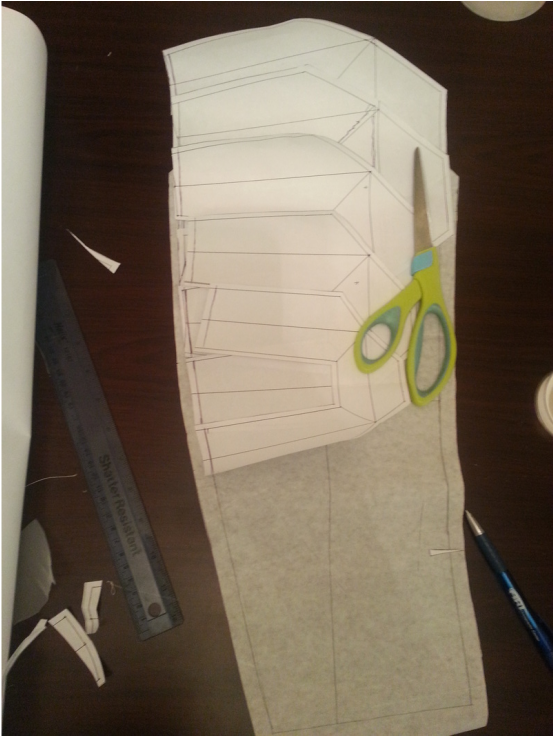
A rectangular horseshoe shape was drawn over the side panel(in red). This would be the base for each accodion piece. There are in total 4 accordion pattern pieces(A,B,C, & D). There was a little confusion in the book whether to make Jabara(rectangular horseshoe shaped accordion) A or not. I decided to go ahead and include that in accordion panel A. Each rectangular horseshoe has 3 different sections. These sections are all reflected about themselves to create the complete accordion panels.
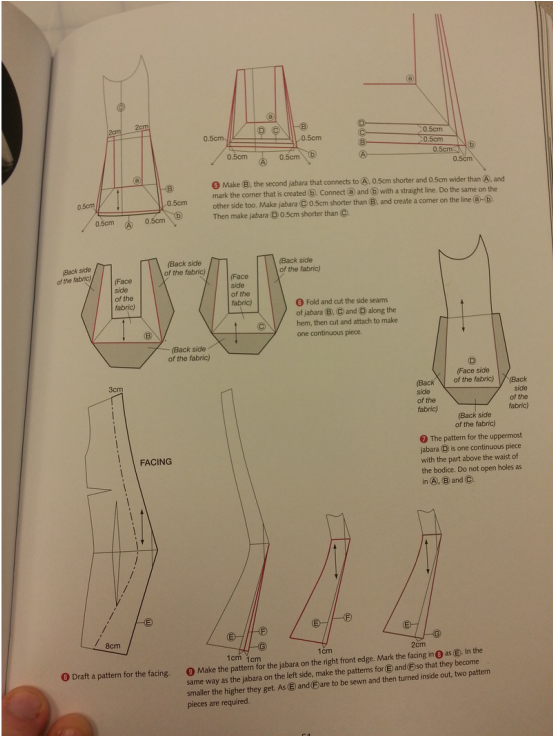
Nakamichi has you repeat the technique of creating 3 accordion pieces on the right front facing of the vest. After going through through the patternmaking process I had a lot of pattern pieces.
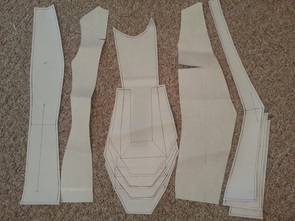
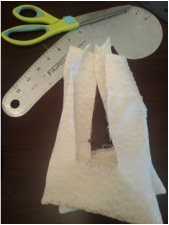
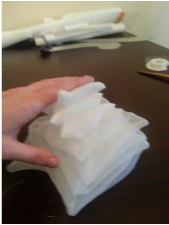
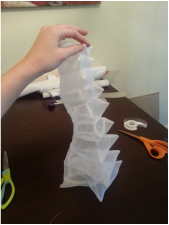
After cutting out my fabric I started sewing the accordion pieces. It was a little difficult for me to understand how they would be sewn together by just looking at the pieces, but once I started manipulating the pattern in its fabric form it was very easy to understand. The finished individual accordion pieces looked like this.
 |  |  |
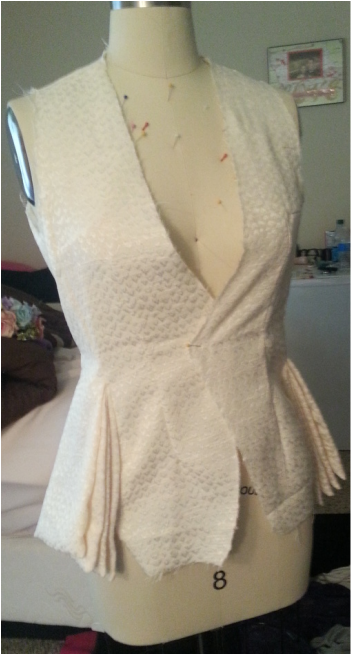
When the entire side panel was constructed I had to connect that side panel to the center front piece and side back piece. This part of the pattern was most difficult for me to figure out. You are connecting the side panel to the center front piece until you reach the accordion piece, and then its almost as if you have to shove the accordion seam allowances into that seam and you are no longer sewing to the side panel but you are sewing to Jabara piece A(the largest accordion piece). There is still some confusion on how it actually connects because I do not think I did it correctly, but with the vague sewing instructions it was hard to decipher.
I am not sure that any of the patternamaking principles(dart manipulation, contouring or added fullness) are at work in this pattern. I am using a standard fisheye and armhole dart in the center front panel to create contouring but the accordion panels are extra pattern pieces that create the extension. For the Jabara(accordion) pieces I created the base and reflected it upon itself. This created a 3-d effect for each accordion piece. The accordion pieces can be use in any way really. I would like to experiment with different shaped accordion pieces. I think with this particular application the accordion has to have a seam to make the corners of the jabara disappear. As of right now I do not think that any traditional rules are broken in this pattern application.
I am not sure that any of the patternamaking principles(dart manipulation, contouring or added fullness) are at work in this pattern. I am using a standard fisheye and armhole dart in the center front panel to create contouring but the accordion panels are extra pattern pieces that create the extension. For the Jabara(accordion) pieces I created the base and reflected it upon itself. This created a 3-d effect for each accordion piece. The accordion pieces can be use in any way really. I would like to experiment with different shaped accordion pieces. I think with this particular application the accordion has to have a seam to make the corners of the jabara disappear. As of right now I do not think that any traditional rules are broken in this pattern application.
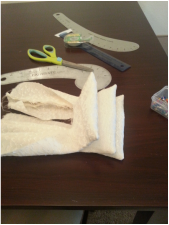
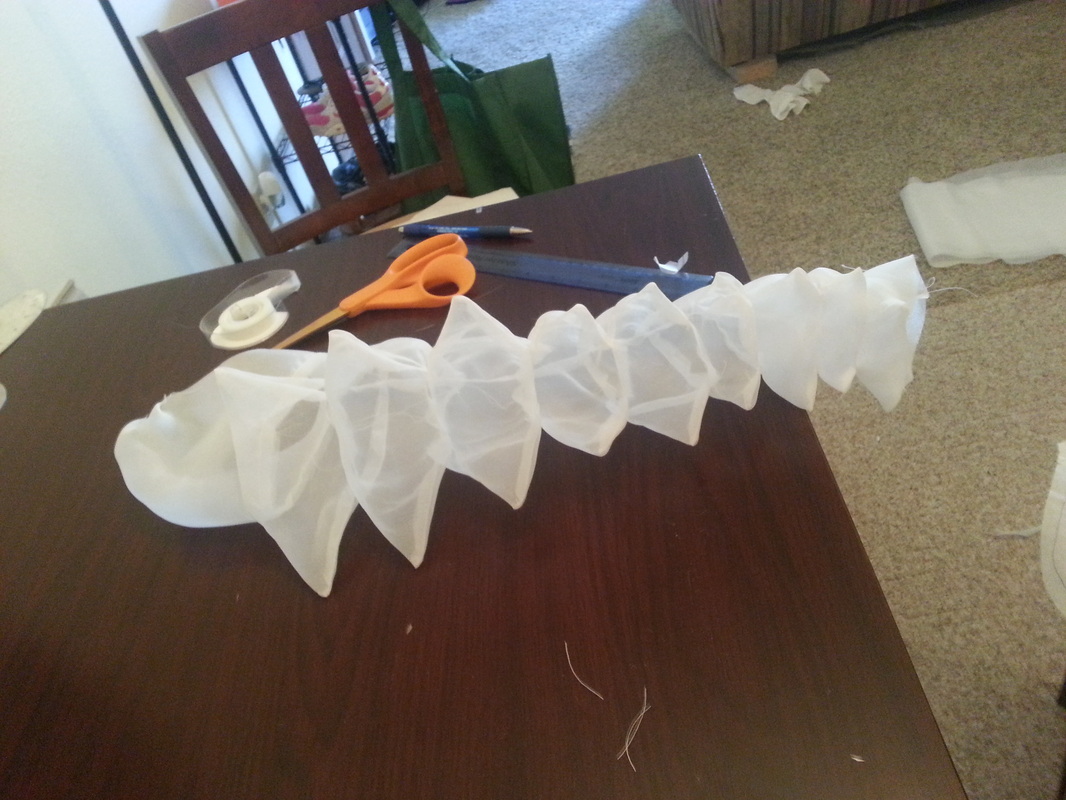
For my second application of this technique I used a little different perspective of the accordion. As I was making the accordion piece in the initial application I became inspired by the accordion panel in its stretched out state. I decided I wanted to create a sleeve using these accordion pattern pieces in its stretched out state. It was a little interested to try to determine the size of the jabara pieces, but I used a sleeve pattern that I had previously created and used that as my guide. I determined that one leg of the horseshoe pattern needed to equal half of the sleeve width. I wanted the accordion pieces to gradually get a lot smaller as the sleeve went from the cap to the wrist.
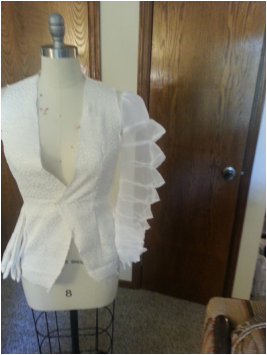
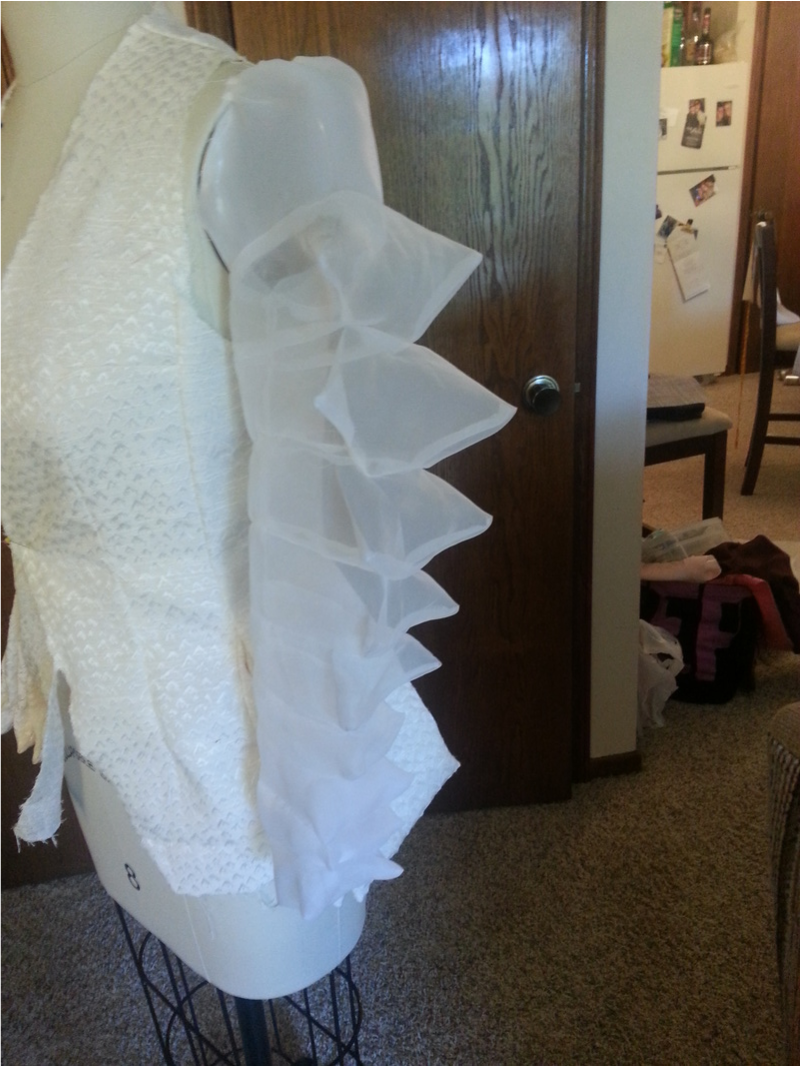
The finished pattern has six accordion or jabara pieces in total. The sleeve from the bicep line to the top of the cap is the same as the original sleeve. I did have to make sure that the width of the sleeve, at the bicep line, matched the total length of the 3 inside lines of the 1st accordion piece. The finished product created a 3-d sleeve. It is a very interesting shape, but yet a functional sleeve. If I were to change something, I would try to make the accordion shape at the bicep line so there wasn't such a hard transition between the sleeve cap and the start to the accordion pieces.
 |  |  |
 |  |  |
I found a dress that incorporates the jabara. Although it is not rectangular, I thought I would share.
http://www.pinterest.com/pin/29414203787670214/
http://www.pinterest.com/pin/29414203787670214/
 RSS Feed
