
In order to create the design, I needed to draft a 2piece collar, I used the mandarin collar sloper (drafted for the previous sample wearing a balloon) as the stand and then lifted the upper collar off the stand using standard flat pattern techniques.
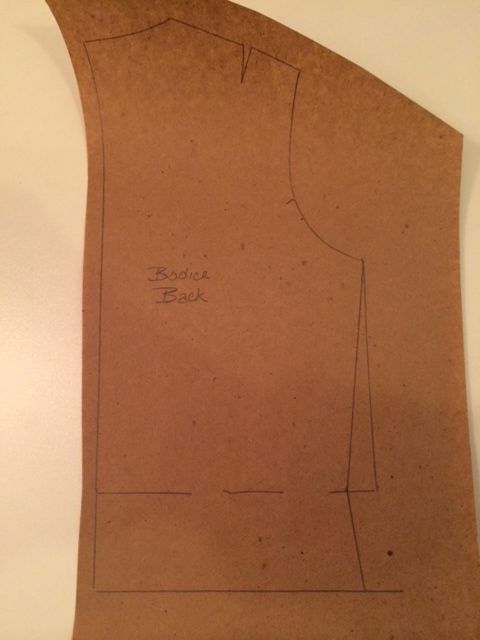
The first step in the book was to draft the armhole dart only bodice front and the no dart bodice back. I traced off the basic sloper, eliminated the waist darts by using the dart as added fullness –in other words ignore the darts and redraw the waistline. Add the suggested intended length below the waistline to front and back and make adjustment at the sideseam. New side seam starts at original underarm, tapers in at waist and flares slightly at new hem line. Close out back shoulder dart and move to armhole by slash and spread.
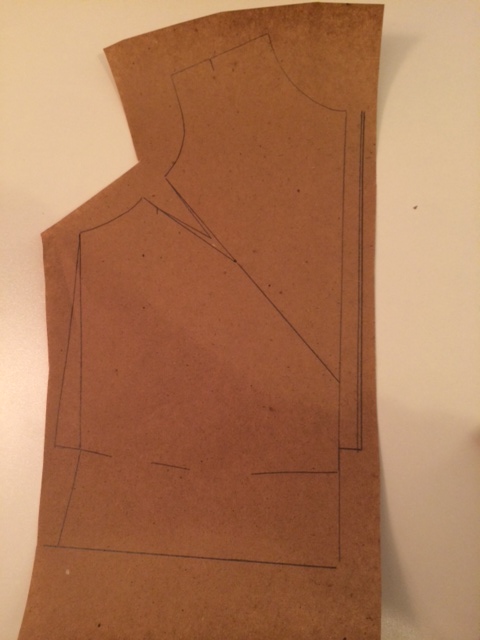 |  |
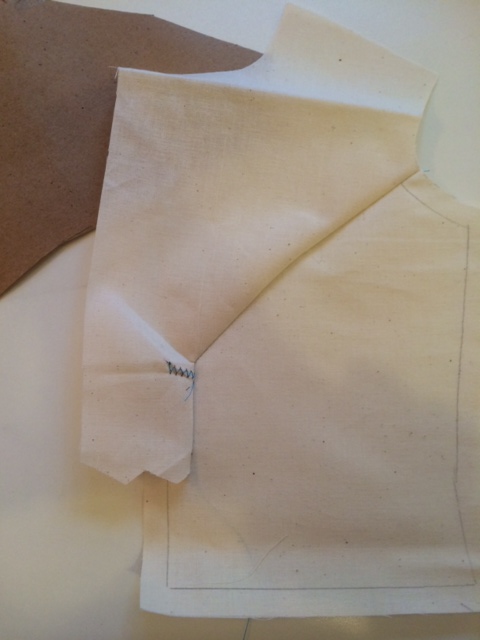
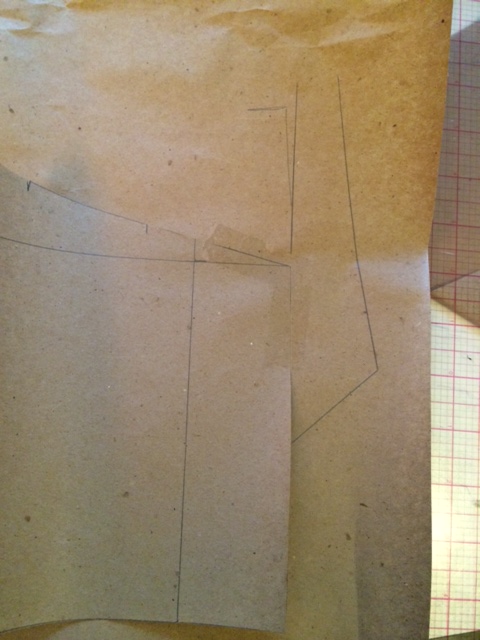
Draw in angled styline using the top leg of the armhole dart going through bust point and stopping at CF, Now draw in extension line for center front closure. (This step I did the same) The book does not easily define the need and placement of the extension difference for right and left side, the extra amount needed for the right side overlap part of the tie, and the separation of the pattern pieces. So here is the way I did it to start (and as you will see I would do it differently the next time)
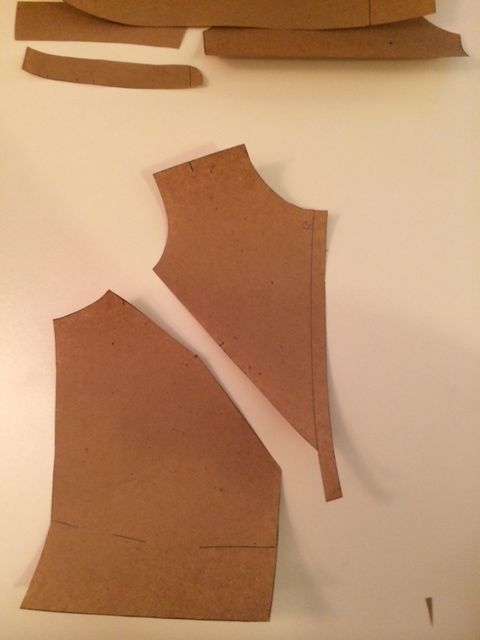 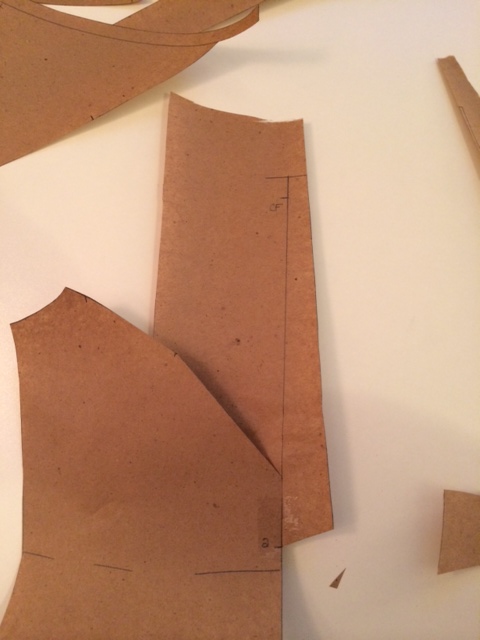 | 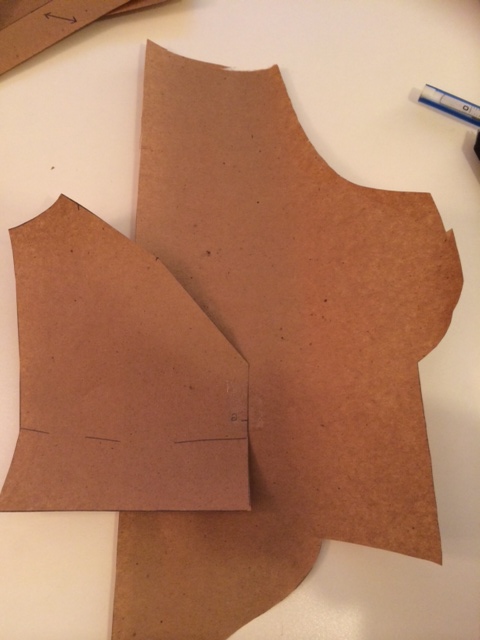 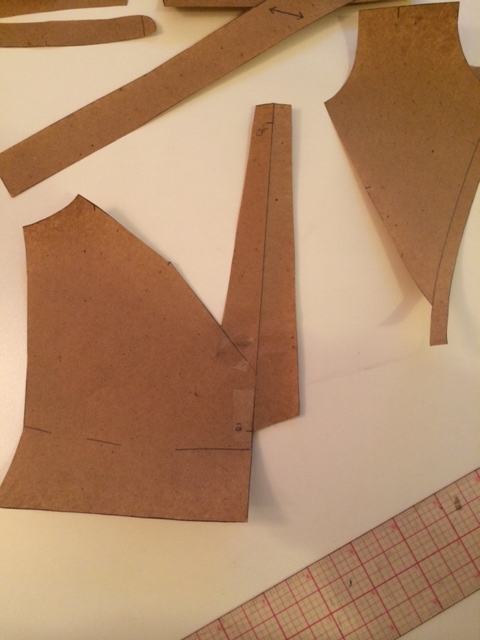 |
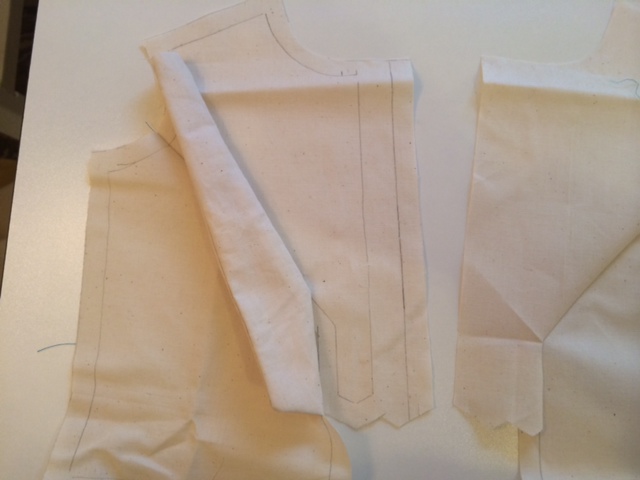
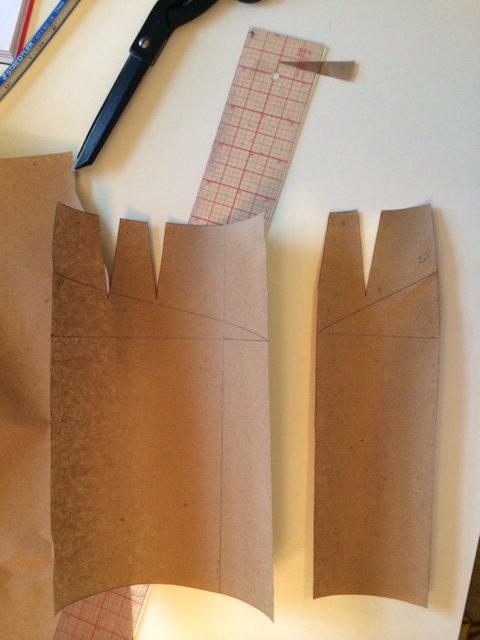
Draw in a buttonhole/closure extension beyond CF starting at the neckline and continuing beyond the newly drawn styleline and end close to the natural waistline. Be sure to angle the line connecting CF to edge of extension (in hopes to avoid seeing the extension under the tie. At this point I cut the pieces apart, trace off another lower bodice piece so you can work with the asymmetry. The left side is as it is but the right side needs the tie added. Tape paper under the right side at center front, extent the CF line and tick off where the neckline is on the CF line (guide for the length of your tie). Draw in shape of tie extension, the book has you hit the same mark as the extension (a) I think there will be a better way. Fold the pattern along CF and transfer tie extension to the other side of CF to where it meets the style line. (image sequence above)
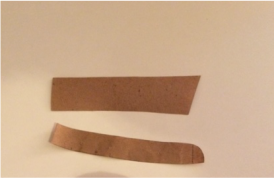
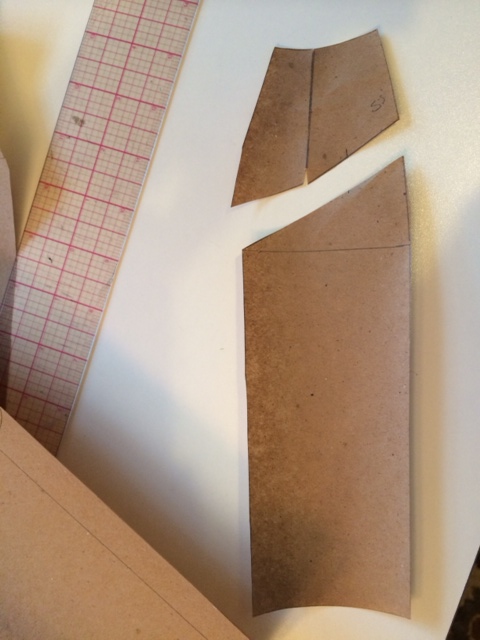
Create a bias strip pattern to be the part of the tie that goes around the neck and the part of the tie that ties. You will have to cut the length AFTER you tie the tie around the finished neckline.
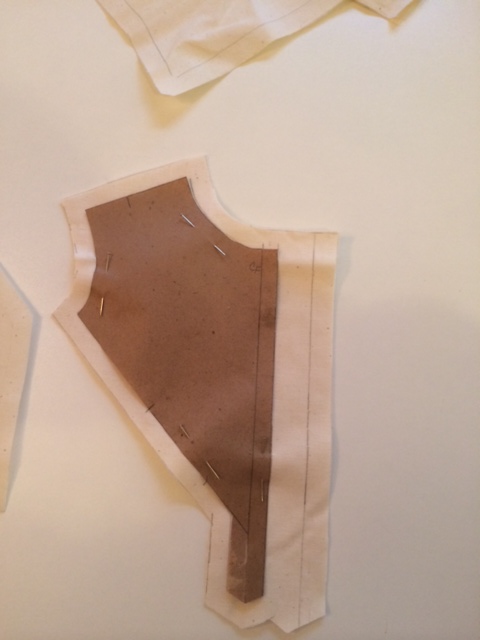
I was trying to plan for the construction and finishing so I added an attached facing to the extensions and created a full tie facing piece. The facing does end up working great except for the part where it is connected behind the tie. (In the future I reshape only this section)
 |  |
Now to construct. Forewarning, the sequence in the book IT DOES NOT WORK. Yes the opening in the back is important but it does not go all the way up the back and into the collar so therefore when you cut and tack, as the book says, the tie and knot with the lower part of the tie there is no way to get out of the neck.
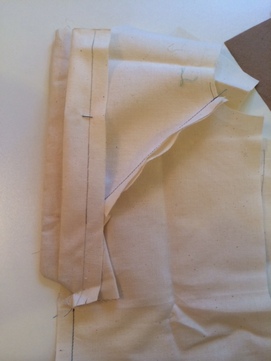
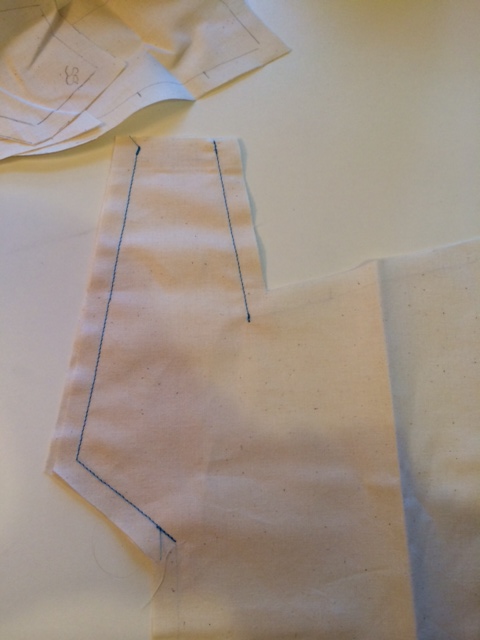
I stitched the tie facing right sides together only on the stitch lines seen below, you must stitch exactly and clip exactly to the corners. Trim other corner and turn right side out and press.
I stitched the tie facing right sides together only on the stitch lines seen below, you must stitch exactly and clip exactly to the corners. Trim other corner and turn right side out and press.
 |  |
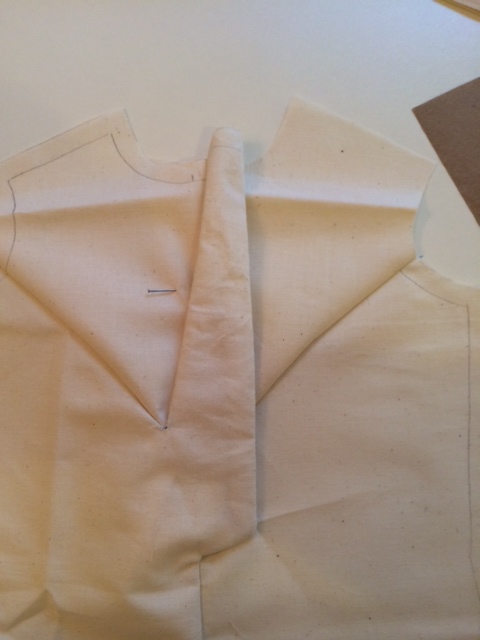
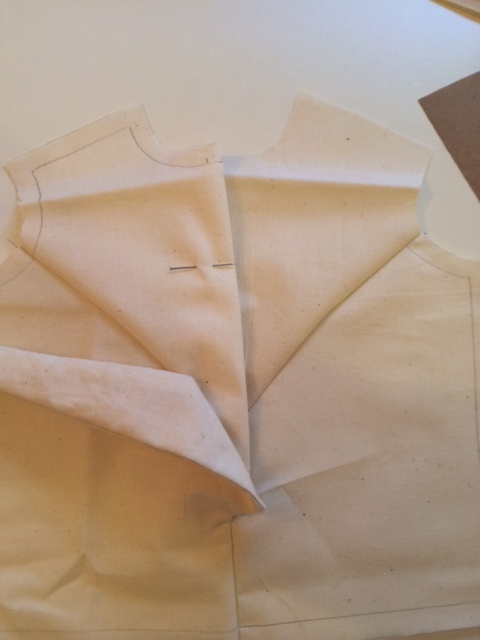
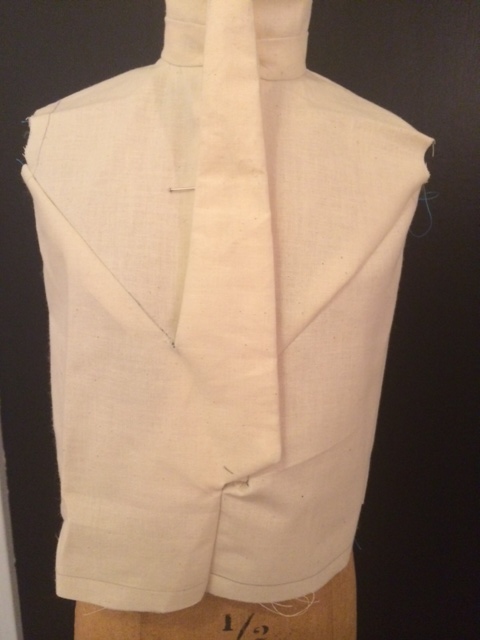
This next step got complicated and ugly, mostly on the side without the tie extension. Pin and stitch top and bottom bodice together paying careful attention to where the extension placket line up. Right now it does not line up at the raw edge. Stitch the side with the tie extension only to the tie.
  |   |
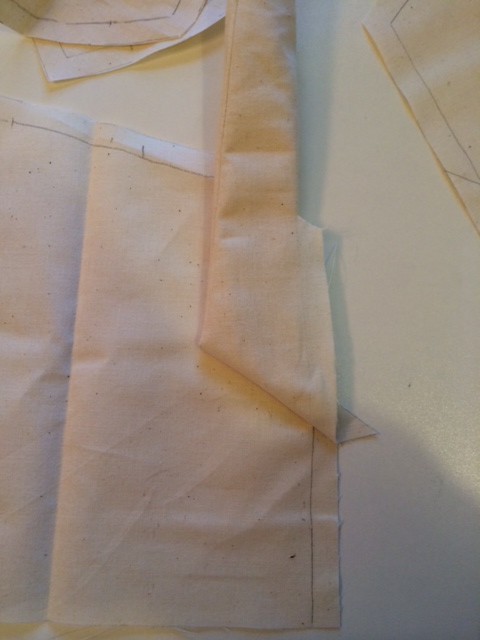
Stitch bottom edge of placket shut and turn and press in place
Stitch together right and left sides below the tie to hem,
Stitch together right and left sides below the tie to hem,
 |  |
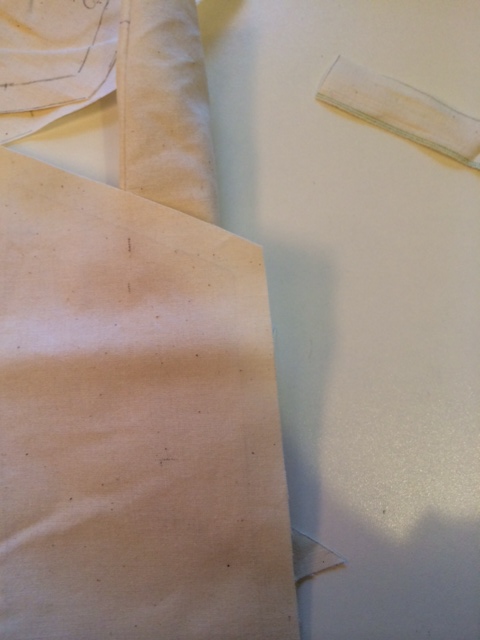
On back side of bodice,pin and stitch layers in to keep tie aligned. This is the part of the pattern I change in the future…nothing lines up and you can see the placket on the front more than I want to. I think there need to be different pieces for all four front bodice pieces. Looking at the instructions it is probably the that it is intended to be (just not clear)
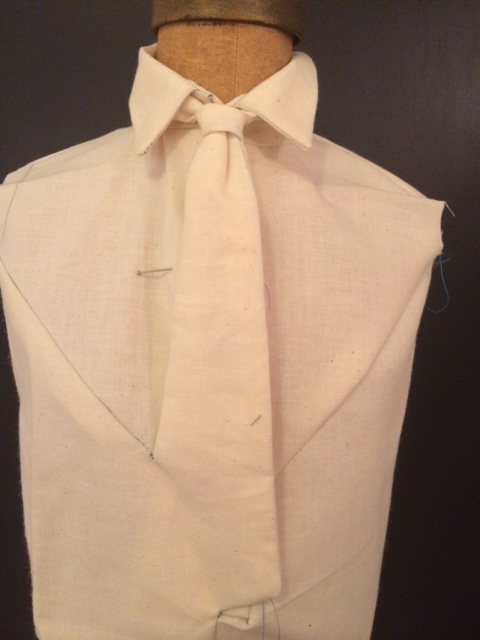
Collar construction is standard, stitch upper collar together along outer edge only, clip, turn, press. Place in between stand and stitch the non neckline edge, clip and turn
Note: when I added the extension to the bodice pattern I made sure the extension of the mandarin/collar stand had the same amount of extension
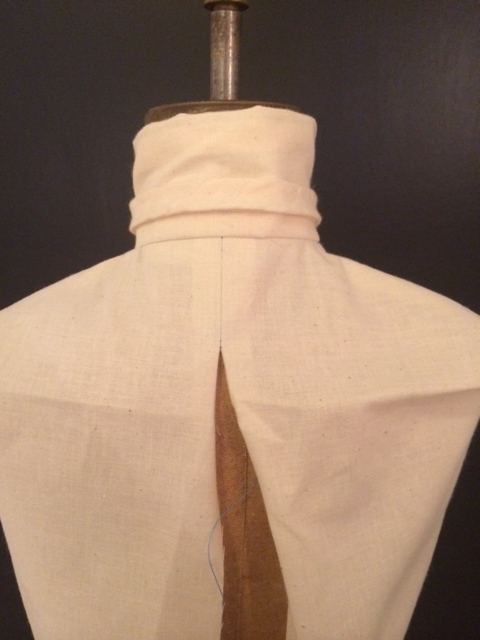
Stitch shoulder and side seams, stitch CB from neckline to about 2” down leaving most of the CB opening for closure
Stitch one neckline edge of collar to bodice neckline, finish raw edge
Note: when I added the extension to the bodice pattern I made sure the extension of the mandarin/collar stand had the same amount of extension
Stitch shoulder and side seams, stitch CB from neckline to about 2” down leaving most of the CB opening for closure
Stitch one neckline edge of collar to bodice neckline, finish raw edge
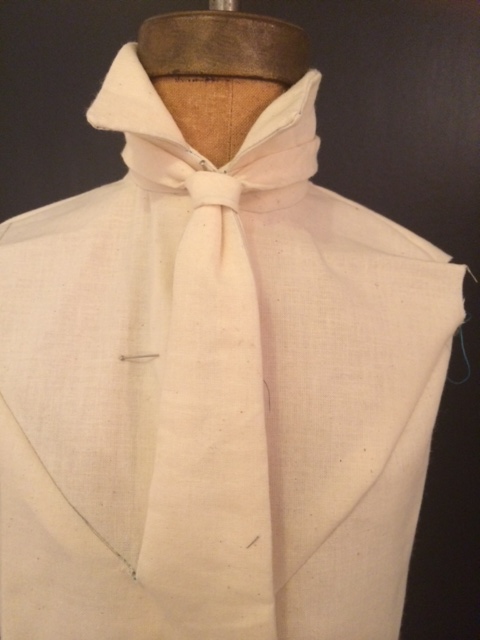
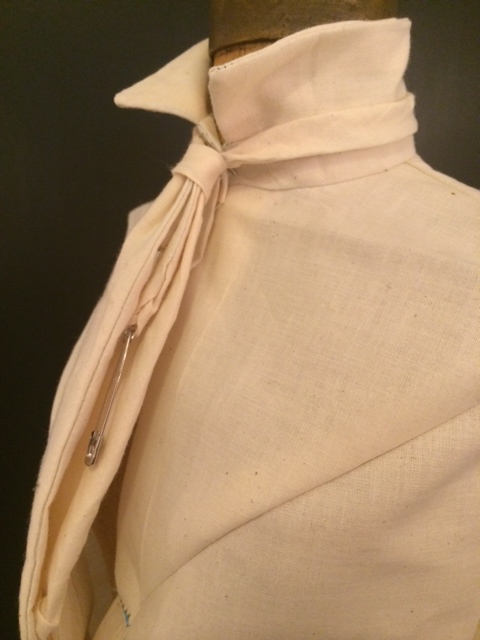
Put shirt on form and tie bias strip as a tie around the neckline. Cut excess off. (I still left a little length beyond the knot otherwise the knot comes undone.
Now the book says to slip the lower part of the tie (you might need to trim off some extra here as well) and tack in place. So now how do you get out of it. I full scale I think you could add snaps strategically inside the knot or you could separate everything at the CB (upper collar, stand, tie, and full length of CB bodice)
Now the book says to slip the lower part of the tie (you might need to trim off some extra here as well) and tack in place. So now how do you get out of it. I full scale I think you could add snaps strategically inside the knot or you could separate everything at the CB (upper collar, stand, tie, and full length of CB bodice)
  |   |
Analysis:
The Challenge: Study this pattern to discover what you can learn and apply to future work. Start with these questions and include any additional insights.
Q. 1: What type of flat patternmaking is this: Dart manipulation? Added fullness? Contouring? Something else? A combination?
Vanishing Tie is a technique to incorporate expanding pieces into other parts of a garment so they have the illusion of connecting in various spots. The darts are manipulated into added fullness and design stylines. As in many of these samples there is added geometric shapes not necessarily fullness or contouring
Q. 2: What are the basic principles of this pattern?
1. Style lines were drawn to create the seam lines that manipulate the armhole darts
2. Added fullness was used as a way to eliminate the waist darts (almost adjusting to be a non-darted torso block)
Q. 3: What are the basic rules of this pattern?
1. Place the stylelines to intersect bust point and dart legs
2. I would suggest in the future to use a base patter that has your stylines, overlap lines and shapes, as well as lines for facings and then trace off to avoid confusion
3. Once pattern pieces are cut apart tape onto another piece of paper to accommodate CF extention and width for tie shape
4. Notch, mark the transition and overlap spots accurately
5. Plan your stitching sequence to accommodate intersecting seams
6. Pin and stitch in sections
Q. 4: Are these rules and principles always true?
Yes, I think the principles always true
Q. 5: What rules of traditional patternmaking are “broken” in this pattern?
No traditional patternmaking rules are “broken” in this pattern, but traditional patternmaking rules for facings and extensions do not seem to be followed or used. There should be more accurate information on how to pattern facings in order to finish the garment.
Vanishing Tie Application on Skirt
The Challenge: Create your own half scale pattern by applying the rules and principles of this pattern in a different location of the garment. Sew a 1st sample.
I decided to apply the rules and principles of Vanishing Tie to a skirt back in hopes to work through some of the issues I had with the original location. I wanted to make sure the garment can be taken off, finished with facings, and yet still have the impressive illusion the Nakamichi example has.
I traced of a full skirt back in order to plan for the asymmetry. I thought about using a side closure or a hidden one behind the tie. It ended up that I could do either and I will discuss at the end of the steps.
 |  |
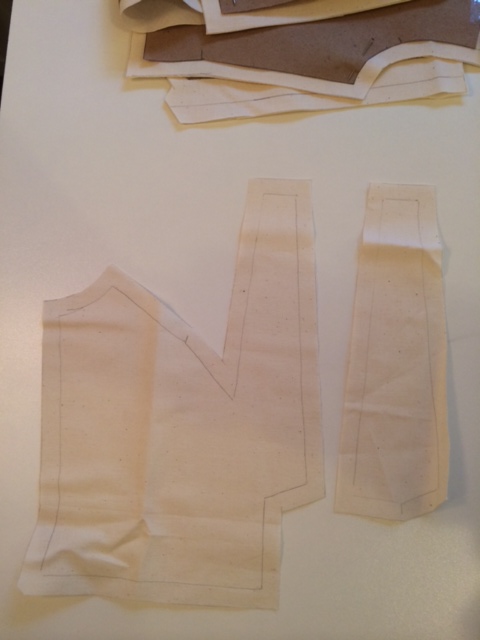
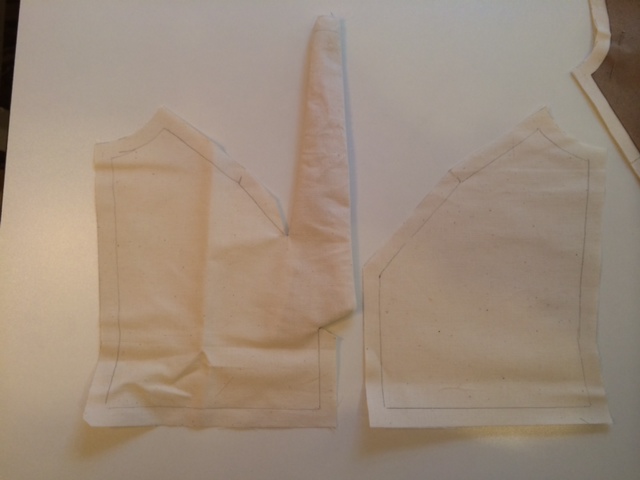
I drew in stylines that wolld work with dart manipulation and cut the pieces apart. On the smaller yoke I was able to clip from the yoke line up to the dart point, close out the dart point and true up by drawing of the small dart on the princess seam. On the larger yoke I closed out both dart and had less truing up to do.
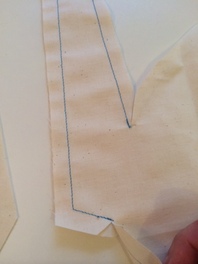
I taped the larger lower skirt on paper to add tie extension. I did this the same way as the Vanishing tie sample. Extended princess seam line up and ticked off where there waistline is. I created the extension shape, folded on the pricess seam line and mirrored the extension to the part above the pattern piece.
I taped the larger lower skirt on paper to add tie extension. I did this the same way as the Vanishing tie sample. Extended princess seam line up and ticked off where there waistline is. I created the extension shape, folded on the pricess seam line and mirrored the extension to the part above the pattern piece.
 |  |
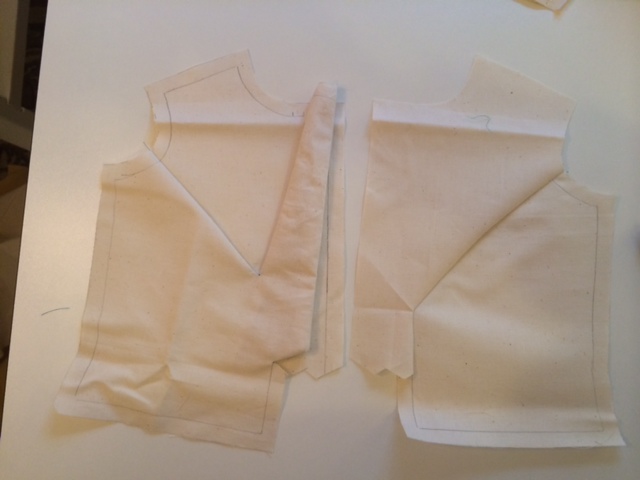
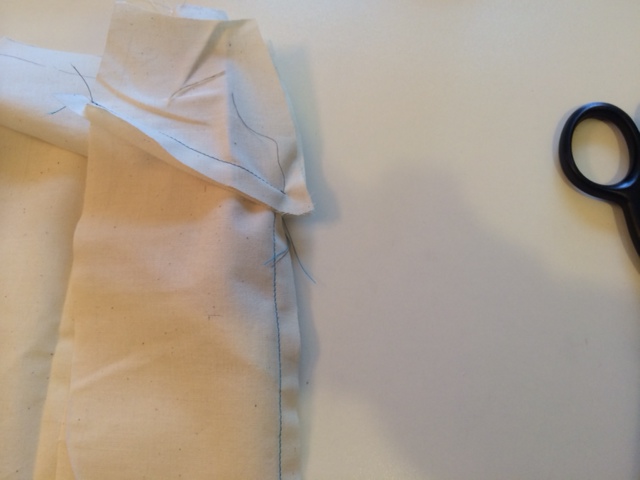
I traced off (more effectively because I transfer all seamlines) the facing for the tie
Stitched facing to tie on seamlines, clipped exactly to corners, and turned and presses just like vanishing tie (above right photo)
Stitched lower skirts together on princess seam catching the tie facing by matching up raw edges!
Stitched yokes and lower skirts together on seam catching the tie facing by matching up raw edges!
  |   |
| Used the tie bias strip to work as a waistband leaving extra length at princess seam. At this point if I definitely wanted a side closure I could sew up princess seam to waistline but I left it open to try options Folded and tucked and stitched upper and lower tie together and created a separate knot that still give the illusion of the tied tie. If I want the opening hidden behind here I would have to release the smaller side waistband and connect with a snap or hook and eye (certainly an option) I loved the way this one came out! 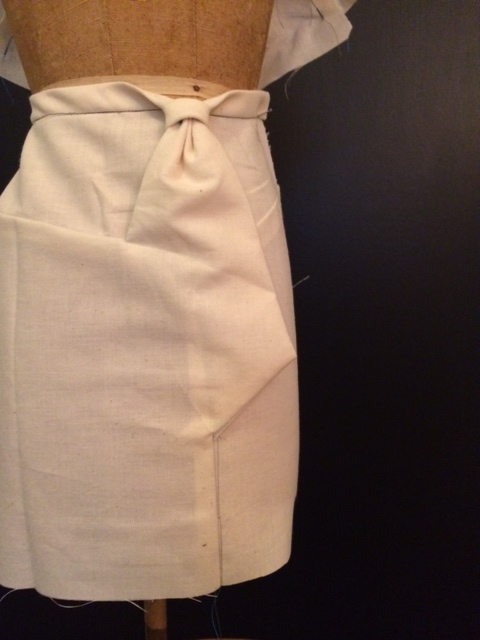 | 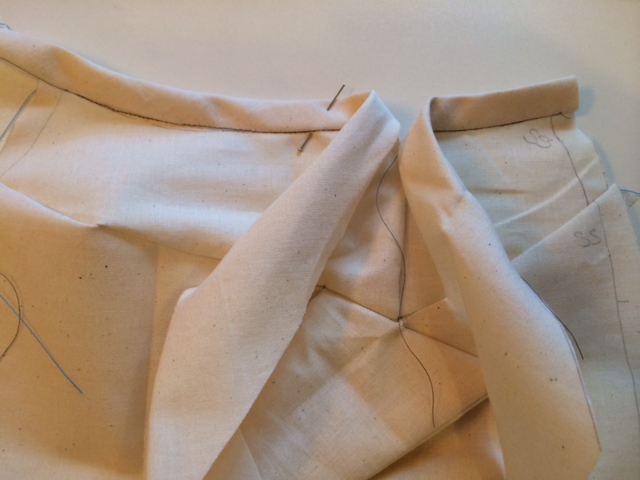 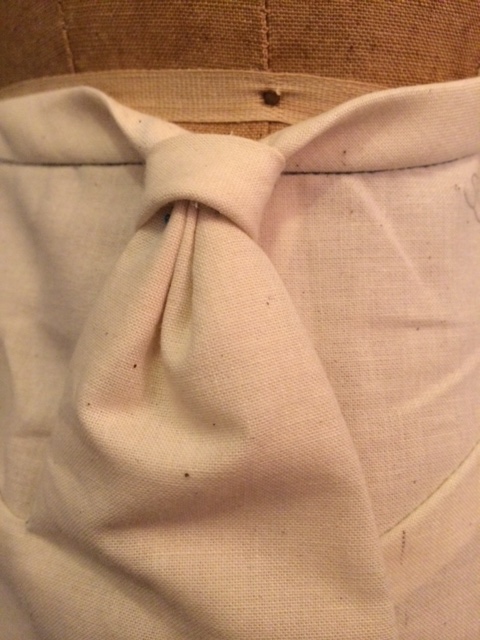 |
Evaluation:
The Challenge: Study your pattern to discover what you can learn and apply to future work. Start with these questions and include any additional insights.
Q.1: Did you stay true to the basic principles of the original pattern?
I did stay true to the basic principles of the original pattern, the flat patterning principles were pretty straight forward, use style lines to cut apart the pattern and close out the darts. Then add geometric fullness to create the tie shape.
Q. 2: Where did you move the pattern manipulation and how well did that work?
I moved it to the skirt and I think it works well. I was concerned about the effect without the collar component but I actually like the way the waistband transforms into the tie. I think I could use this on a bodice that does not have a typical collar
Q. 3: Do all the same rules still apply? Did the need for new rules appear when you made this change?
In general, the same rules apply. I was much happier with the planning and execution of the facings
 RSS Feed
